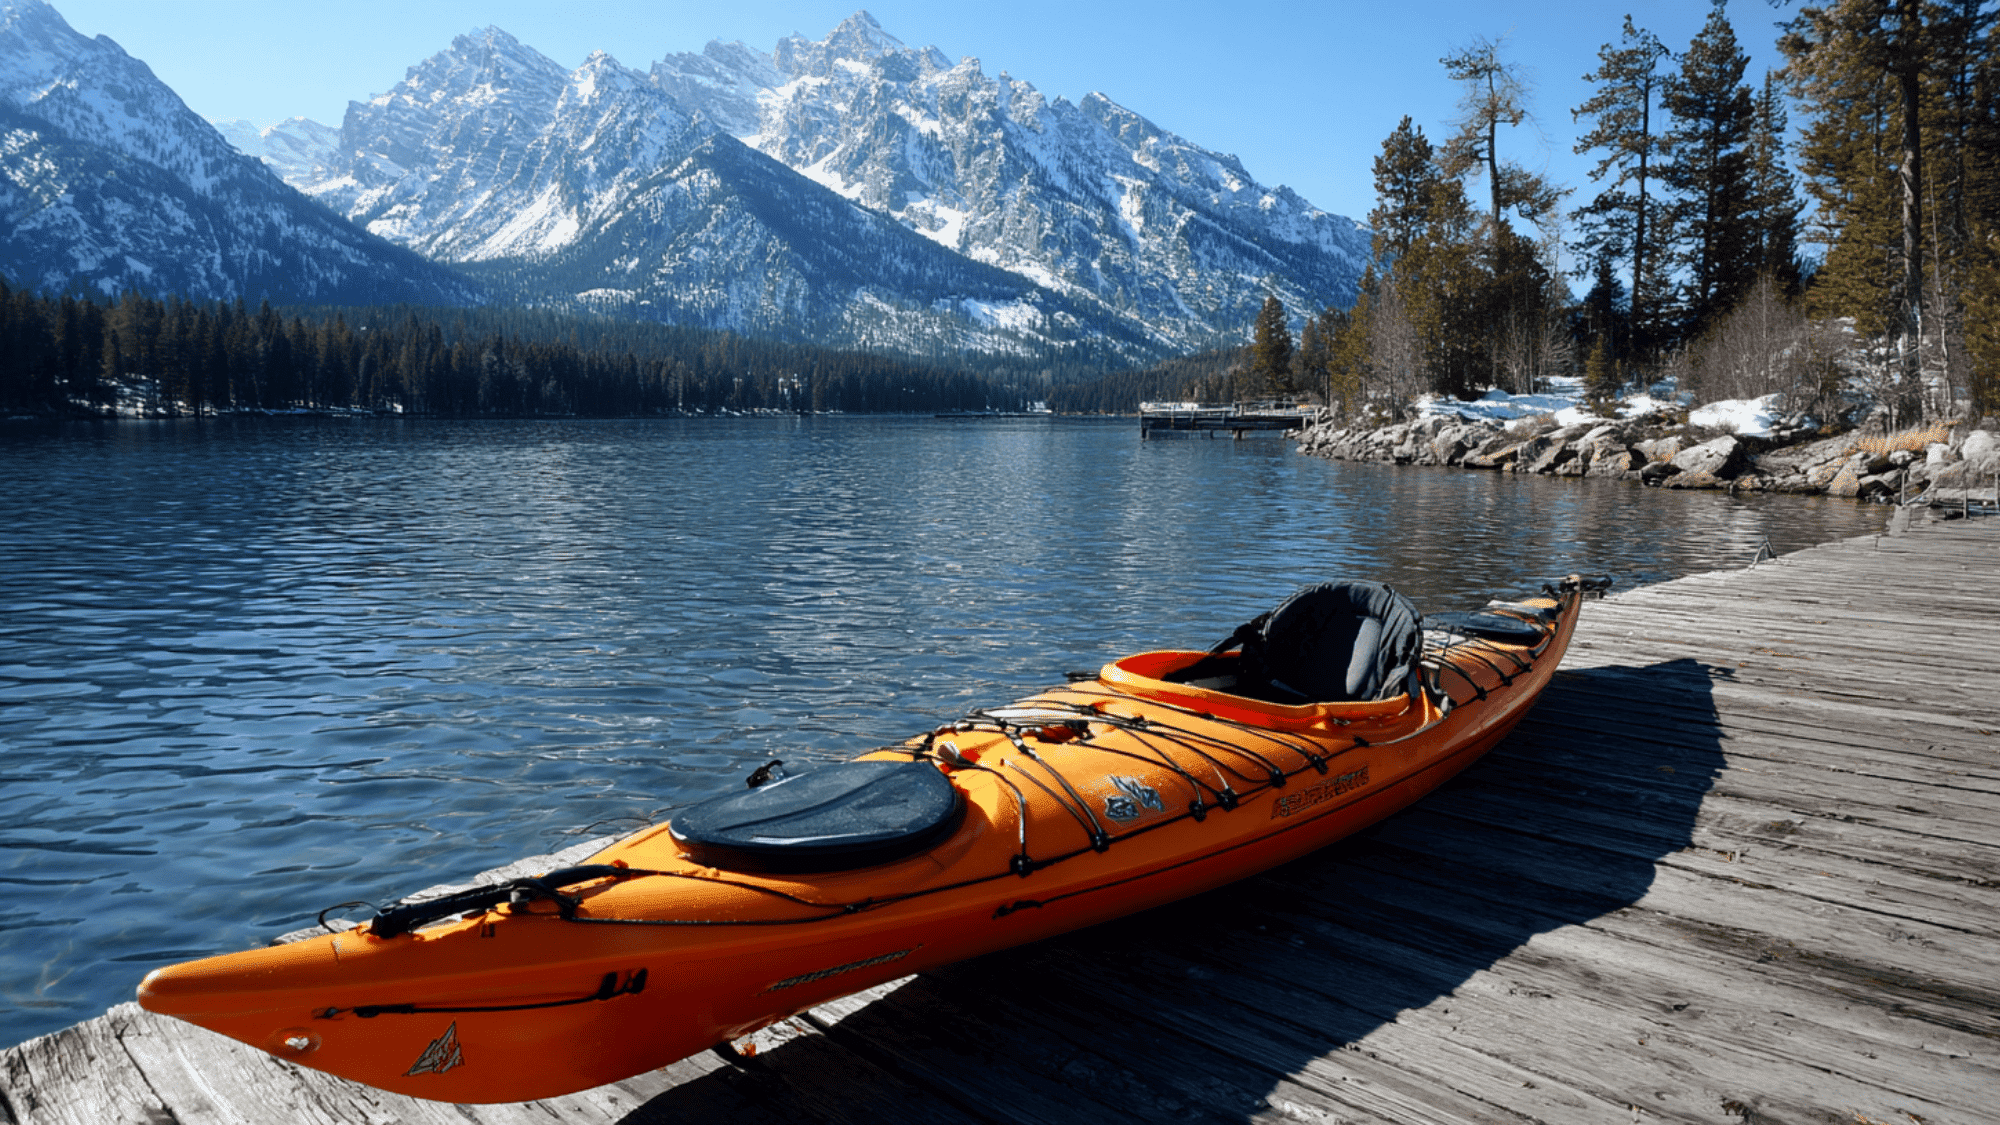

Taking your dog kayaking on calm flatwater is manageable when you work through five preparation layers before you ever reach the put-in: route selection, dog acclimation, gear packing, campsite power, and veterinary readiness.
This guide covers flatwater rivers, slow-moving streams, freshwater lakes, and sheltered bays only, not whitewater or open-ocean crossings. Each layer removes a specific category of on-trip stress. Paddlers who address all five at home tend to find the water portion genuinely relaxing, while those who skip layers usually spend the trip improvising.
Pick a Suitable Route and Campsite
Target waterways with low current, minimal motorboat traffic, and a gradual shoreline at the put-in and take-out. A steep muddy bank makes boarding difficult and creates a capsizing risk during the scramble. Flatwater rivers, reservoir arms managed by the US Army Corps of Engineers, and state-park lakes typically meet these safety criteria.
The US Army Corps of Engineers manages approximately 12 million acres of public land around waterways, and many of these locations allow leashed dogs at designated campsites. Keep single-day paddling distance to four to eight miles when a dog is aboard. This distance falls shorter than a typical solo paddle, but loading, unloading, rest stops, and the dog’s periodic need to shift position all add time.
Booking a site five to six miles from the launch point provides a comfortable buffer without rushing the afternoon. Check pet policies before reserving, since many state parks allow leashed dogs only at specific sites. Recreation.gov and ReserveAmerica.com both include pet-friendly filters in their search tools.
Confirm that the campsite has a flat landing zone for unloading the kayak alongside access to shade for midday rest. You also need enough cell or satellite signal to reach emergency contacts. If your destination requires permits, pull them before departure because some waterways under USDA Forest Service jurisdiction require backcountry permits even for day trips.
Finally, pack out all dog waste and dispose of it at least 200 feet from any water source. This stands as standard Leave No Trace practice and frequently appears as a posted rule at waterway campsites.
Help Your Dog Get Comfortable Before Leaving Shore
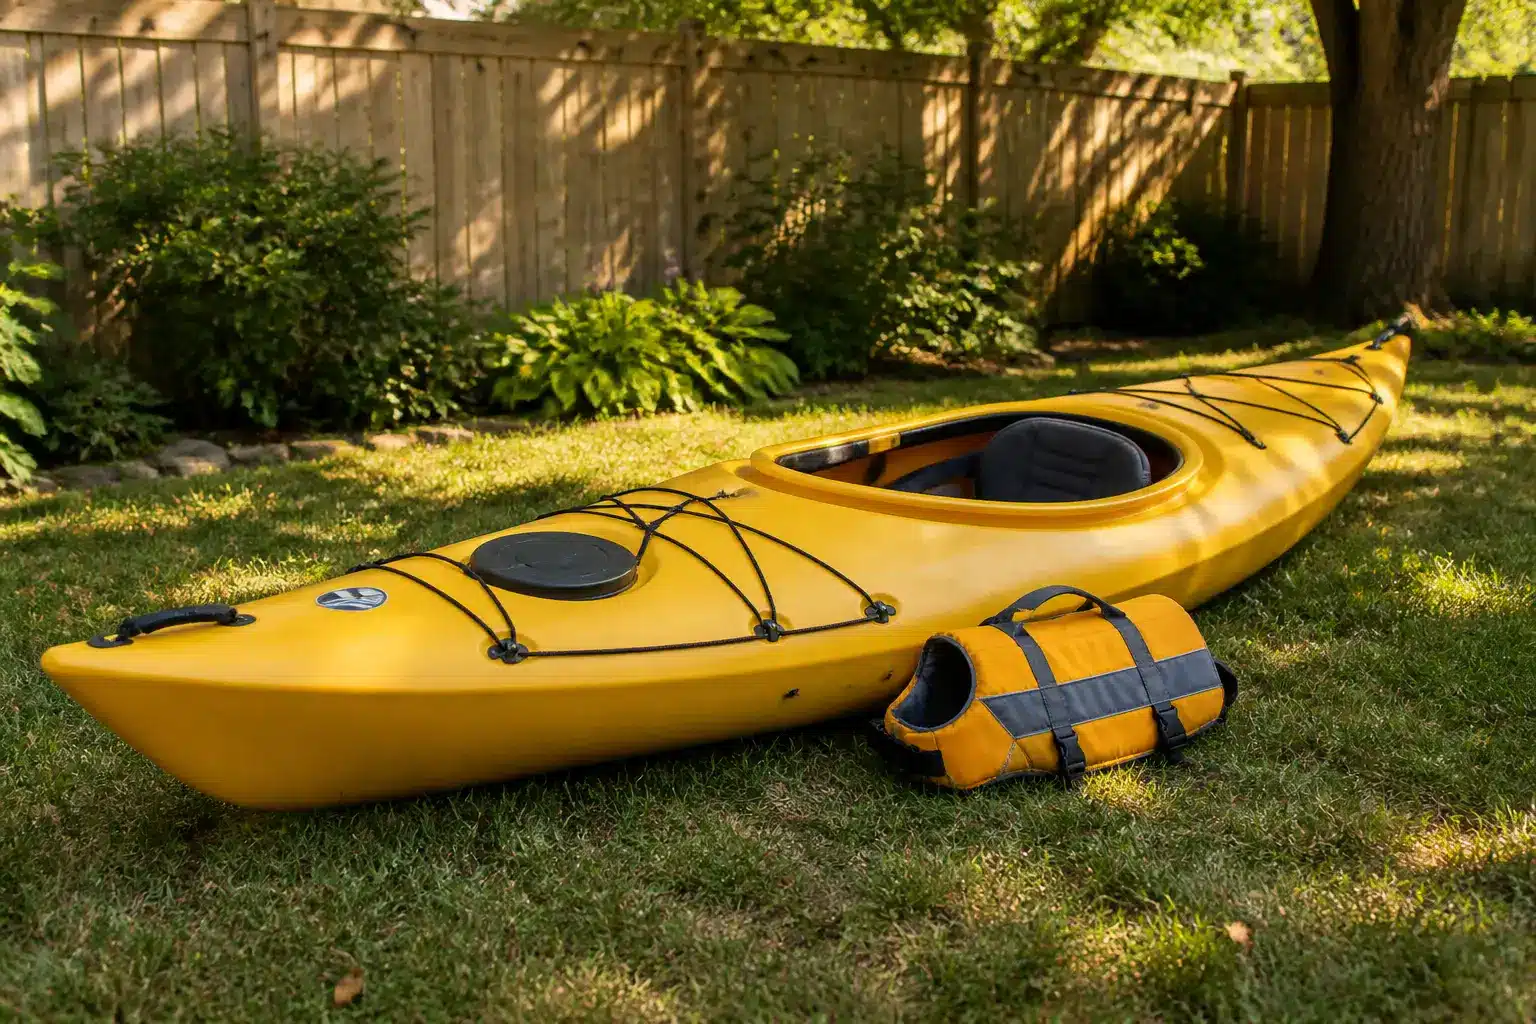
Start the acclimation process on dry land by placing the kayak on grass or a driveway. This lack of water and movement lets the dog observe the boat without feeling threatened, so allow them to step in and out while the hull sits stable. Once they board calmly on land, move to ankle-deep water and repeat the exercise with the boat floating but stationary.
Fit a properly sized dog life jacket before any water session and test it on land first. The jacket should feature a handle on the back for quick retrieval, secure chest and belly straps, and a snug fit so the dog cannot slip out when lifted. Strong swimmers still need one because moving water, exhaustion, or an unexpected capsize can overwhelm even a confident water dog.
When you introduce actual paddling, keep the first strokes slow and shallow, since the visual of a blade entering water and the splash sound can startle a dog. Practice quiet strokes before picking up the pace, and watch for stress signals like excessive panting, trembling, repeated attempts to jump out, or flat refusal to board. Treat any of those behaviors as a cue to back up one phase rather than pushing forward.
Most trainers recommend two to three acclimation sessions of 15 to 20 minutes each before committing to an overnight trip. During paddling, clip a leash to a secure anchor point on the kayak frame to provide a safety connection. Never loop the leash around the dog’s neck, as this creates a serious strangulation hazard.
| Quote: AKC guidance notes that dogs with calm temperaments and prior swimming experience tend to adapt to boats more quickly, though individual variation is wide regardless of breed. |
Pack Smart Gear for the Paddler and Dog
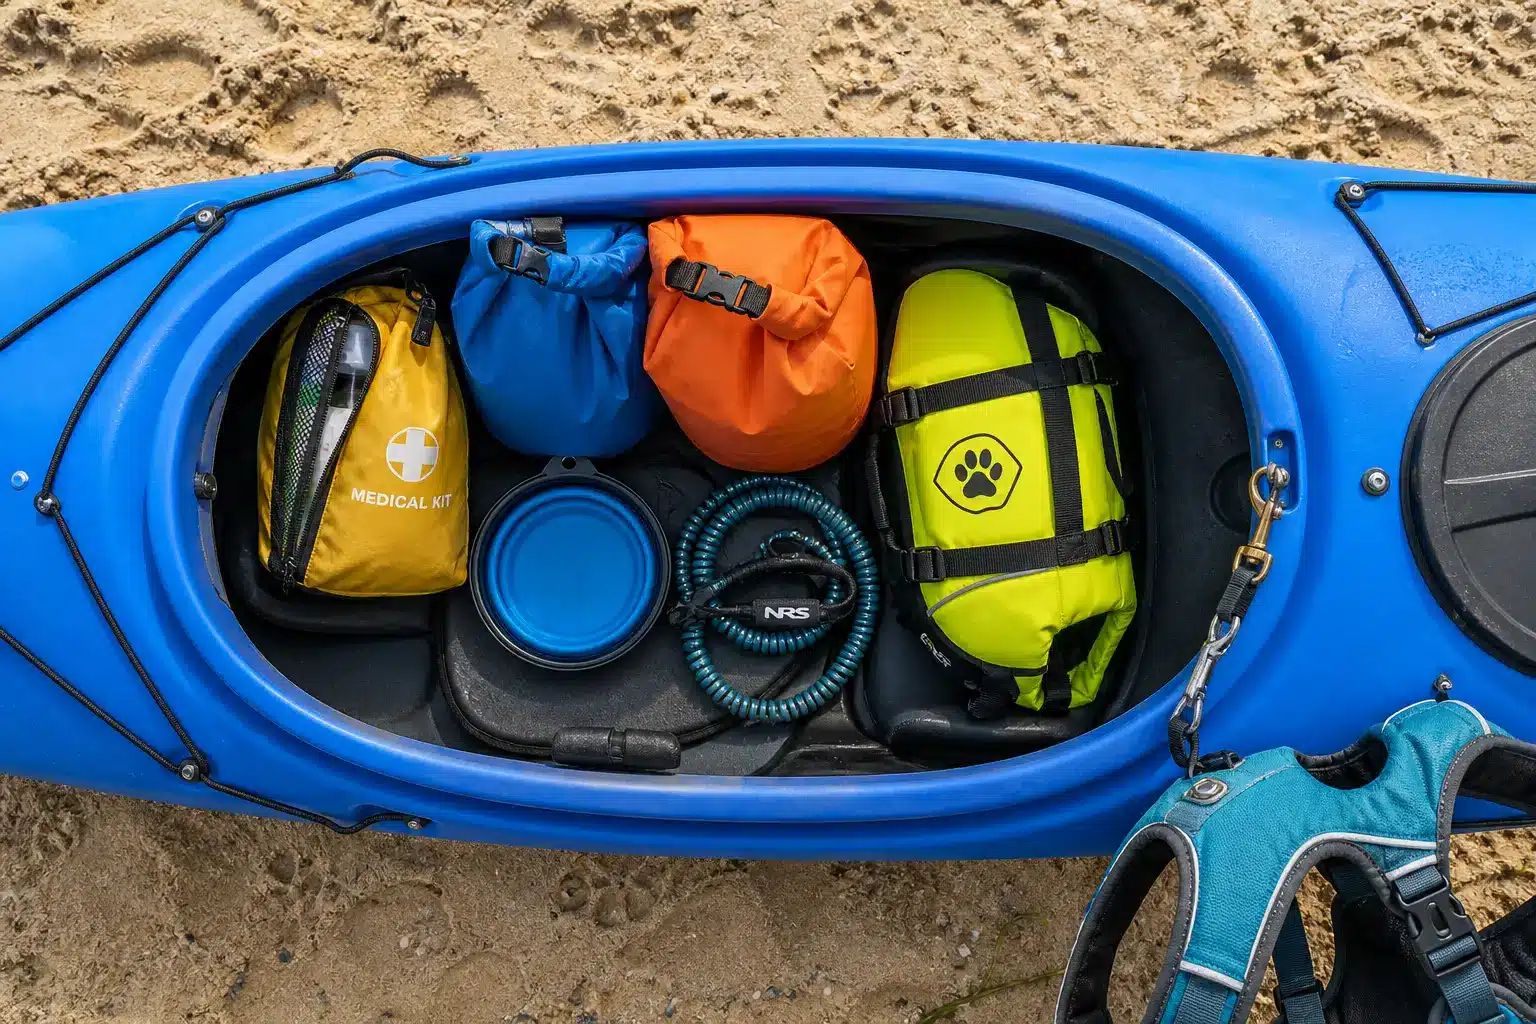
Dog-specific gear starts with the life jacket, which remains non-negotiable even in moving water that looks calm. Pair it with collapsible bowls, a pre-portioned food supply covering the full trip plus an extra day, and enough fresh water, as you should not plan to treat and drink from the waterway without filtering. Leptospirosis bacteria spread through infected animal urine, contaminating water and soil where the pathogen can survive for weeks to months.
Pack a dog-specific first aid kit containing gauze pads, rolled gauze, antiseptic wipes, tweezers for tick removal, vet wrap, and sterile saline eye wash. Include any current prescription medications alongside weight-appropriate diphenhydramine for allergic reactions if your vet recommends it.
Add a dog-safe insect repellent if the destination has known tick or biting insect exposure, but never apply DEET-based products to dogs. Bring two leashes, keeping one in active use clipped to the kayak anchor point and one backup stowed in a dry bag.
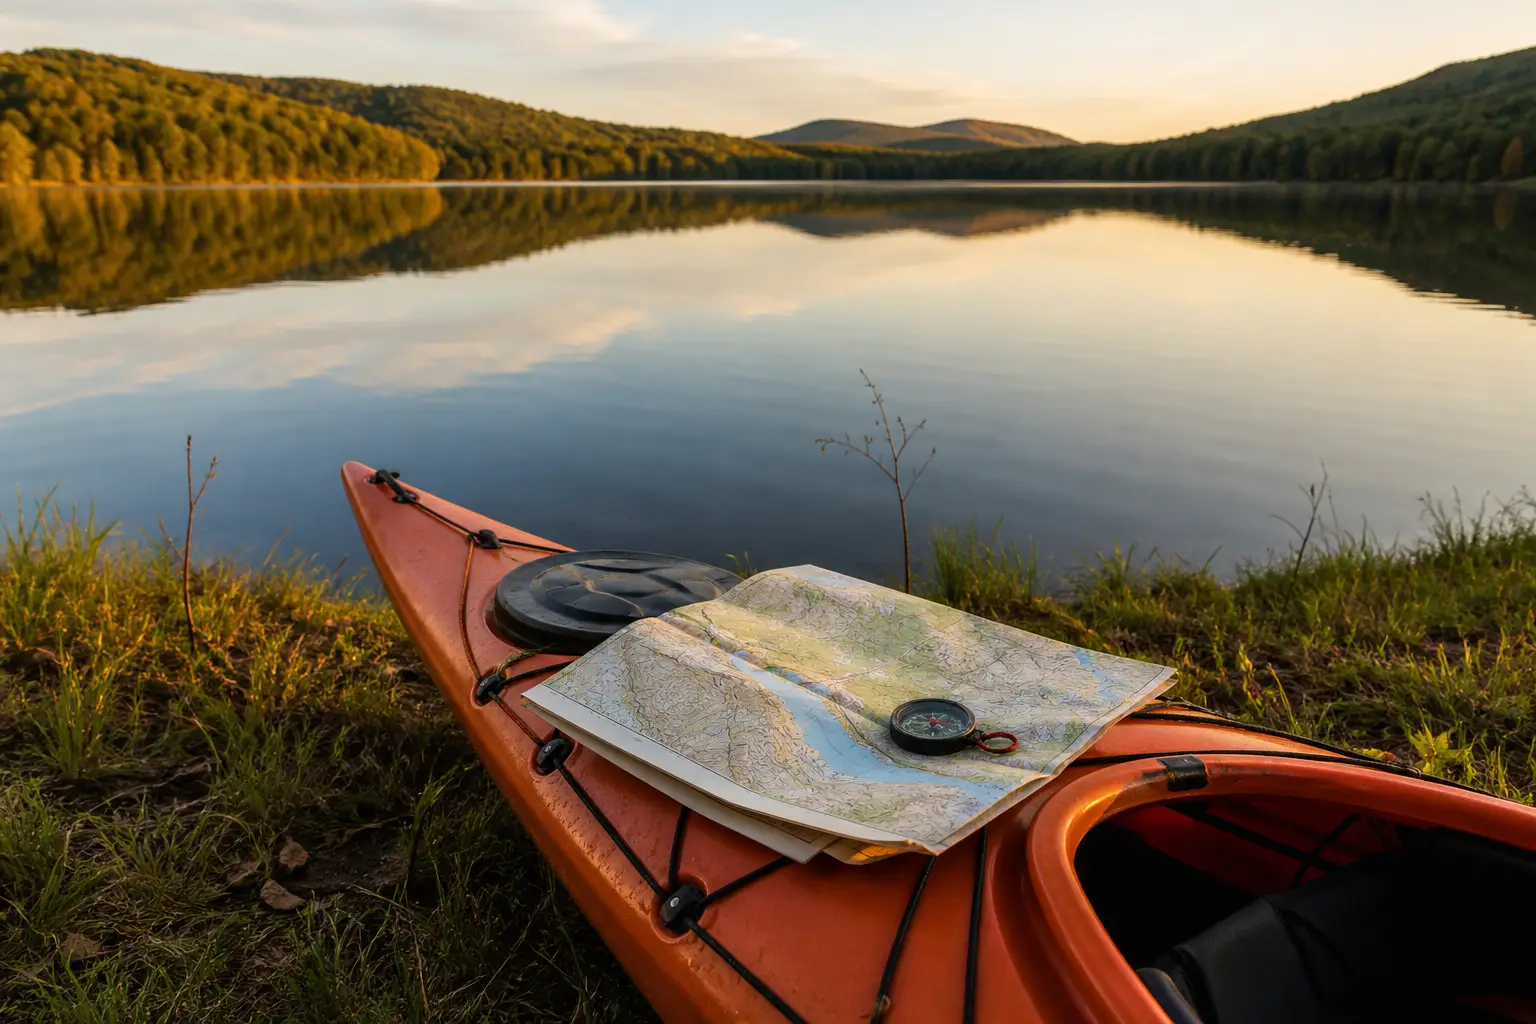
For the paddler, a personal flotation device worn at all times is non-negotiable. Pack all electronics and the first aid kit in submersion-rated dry bags rather than standard water-resistant pouches. Carry a paper topo map and compass alongside any GPS device, treating the phone as a backup navigation tool instead of the primary one.
Position the dog’s weight and the heaviest gear toward the center of the kayak to preserve stability. Keep dog essentials in a quickly accessible dry bag near the cockpit rather than buried under camp gear that requires full unpacking. Before loading anything, add up paddler weight, dog weight, and total gear weight to verify that the combined figure stays within the kayak’s rated maximum capacity.
Keep Devices Charged Without Relying on Shore Power
Before choosing any power station, build a specific device list covering every item that needs charging at camp. You might list two smartphones for navigation, a dedicated GPS tracker, an action camera battery charger, and a USB rechargeable headlamp.
A satellite communicator like a Garmin inReach Mini charges via USB and draws roughly five watts. For each device, note the wattage draw printed on the charger brick and the battery capacity in watt-hours.
Run the math against a concrete scenario for a couple on a two-night flatwater river trip with a dog. Two smartphones charge at roughly 10 to 18 watts each, one GPS tracker draws five to 10 watts, and one action camera charger draws around eight watts. Running all of those alongside a small headlamp totals approximately 70 to 90 watt-hours per evening before accounting for conversion losses.
Two evenings doubles that figure to roughly 180 watt-hours. Adding a 20 percent buffer for cold-night battery output reduction brings the realistic planning target to 225 watt-hours for the trip.
The Jackery Explorer 500 provides a useful benchmark for that load, offering 518 watt-hours of capacity and 500 watts of AC output at a pack weight of 13.32 pounds. At roughly 80 watt-hours of evening draw, one full charge covers approximately five evenings of device charging.
Pairing it with a foldable Jackery SolarSaga 100W panel allows daytime replenishment at camp via the included XT60 cable. This forms a direct panel-to-power-station connection rather than a solar inverter setup, so you must verify panel-to-station compatibility on Jackery’s official charts before purchase.
Combined pack weight for both units runs approximately 20 pounds total, which must fit within the kayak’s remaining weight budget. Readers who want to confirm current model availability or work through a device list with a knowledgeable team can browse an Off-Grid Source Jackery power station for a kayak campsite.
One strict storage rule applies regardless of which power station model you bring. Keep the unit on dry land at camp, away from the water’s edge, and in a shaded spot out of direct sun.
Because the unit is not waterproof, you should never use it on or near the kayak while paddling. Treat it as a campsite charging tool and handle it as carefully as a laptop left outside.
| Key Insight: The device-list-first method prevents two common mistakes: under-buying a power station that leaves you with a dead GPS, and over-buying a unit so heavy it pushes the kayak past its weight limit. |
Prepare Vet Records, Emergency Contacts, and a Care Plan
Schedule a pre-trip wellness check if your dog is due for one and confirm that core vaccinations are current. For dogs paddling in freshwater where deer, raccoons, or rodents are present, specifically discuss leptospirosis vaccination with your vet. Almost every dog remains at risk for leptospirosis, and visiting endemic areas with standing mud or wildlife populations drastically increases the chance of infection.
Request printed copies of vaccination records and active prescriptions, storing a digital copy on your phone and a waterproof printed copy in your dry kit. Confirm that flea, tick, and heartworm prevention medications are administered on schedule before departure day.
Research emergency veterinary options before you leave instead of waiting until you sit at a campsite with spotty signal. Identify the nearest after-hours emergency animal hospital to your campsite.
Write down the clinic name, street address, and direct phone number, and program the ASPCA Animal Poison Control Center into your phone. This hotline remains available around the clock and serves as the correct first call if your dog drinks untreated water or ingests a toxic plant. If you paddle in a cell-dead zone, a satellite communicator can send two-way text messages and trigger an SOS signal for both human and animal emergencies.
Name the cost range honestly when building a care budget, keeping in mind that a pre-trip wellness visit typically runs $50 to $150 depending on required services. Emergency veterinary treatment for a laceration, an ingested toxin, or an orthopedic injury can range from a few hundred to several thousand dollars. Treating this expense as a small planning variable represents the same category of mistake as forgetting a dry bag.
One financial planning option some dog owners use to help manage unexpected veterinary costs is pet insurance. Spot Pet Insurance dog insurance for an outdoor companion offers customizable reimbursement-based plans that help cover eligible emergency costs.
The reimbursement model requires you to pay the veterinary bill at the time of care, then submit a claim for eligible expenses. Reimbursement is not guaranteed for every expense, and pre-existing conditions are generally excluded.
Spot offers both Accident & Illness plans and Accident-Only plans, with optional preventive care add-ons available for a separate premium. These plans include access to a 24/7 pet telehealth helpline, which lets you describe symptoms and get guidance on whether a situation requires an emergency clinic visit.
Enrolling weeks before a trip matters because waiting periods apply before coverage begins. Terms vary by plan and state, and coverage is subject to policy exclusions, deductibles, and annual limits.
Your Next Steps
Run through your preparation layers two to three days before departure so you have time to address missing items. Each step ties directly back to your overall safety and comfort on the water. Verifying everything early prevents the need for campsite improvisation.
- Route and campsite confirmed: permits pulled, pet policy verified with the land management agency, and nearest emergency vet clinic located.
- Dog acclimated: kayak desensitization completed on land and in shallow water, and the life jacket tested by lifting the dog.
- Gear packed: all electronics in submersion-rated dry bags, weight centered, and total load verified against the kayak capacity.
- Campsite power planned: watt-hour draw calculated, and a portable unit designated for dry land storage only.
- Veterinary prep complete: wellness visit done, leptospirosis vaccination status confirmed, and any required health coverage initiated well past the waiting period.
The device-list-first method for campsite power prevents you from under-buying a unit that leaves you with a dead GPS on night two. It also keeps you from over-buying a massive power station that pushes the kayak past its weight limit. Storing your portable power setup safely ashore protects the equipment and extends its useful life across many trips.
Financial planning requires the same advance timeline to remain effective. Enrolling in a reimbursement-based care plan weeks before departure makes it a usable tool rather than a paperwork exercise.
Understanding your deductible, annual limit, and exclusions before an emergency strikes proves far more useful than reading those terms afterward. Combine that understanding with a written emergency vet address and a cash reserve, and you have covered the entire preparedness layer.