
Knowing how to portage a canoe between lakes is the one skill that separates a planned backcountry trip from an exhausting slog.
Every multi-lake wilderness route, from the BWCA in Minnesota to the Adirondacks in New York, requires paddlers to carry a canoe between lakes across land trails called portages.
It is a skill built through timing, balance, and simple decision-making on the trail, helping paddlers move gear, canoe, and supplies smoothly between lakes while keeping energy steady and making the entire backcountry experience more manageable and connected.
What is a Portage in Canoeing?
A portage is the act of carrying your canoe and gear overland between two bodies of water.
The word comes from the French porter, meaning to carry. In the American Northeast, especially the Adirondacks, the same thing is called a “carry.” In the BWCA, most paddlers just say “portaging.”
Portage distances in the BWCA are measured in rods. One rod equals 16.5 feet, roughly the length of a standard canoe.
A 160-rod portage is about half a mile. Your trip map will show portage locations, rod lengths, and terrain notes for each crossing.
When You Will Need to Portage a Canoe?
Portaging is required when lakes aren’t connected by paddleable water, or when rapids, waterfalls, beaver dams, shallow streams, or artificial dams block safe canoe travel routes.
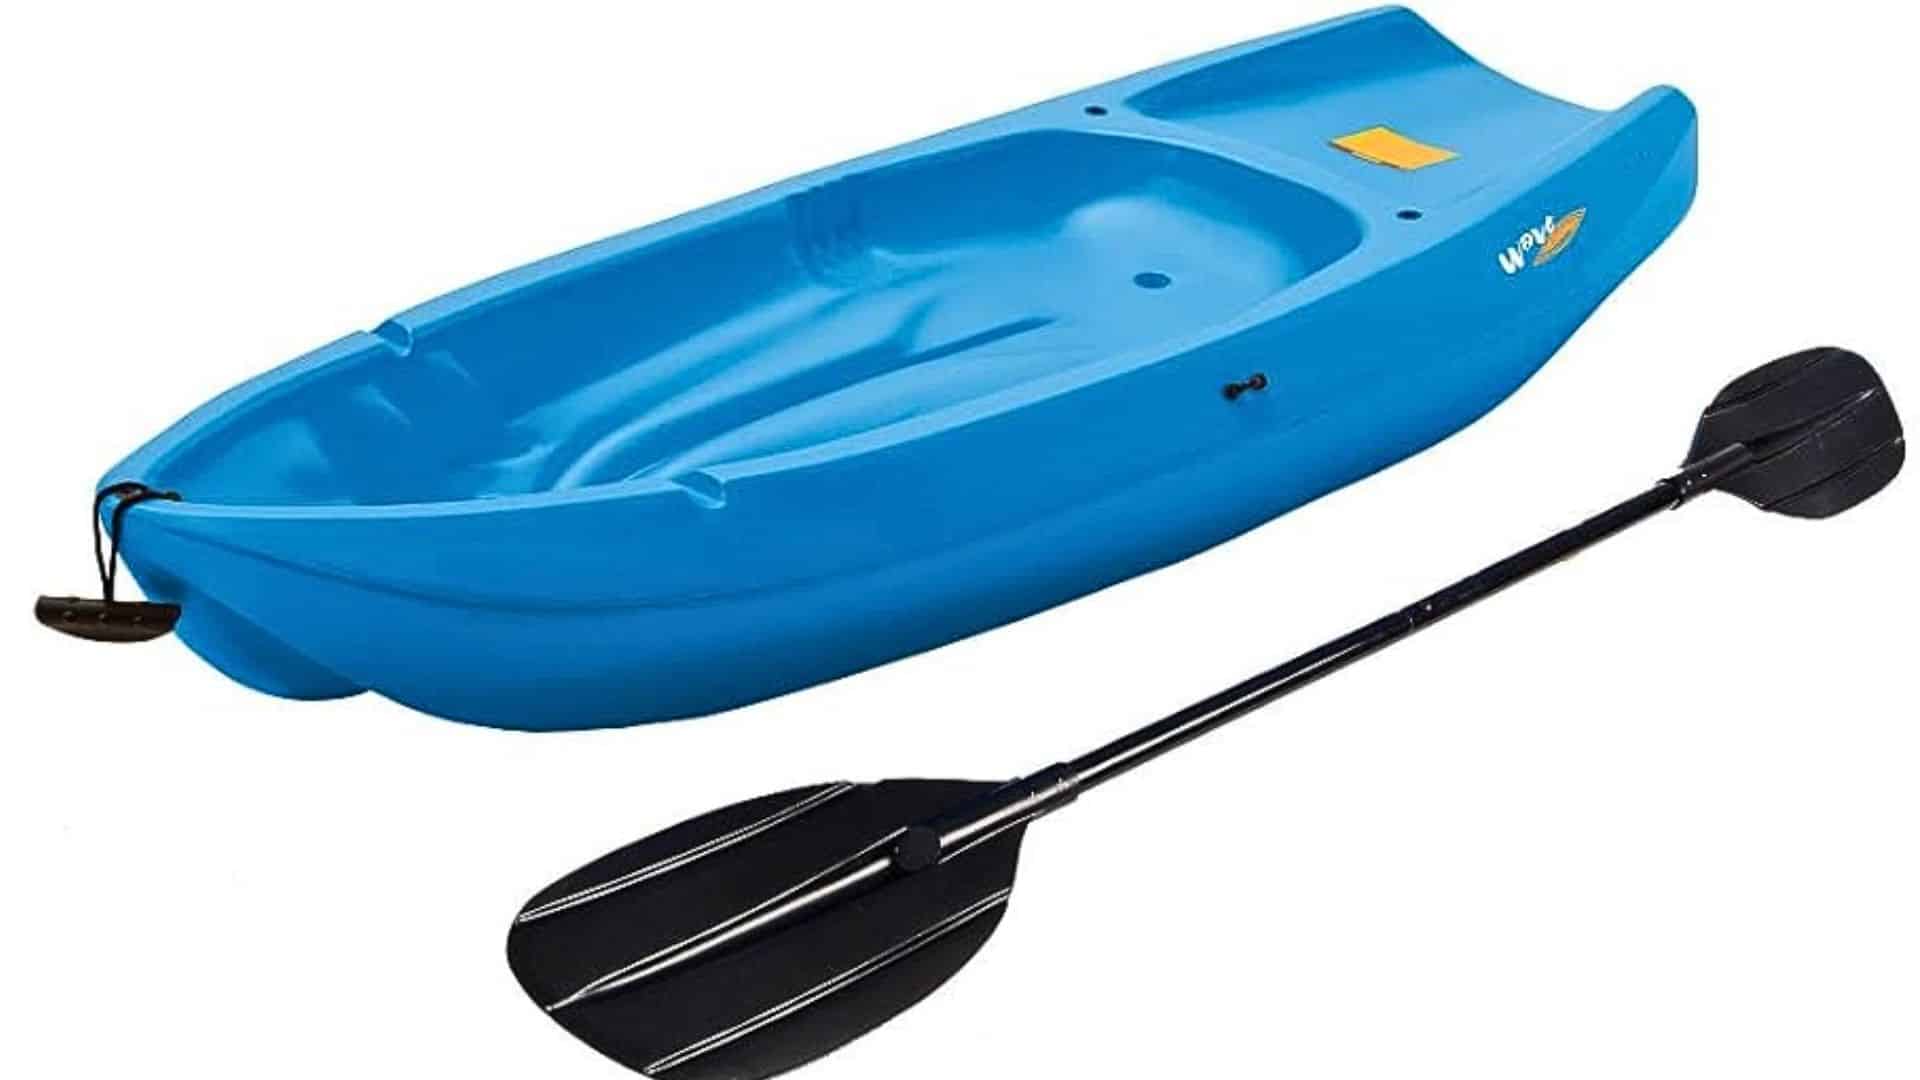
Choosing a Canoe You Can Actually Carry
Canoe weight is the deciding factor on a portage-heavy route. An aluminum tandem canoe weighs 65 to 95 pounds. Forty rods into a muddy climb, you will feel every one of them.
A Kevlar tandem of the same length weighs 38 to 55 pounds. Solo Kevlar models typically weigh between 28 and 42 pounds.
Here’s a fully rewritten version without starting with “if” and with a natural flow + anchor text included:
Choosing between different canoe types helps match your paddling style to the right boat, narrowing down weight, materials, and hull shape for the routes you plan to run.
| Canoe Type | Weight Range | Portage Suitability |
|---|---|---|
| Aluminum tandem | 65–95 lbs | Hard going on long carries |
| Kevlar tandem | 38–50 lbs | Good for BWCA-style lake tripping |
| Kevlar solo | 28–42 lbs | Best option for solo backcountry travel |
| Carbon fiber | 26–40 lbs | Excellent, expensive, but worth it on long routes |
If you do not own a lightweight canoe, rent one from a local outfitter. Most BWCA outfitters stock Kevlar rentals made for portage-heavy routes.
The rental cost is far less than the physical cost of hauling 80 pounds of aluminum over a rocky ridge. The rental cost is far less than the physical cost of hauling 80 pounds of aluminum over a rocky ridge.
If you are heading out for a longer canoe camping trip, weight savings on the canoe directly reduce how worn out you are by day two.
Pro tip: Before renting or borrowing, ask if the canoe has a yoke pad fitted to the center thwart. Bare wood yokes hurt shoulders fast on carries over 80 rods.
The Yoke Flip: Step-by-Step
There are two ways to do the yoke flip: the straight lift and the rock-and-lift method, depending on your control and comfort preferences.

The yoke flip is a simple but important portaging technique that helps you lift and position a canoe safely onto your shoulders for carrying.
Step 1: Position beside the canoe
Stand beside the canoe, facing the hull, and tilt the canoe toward you so the hull rests against your legs, with the open side facing away, giving you a stable starting position to control the lift and keep the canoe balanced before moving into the next step safely and smoothly.
Step 2: Lift near the gunwale
Lift the near gunwale and rest the canoe on your thighs, using your legs instead of your back to support the weight.
Keep your posture straight and steady so you can control the canoe’s balance and prepare for a stronger grip before shifting your hands into the lifting position.
Step 3: Grip the yoke firmly
Place your right hand on the yoke and your left hand on the far gunwale to secure the canoe.
Make sure both hands are positioned for balance and control, allowing you to evenly distribute the weight before you transition into the lifting and rocking movement required for the flip.
Step 4: Rock builds momentum
Slide your right hand under the hull and gently rock the canoe two or three times to create momentum.
This controlled motion helps you prepare for the upward lift, making the flip smoother and reducing strain as you guide the canoe into position for the final shoulder placement.
Step 5: Shoulder canoe placement
Drive the canoe upward in a smooth motion so the yoke rolls onto your shoulders. Settle it across your upper back muscles, not your neck, and ensure the bow faces forward for balanced carrying.
Adjust slightly for comfort and stability before walking with steady control and proper weight alignment throughout.
Safety: Do not attempt to lift a canoe if you have back, neck, shoulder, or knee injuries. Consult a doctor before portaging if you have any health condition that limits physical strain.
Using the Yoke and Yoke Pad

The yoke is the carved crossbar near the center of the canoe. It is shaped with a curve that fits over your shoulders and spreads the boat’s weight evenly on both sides.
Understanding the canoe’s structure and parts before your first carry helps you quickly identify the yoke, thwart, and gunwales, so you are not fumbling at the put-in.
The curve always faces the bow, so when carrying, the bow points in the direction you are walking.
A yoke pad is a foam or gel cushion that straps to the yoke with Velcro. Carrying over 100 rods makes a real difference.
Portage without one, and your shoulders will remind you of that choice the next morning.
Setting the Canoe Down

Lowering a canoe safely is as important as lifting it, ensuring control and balance and preventing damage or injury during handling.
- Tilt the bow slightly downward to shift your center of gravity forward.
- Roll the canoe off your shoulders back onto your thighs.
- Shift your grip from the gunwales to the yoke and lower to the water or ground.
- Never drop it. Kevlar cracks on rock. Never drag it either, even when empty.
Always lower with care, maintain steady control, and protect the canoe’s structure by avoiding drops, impacts, and unnecessary dragging movements.
How to Carry Gear Across a Portage
The goal of portaging is to move all gear in one trip from start to finish. Two 90–100-liter packs can support a small group on shorter trips with efficient packing, depending on food and gear choices.
Use dry bag liners to protect essentials. In a two-person team, split loads by assigning one lighter pack and one heavier pack, with clear responsibility for each item.
Pro tip: Use an odd number of bags so both partners make balanced trips carrying gear or a canoe, never traveling empty-handed.
Single Portage vs. Double Portage
Portaging styles vary based on distance, terrain, and load, influencing safety, effort, and overall travel efficiency on canoe trips.
| Type | Description | When to use | Trade-offs | Notes |
|---|---|---|---|---|
| Single portage | Carry all gear across the trail in one pass | Short, easy trails or when gear is light | Less walking, but heavier load per trip | Ideal when total gear is under ~90 lbs per canoe |
| Double portage | Carry the load in two trips, returning empty between | Long, steep, wet, or difficult trails | Doubles walking distance, reduces load per carry | Safer and more manageable for heavy loads |
| Distance example | A 160-rod portage is about 0.5 miles one way and roughly 1.5 miles if double-portaged. | Use for planning daily travel distance | Increases total effort significantly | Must be factored into time and energy planning |
| Gear strategy | Use lightweight tents, sleeping systems, and food packs | Helps enable single portage | Requires careful packing and gear selection | Reduces strain and improves overall efficiency |
Choosing the right portage method and carefully planning gear weight helps balance safety, endurance, and efficiency throughout the journey.
How to Find and Read a Portage TrailIn maintained areas like the BWCA, small brown signs mark portage trails. Look for a cleared tree line break or worn shoreline. In remote areas, expect only a faint path. Use quality maps, such as the McKenzie or Fisher maps, to locate crossings, distances, and terrain features. Mark your put-out and put-in each morning. |
Gear That Makes a Portage Easier
You do not need much, but the right few items make a real difference on a multi-portage day.
- Portage pack (90–100L): A frameless or semi-frame pack with a wide hip belt and padded shoulder straps. Designed to sit high on the back and not swing on uneven terrain. One per paddler.
- Drybag liner (55L): Line each portage pack with one drybag. Everything inside stays dry even if the pack goes in the water at a put-in.
- Yoke pad: Velcro-mounts to the center thwart. Foam or gel cushion. Under 1 pound. Saves your shoulders from carrying over 80 rods.
- Carabiners (3–4): Clip life vests, water bottles, and extra paddles directly onto your pack. Keeps your hands free and prevents items from being left on the trail.
- Waterproof footwear: Closed-toe shoes or low boots with ankle support and a grippy outsole. Portage trails are wet, rooted, and rocky. Sandals and flip-flops cause ankle injuries.
Choose reliable gear for safety, comfort, and efficiency, ensuring stable carries, dry storage, and injury-free movement across portage trails.
Safety on the Trail and on the Water
On carries over 100 rods, takes short rest breaks every 5 to 10 minutes instead of pushing through fatigue.
Use a one-arm balance position after setting the yoke, letting one arm hang relaxed while the other steadies the canoe against the wind, thereby reducing shoulder strain during long portages.
Always leave a trip itinerary with someone not on the water. Cell service is extremely limited and unreliable throughout most of the BWCA, so carry a Garmin inReach or similar satellite device. Pack a whistle and mirror for backup signaling, and keep first aid accessible.
Official trip safety recommendation: National Park Service backcountry trip planning and safety guidelines
At night, secure the canoe ashore, flip it, and tie it to a tree. Proper canoe storage practices at a base camp or at home between trips help prevent hull warping and keep it protected through the off-season.
Common Canoe Portaging Mistakes
Common portaging mistakes can slow progress, damage gear, and increase the risk of injury if proper techniques and preparation are ignored.
- Dragging the canoe over rocks is the fastest way to ruin a Kevlar hull. Always lift and carry, even for short distances, at the put-in and put-out.
- Overloading for a single carry leads to falls on an uneven trail. If the load feels wrong, split it into two trips. There is no shame in double portaging.
- Wearing cotton is a cold-weather risk even in summer. A wet cotton base layer chills fast on a shaded trail after a sweaty carry. Stick to wool or synthetic fabrics.
- Loading the canoe before it floats grinds the hull on rocks at every put-in. Float the canoe first, then load it into the water.
- Skipping the map check before hitting the water means missing the portage entry and wasting paddling time. Mark every put-out the night before.
Avoiding these errors keeps travel efficient, protects equipment, and ensures safer, smoother portaging in challenging wilderness terrain.
Portage Trail EtiquetteThe BWCA sees heavy summer use, with roughly 150,000 visitors annually, according to U.S. Forest Service permit data. On busy weekends, portage trails can have constant two-way traffic, so always yield to paddlers carrying canoes overhead. Clear landings quickly to keep access open. Stay on established paths to protect fragile terrain, avoid widening trails, and keep noise low to preserve the area’s natural quiet and experience. |
Final Thought
Portaging a canoe between lakes is a learnable skill that improves quickly with practice and preparation. Start by choosing a light canoe and learning the yoke flip before your trip, so lifting feels controlled and safe.
Pack with the goal of a single carry whenever possible, and study your trail map the night before to avoid confusion at landings. On steep, wet, or uneven terrain, use a double portage rather than risk an unsafe load.
This reduces strain and helps prevent falls. Over time, good technique makes portaging less of a challenge. It becomes a steady rhythm between paddling sections, a quiet walk that connects one lake to the next with confidence and control.
Frequently Asked Questions
How Long Does It Take to Portage a Canoe Between Lakes?
A 160-rod single portage takes roughly 20 to 30 minutes. A double portage of the same distance adds another 40 minutes of walking.
Can One Person Portage a Canoe Alone?
Yes. Solo portaging is standard using the yoke-flip technique. A Kevlar solo canoe at 20 to 28 pounds is far more manageable than a heavy tandem boat.
What Is a Portage Pack, and Do I Need One?
A portage pack is a wide-strapped, hip-belted pack built for canoe trips. A standard backpack works but sits awkwardly and shifts on an uneven trail.
What Footwear Is Best for Portaging?
Closed-toe waterproof shoes or low boots with ankle support. Sandals expose feet to sharp rocks and cause ankle injuries on wet, rooted trails.