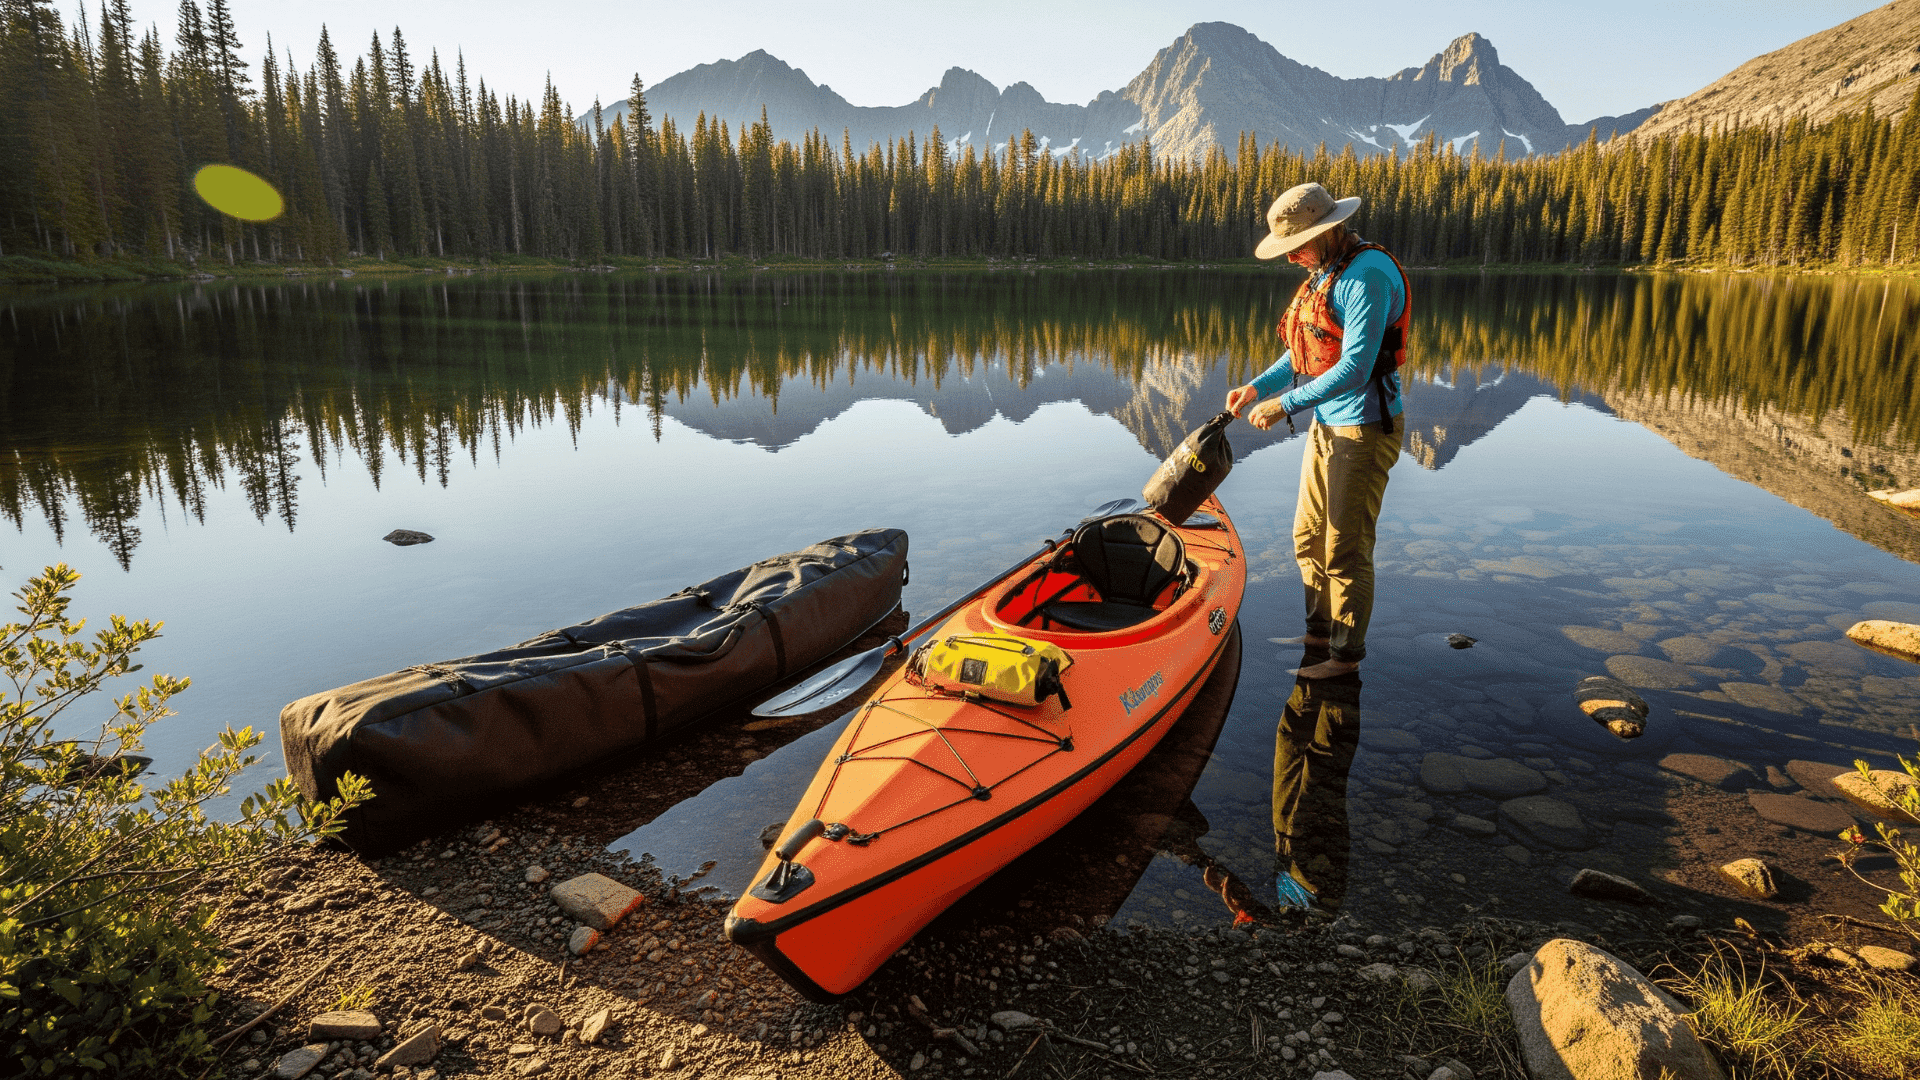
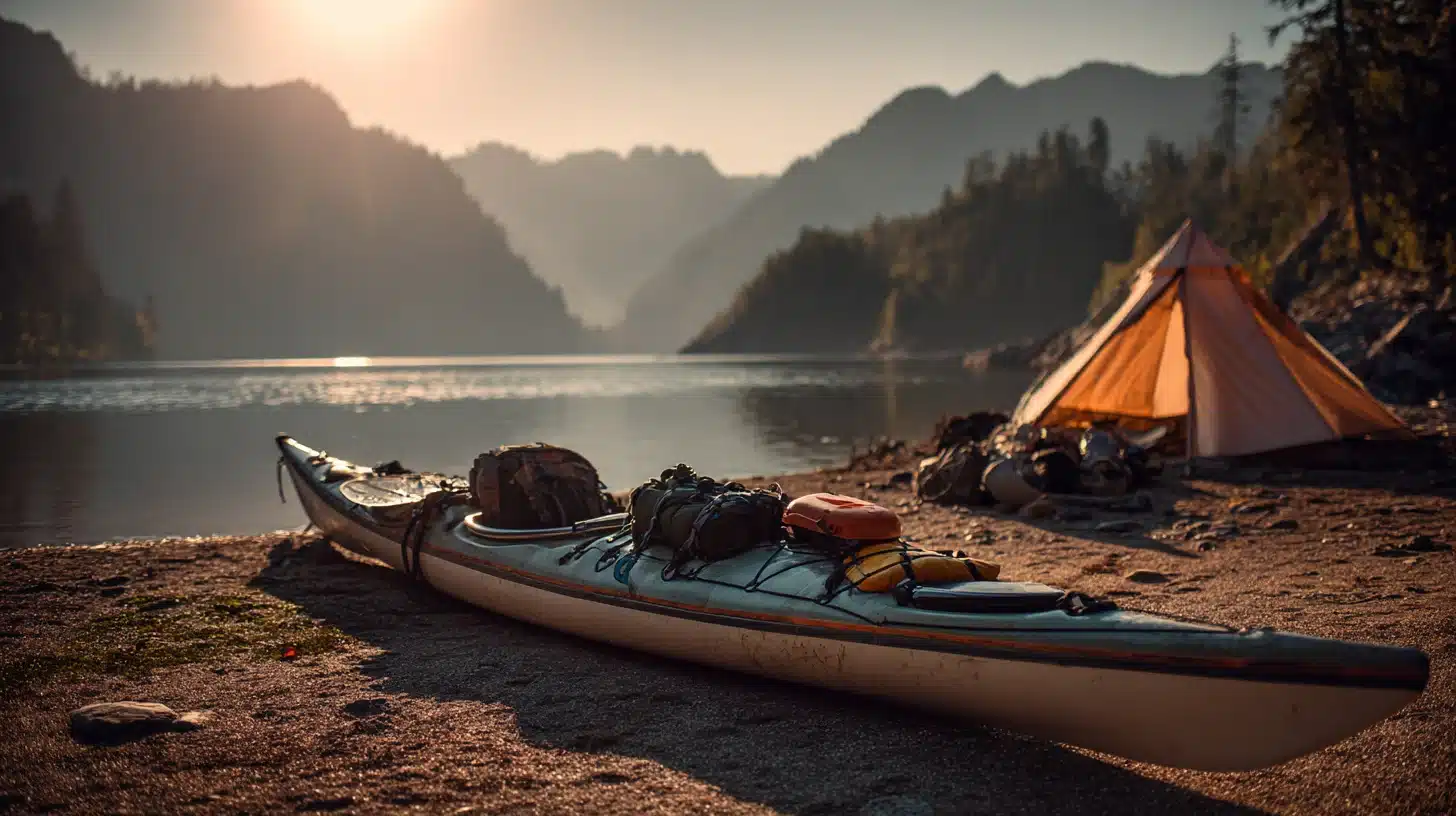
Kayak camping sounds simple until you start packing. I remember laying everything out and thinking, “That should fit.” Then I stood next to the kayak and realized the gear pile was doing me no favors.
With car camping, you can get away with a few extras. With kayak camping, every item has to earn its place. It needs to fit, stay dry, and actually help once you reach camp.
I’ve learned that the goal is not to pack as little as possible. It is to pack with more thought.
When your sleeping gear, food, safety items, and dry clothes all have a proper place, the whole trip feels calmer before you even leave shore.
What Makes Kayak Camping Gear Different?
Kayak camping sits somewhere between backpacking and regular camping, but it comes with its own rules, especially when you understand the kayak basics.
- Space is tight, especially inside storage hatches
- Waterproofing isn’t optional
- Gear needs to be compact and easy to pack
- Balance matters more than weight alone
You’ll quickly learn that bulky gear is your biggest problem, not heavy gear.
Pro Tip: If an item doesn’t compress or serve more than one purpose, it’s worth reconsidering.
Choosing the Right Camping Kayak
Before gear, it helps to know what kind of kayak you’re working with.
Touring Kayaks:
These are built for longer trips. They track well on wet surfaces and usually have sealed storage compartments. If you’re planning multi-day camping, this is the easiest setup to work with.
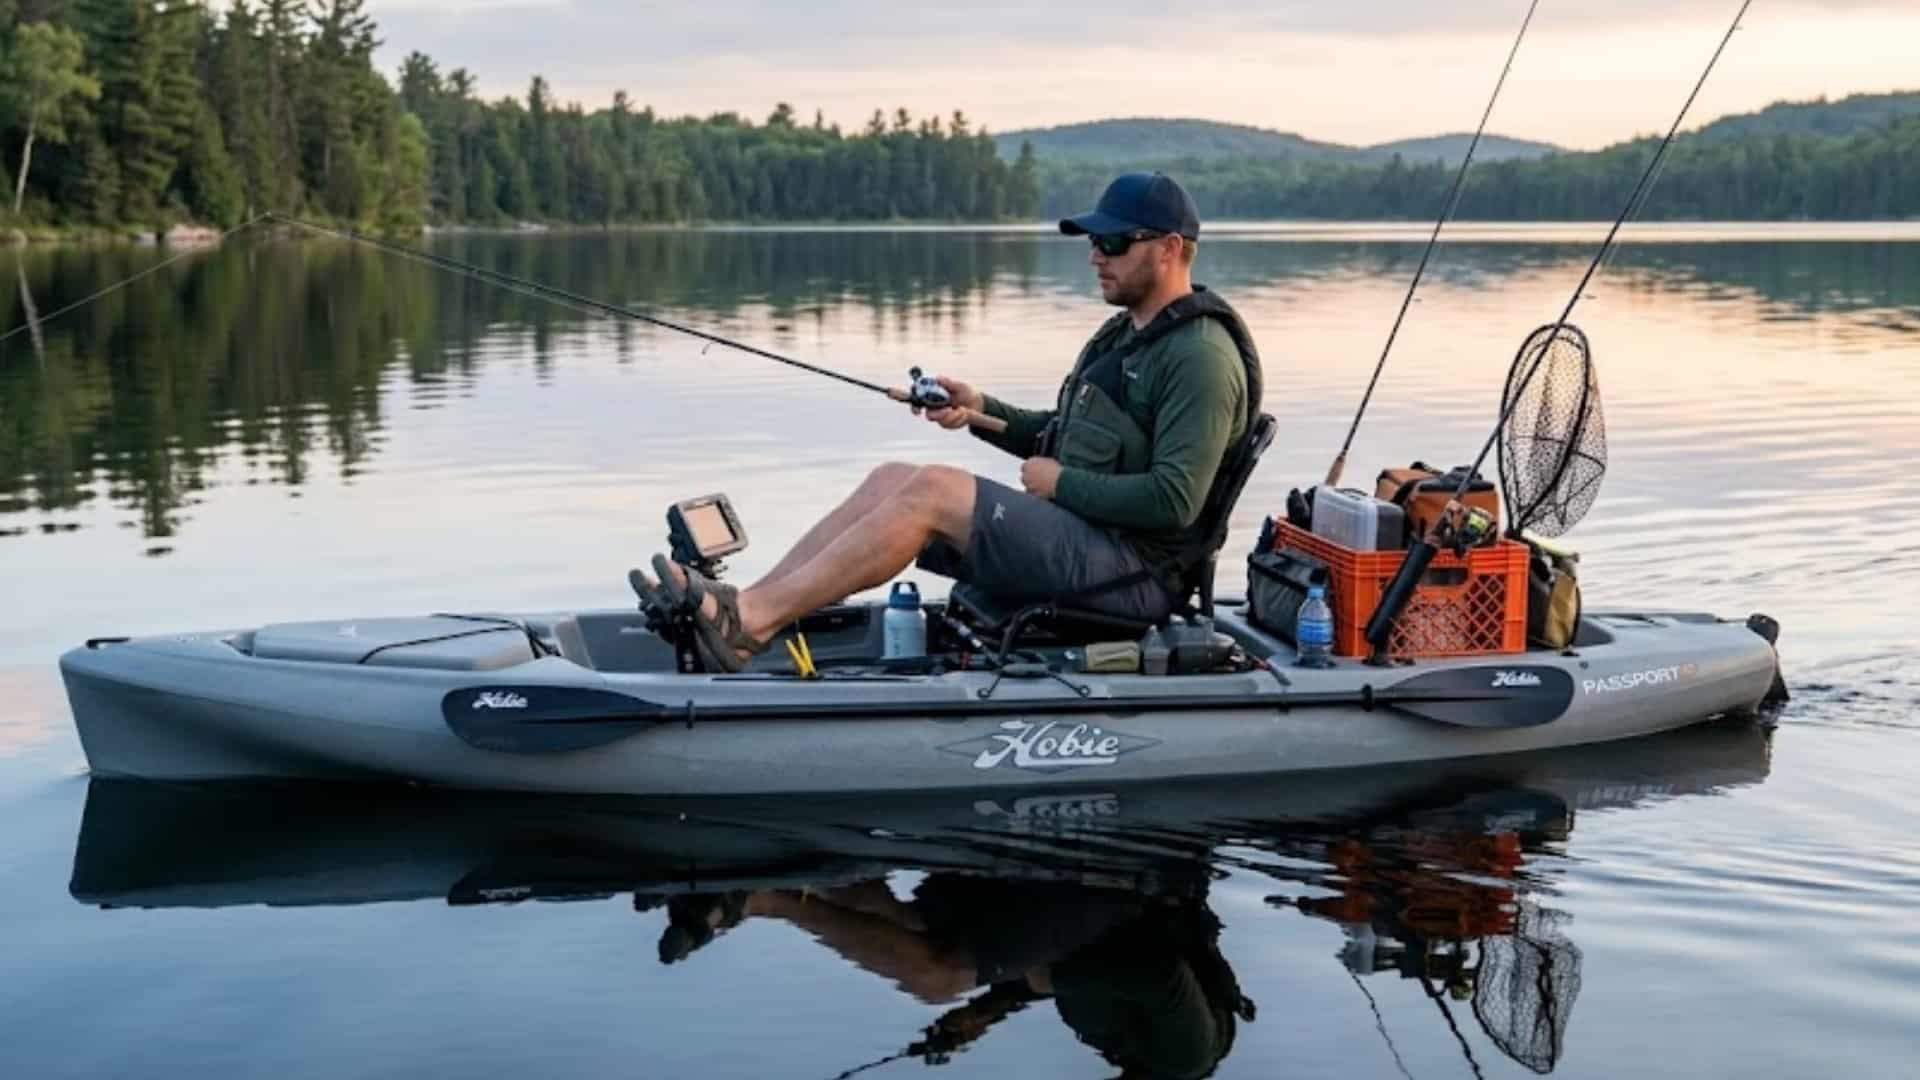
Sit-on-Top Kayaks:
More open and easier to get in and out of. Great for short trips, but storage is limited, and gear is more exposed.
Inflatable Kayaks:
Good for beginners or travel. Easy to transport, but you’ll need to be more careful with packing and weight distribution.
What to Look For
- Storage hatches (front and rear)
- Enough weight capacity for you + gear
- Stable design, especially for beginners
- Deck rigging to secure items
Pro Tip: Always check how wide the hatch openings are. Some gear fits in theory, but not through the opening.
Complete Kayak Camping Gear List
Breaking gear into systems makes packing much easier. You can adjust each section based on your trip length and conditions.
1. Shelter & Sleeping System
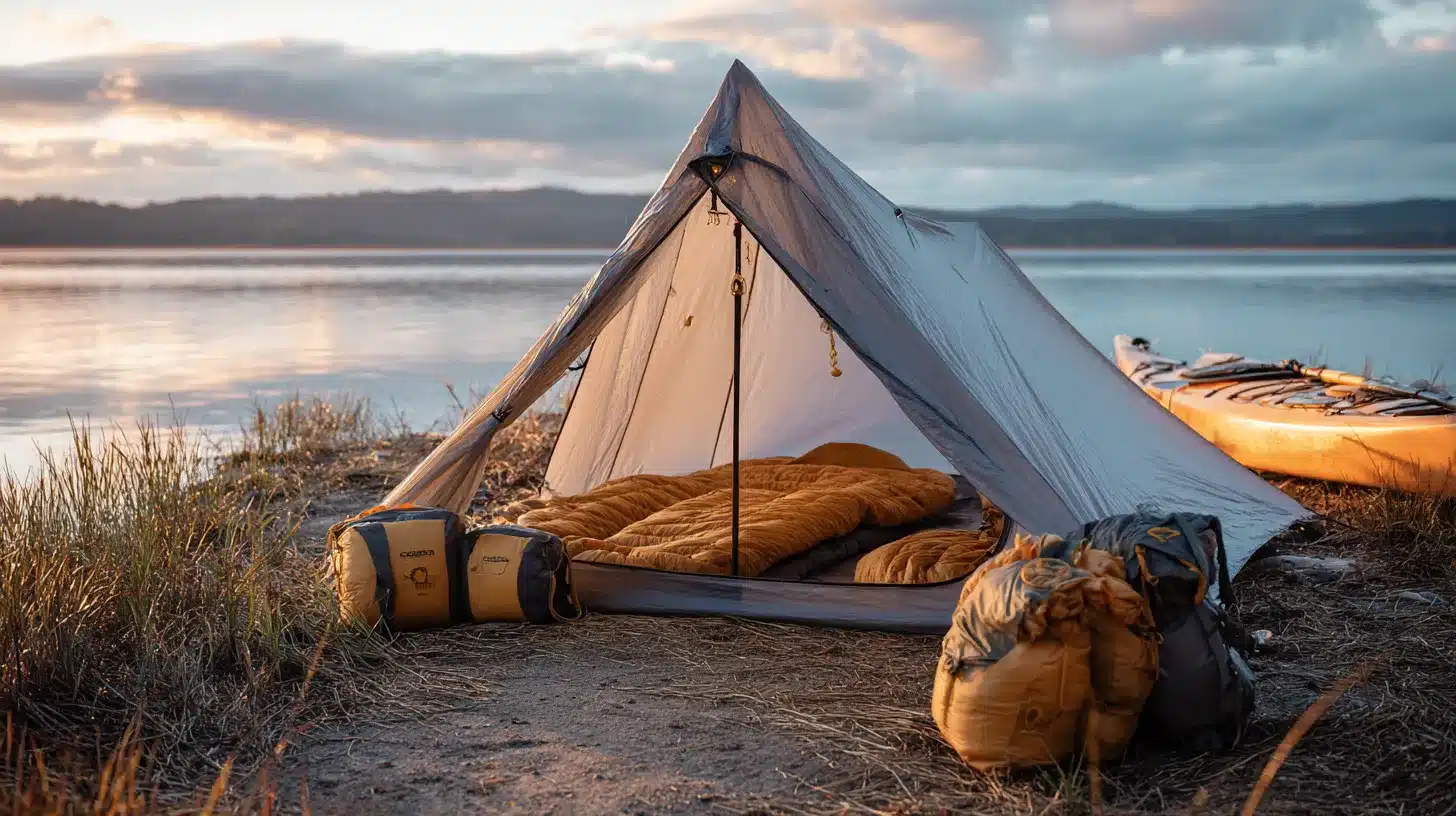
Your shelter and sleeping setup should be compact, dry, and easy to set up and take down at the end of the day. After paddling, unloading, and setting up camp, you will not want to fight with bulky gear or a complicated tent.
- Lightweight tent: Choose a small tent that packs down well and fits your kayak storage space.
- Sleeping bag: A synthetic sleeping bag is a safer choice for damp trips because it handles moisture better than down.
- Sleeping pad: Pick a compact pad that gives enough comfort without taking up too much room.
- Ground tarp: A small tarp helps protect the tent floor from wet ground, sand, and rough surfaces.
A smaller tent is usually easier to pack, faster to set up, and less frustrating when the weather changes. Make sure your sleeping bag and clothes stay in dry bags, because one wet night can make the whole trip harder.
Pro Tip: Test packing your tent, poles, sleeping bag, and pad before your trip. Some tent poles do not fit inside kayak compartments unless packed separately.
A good sleeping system does not have to be fancy. It just needs to keep you dry, warm, and rested for the next day on the water.
2. Kitchen & Cooking System
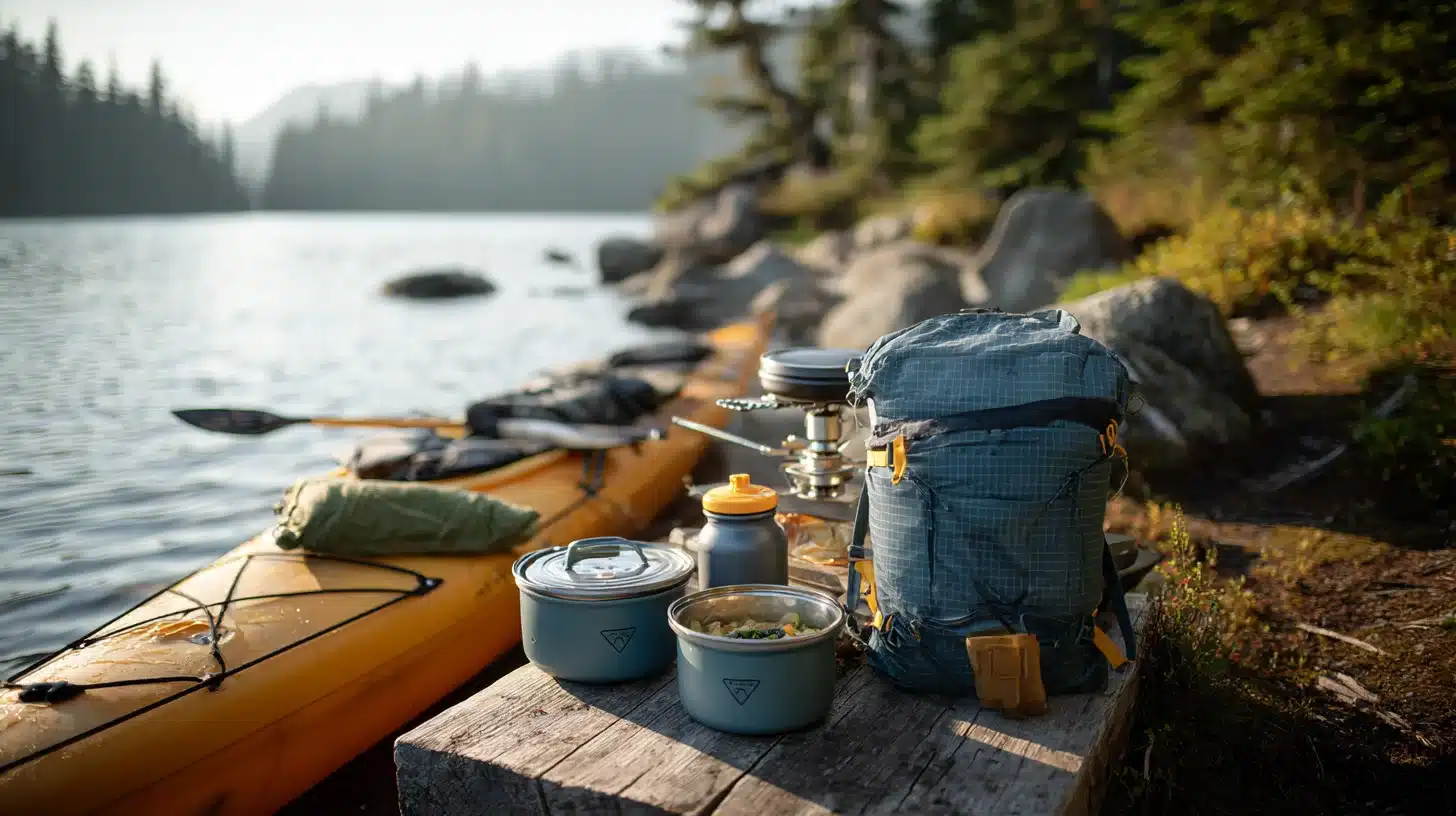
Your kayak camping kitchen should be small, simple, and easy to clean. You are not trying to cook big camp meals here. You need warm food, safe drinking water, and a setup that doesn’t take up too much space in your pack.
- Compact camp stove + fuel: Choose a small, stable, easy-to-light stove that packs easily.
- Nesting cookset: A pot, cup, and lid that fit together will save space inside your dry bag.
- Spork or small utensil set: Keep utensils minimal so you are not carrying extras you will not use.
- Lighter or matches: Pack more than one fire-starting option and keep them in a waterproof bag.
- Water containers: Use collapsible containers if space is tight.
- Water filter or purifier: This helps reduce the amount of water you need to carry from the start.
Water is often the heaviest thing in your kayak, so filtering as you go can make packing much easier. Keep your cooking setup in one bag so you don’t have to dig through several compartments at camp.
Pro Tip: Plan meals that use the same pot and need little cleanup. It saves space, fuel, water, and time.
A good cooking setup should feel easy after a long paddle. Keep it basic, organized, and built around meals you already know how to make.
3. Food Storage & Meal Planning
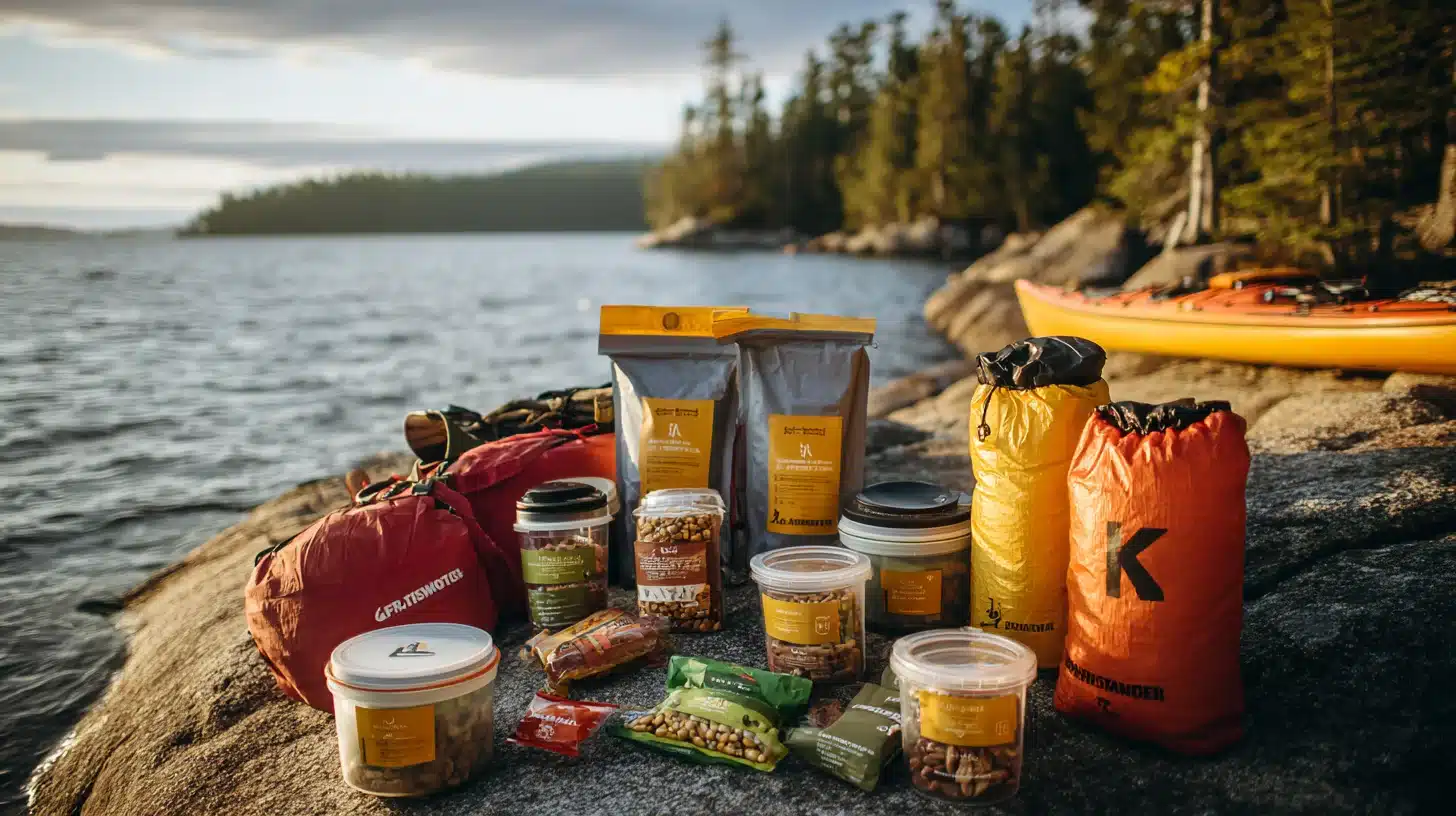
Food can take up more space than you expect, so keep it simple, dry, and easy to sort. Plan meals before the trip, then pack only what you need for each day. This helps avoid loose packaging and wasted space.
- Dry bags or sealed containers: Keep meals protected from splashes, rain, and damp storage areas.
- Easy-to-cook meals: Choose simple meals that need little prep and use minimal cookware.
- Snacks you can access while paddling: Keep energy bars, trail mix, or dried fruit within reach.
- Optional soft cooler: Useful for short trips if you want to keep food fresh on the first day.
If you are camping in an area with common wildlife, check the local rules for bear-resistant or animal-proof food storage before you go.
Pro Tip: Pre-pack meals into daily portions at home. It cuts down on clutter and makes cooking faster.
A little meal planning keeps camp calmer, saves space in the kayak, and helps you avoid carrying food you will not use.
4. Safety & Emergency Gear
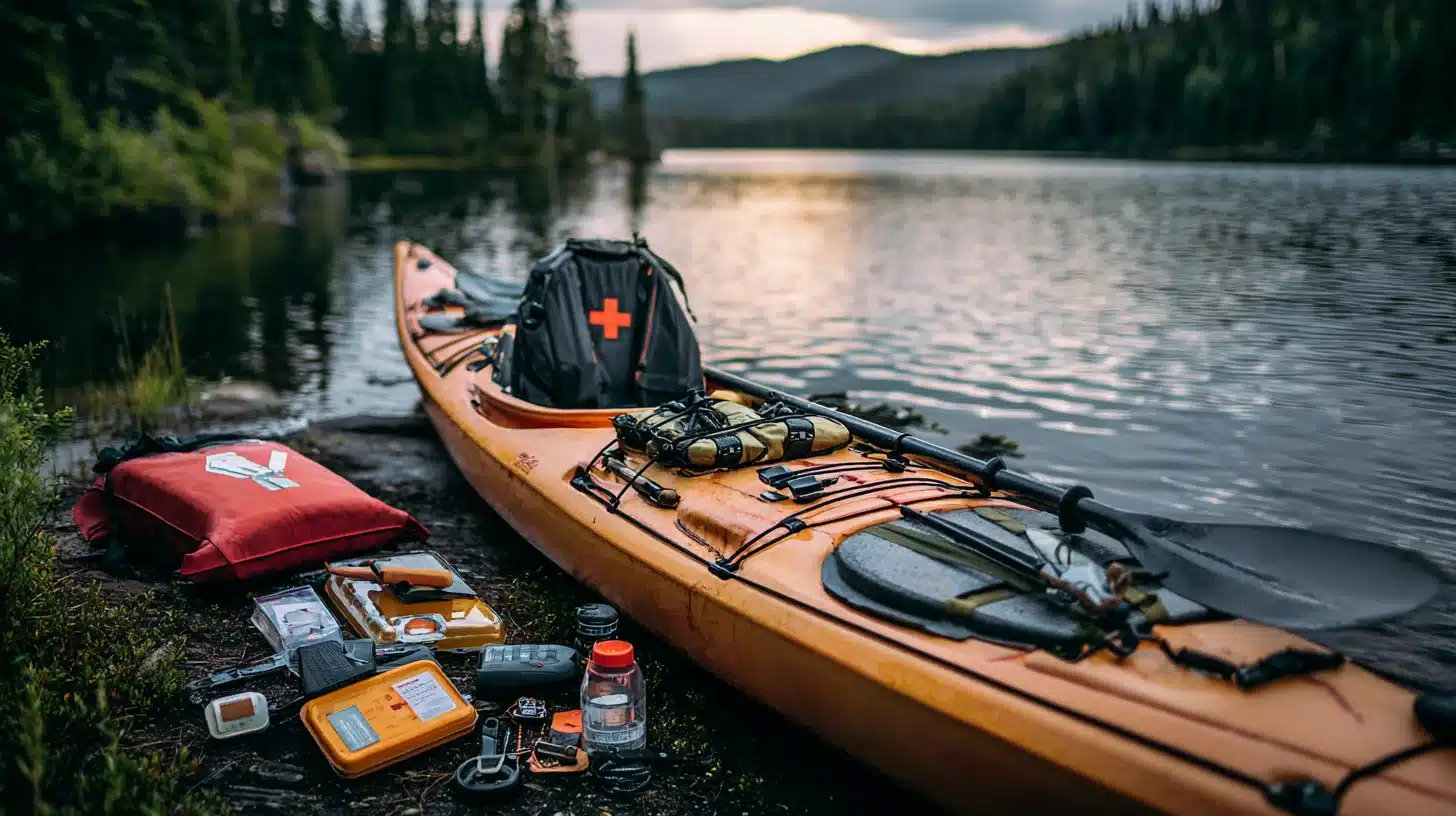
Safety gear is not the place to save space by leaving things behind. Weather, currents, fatigue, or one bad landing can turn a simple trip into a serious problem. Pack the basics and know where they are.
- PFD: Wear a properly fitted life jacket anytime you are on the water.
- First aid kit: Keep it small, waterproof, and stocked for cuts, blisters, and basic injuries.
- Bilge pump: Helps remove water from your kayak if it starts filling.
- Paddle float: Useful for self-rescue if you capsize.
- Whistle: A simple way to signal for help.
- Knife or multi-tool: Helpful for rope, repairs, and small camp tasks.
- Emergency communication device: Important for remote areas with poor phone signal.
Even calm water can change quickly, so your safety gear should be easy to reach.
Pro Tip: Keep safety gear accessible, not buried deep inside a dry bag.
Good safety gear may not get used often, but when you need it, you need it fast.
5. Maps & Tech
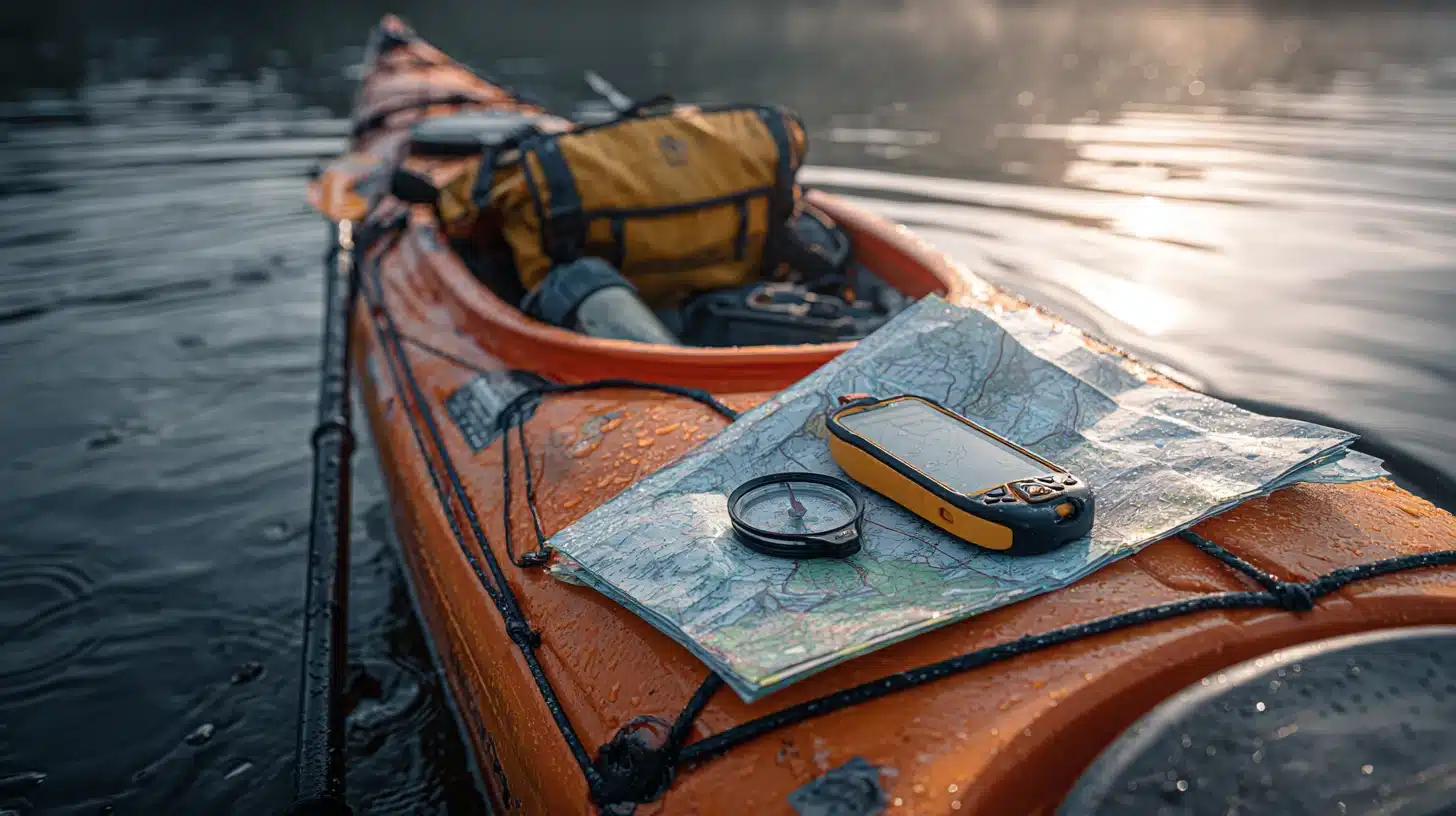
Maps and tech gear should stay simple, dry, and easy to reach. A phone is useful, but it should not be your only plan. Batteries die, screens get wet, and the signal can disappear once you are away from busy areas.
- Waterproof map: Helpful when your phone loses signal or power.
- Compass or GPS: Gives you a reliable backup for direction and route planning.
- Phone in waterproof case: Protects your phone from splashes, rain, and accidental drops.
- Power bank: Keeps your phone, GPS, or small devices charged during longer trips.
Even if you trust your phone, carry at least one non-battery backup.
Pro Tip: Download offline maps before your trip and keep your phone in airplane mode to save battery.
Good navigation gear helps you stay aware of where you are, where you are going, and how to get back safely.
6. Clothing & Personal Items
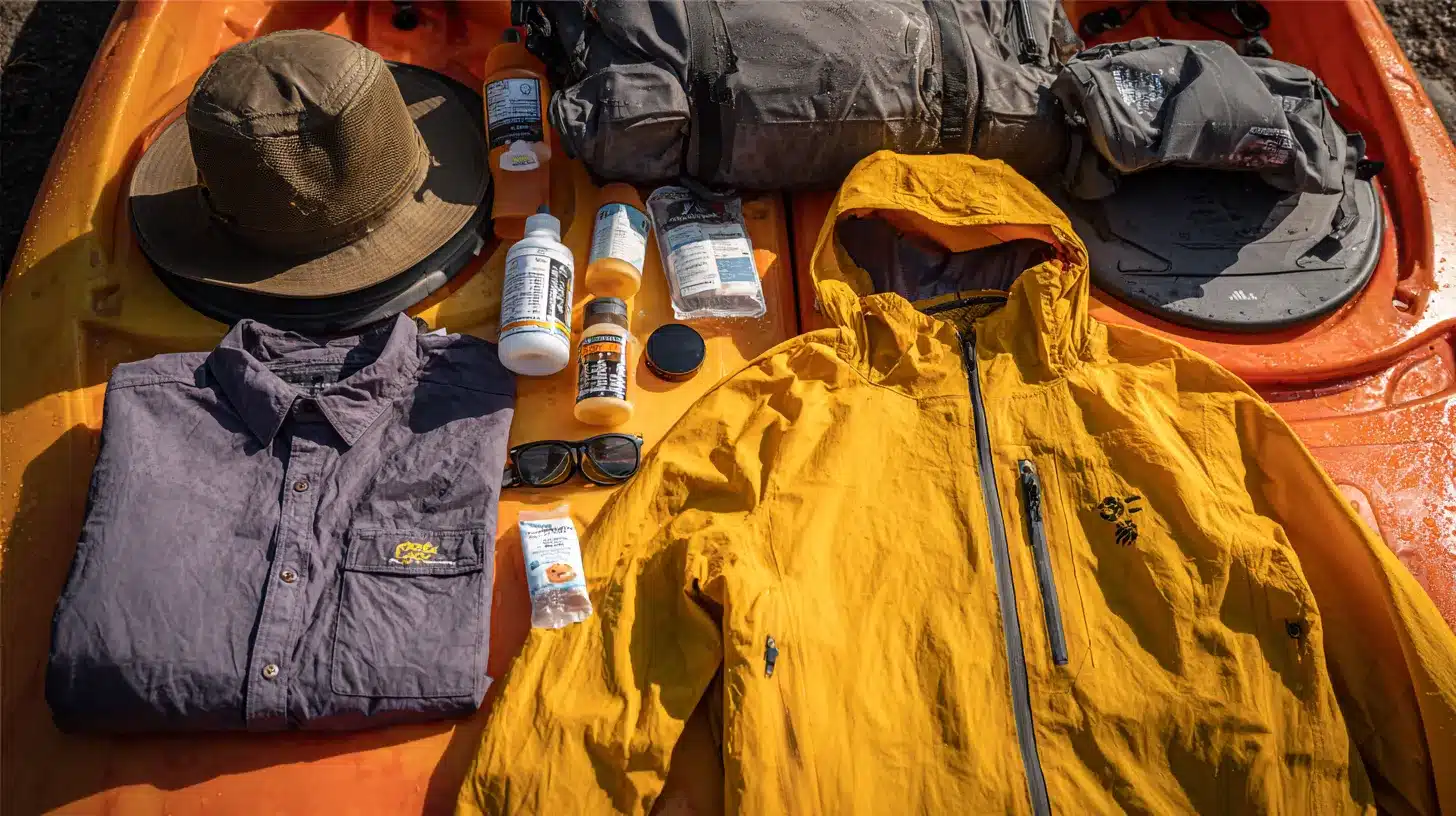
Clothing for kayak camping should be simple, quick-drying, and packed for real weather, not perfect weather. You do not need several outfit changes. You need dry layers, sun protection, and basic personal items that keep you comfortable.
- Extra set of clothes: Pack one dry set for camp or sleeping.
- Rain jacket: Helps with wind, rain, and cooler evenings.
- Hat and sunglasses: Protect you from the sun glare on the water.
- Sunscreen: Easy to forget, but important during long paddling hours.
- Insect repellent: Useful around camp, especially near still water.
- Basic hygiene items: Keep it small with only what you truly need.
You do not need many extras, just enough to stay dry and comfortable.
Pro Tip: Pack clothes in separate dry bags so one leak does not ruin everything.
A smart clothing setup keeps you comfortable without filling your kayak with items you may never wear.
7. Dry Storage & Organization
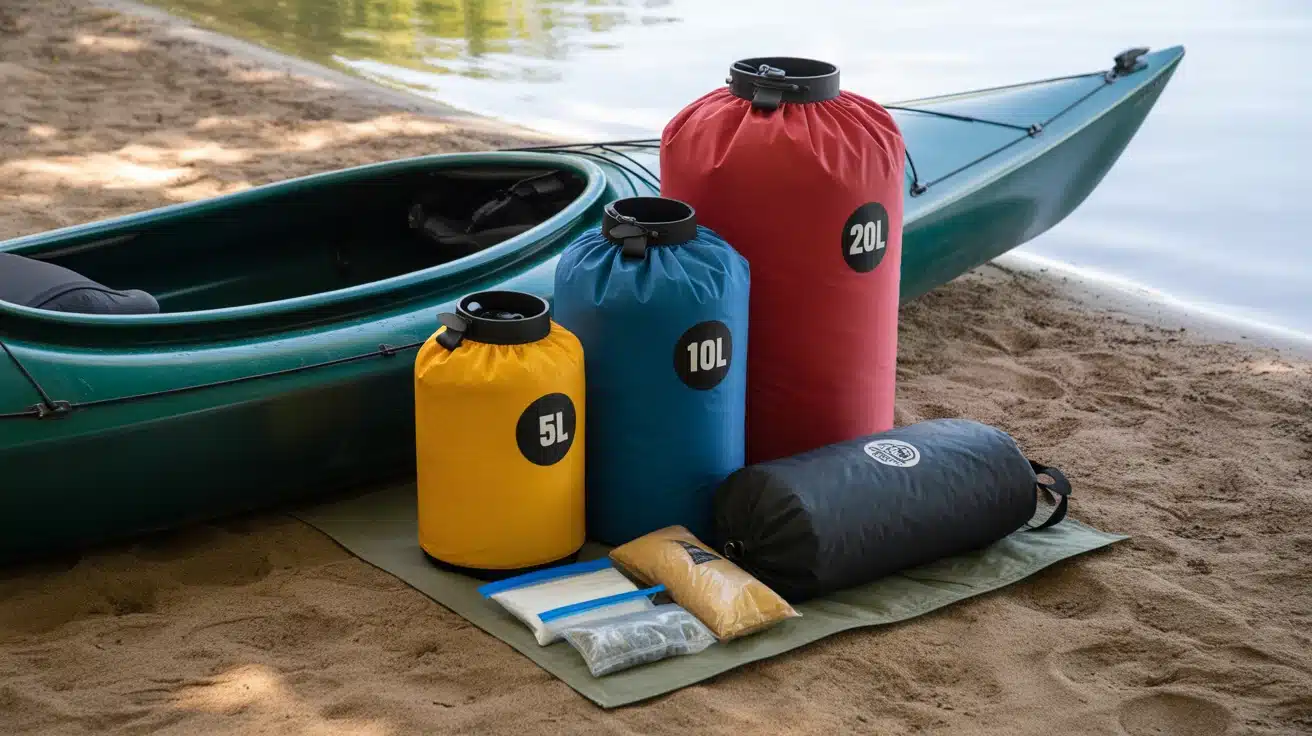
Dry storage is what keeps the rest of your kayak camping gear usable. Wet clothes, damp food, or soaked bedding can ruin a trip in a hurry. A simple storage setup helps protect your gear and keeps everything easier to find.
- Dry bags: Use different sizes (5L, 10L, 20L, 30L) for clothes, food, sleeping gear, and electronics.
- Compression sacks: Great for bulky items like sleeping bags or extra layers.
- Ziplock bags: Useful for small items like matches, toiletries, snacks, or chargers.
Organization makes a big difference when you are tired, hungry, or setting up camp in low light.
Pro Tip: Use color-coded dry bags so you can find things quickly without unpacking everything.
Good storage keeps your kayak cleaner, your gear drier, and your camp setup much smoother.
8. Camp Comfort & Extras
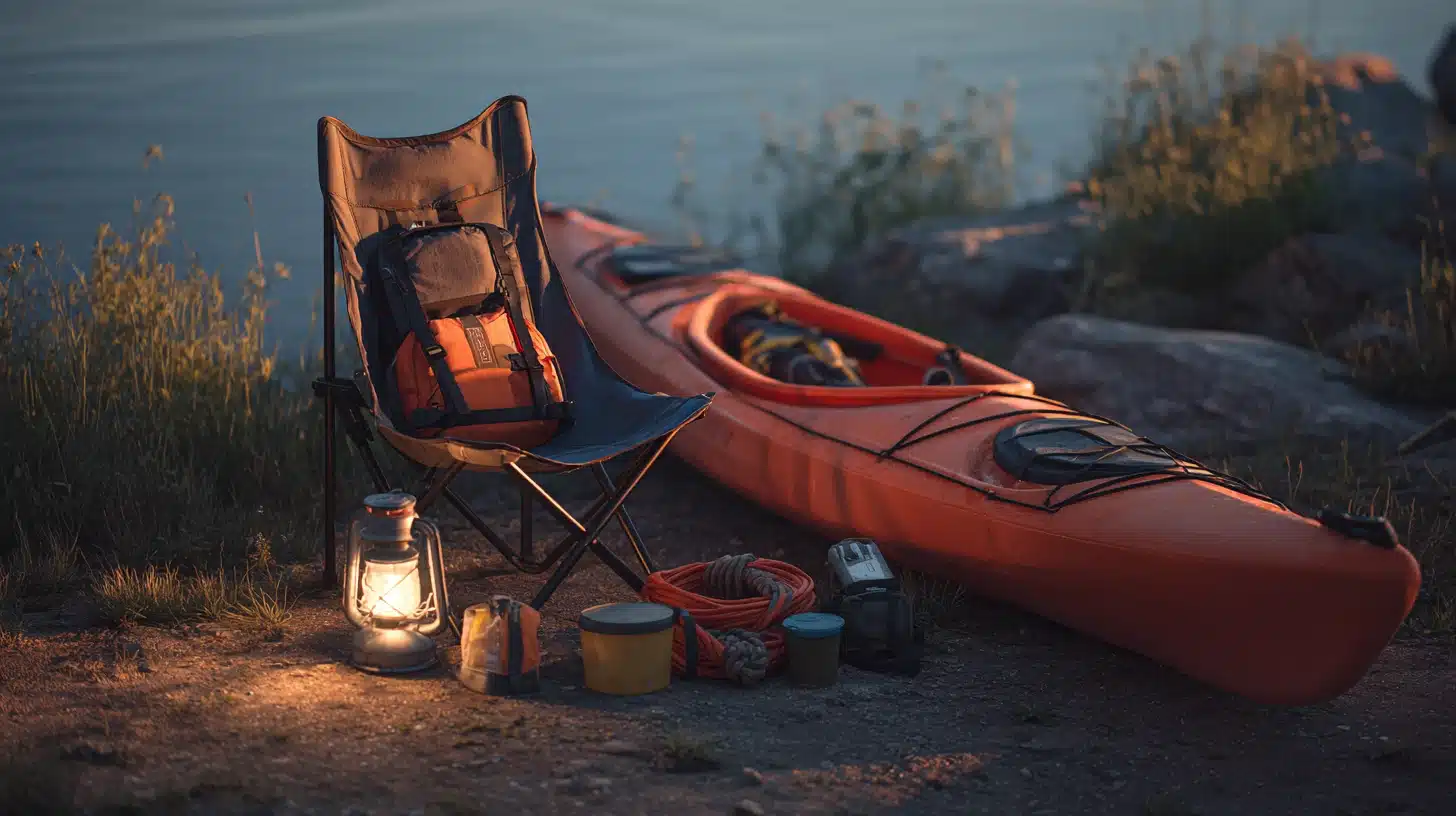
Camp comfort items are not must-haves, but they can make the evening feel much easier after hours of paddling. Keep this section light and practical. Only bring extras that help with rest, lighting, repairs, or small camp jobs.
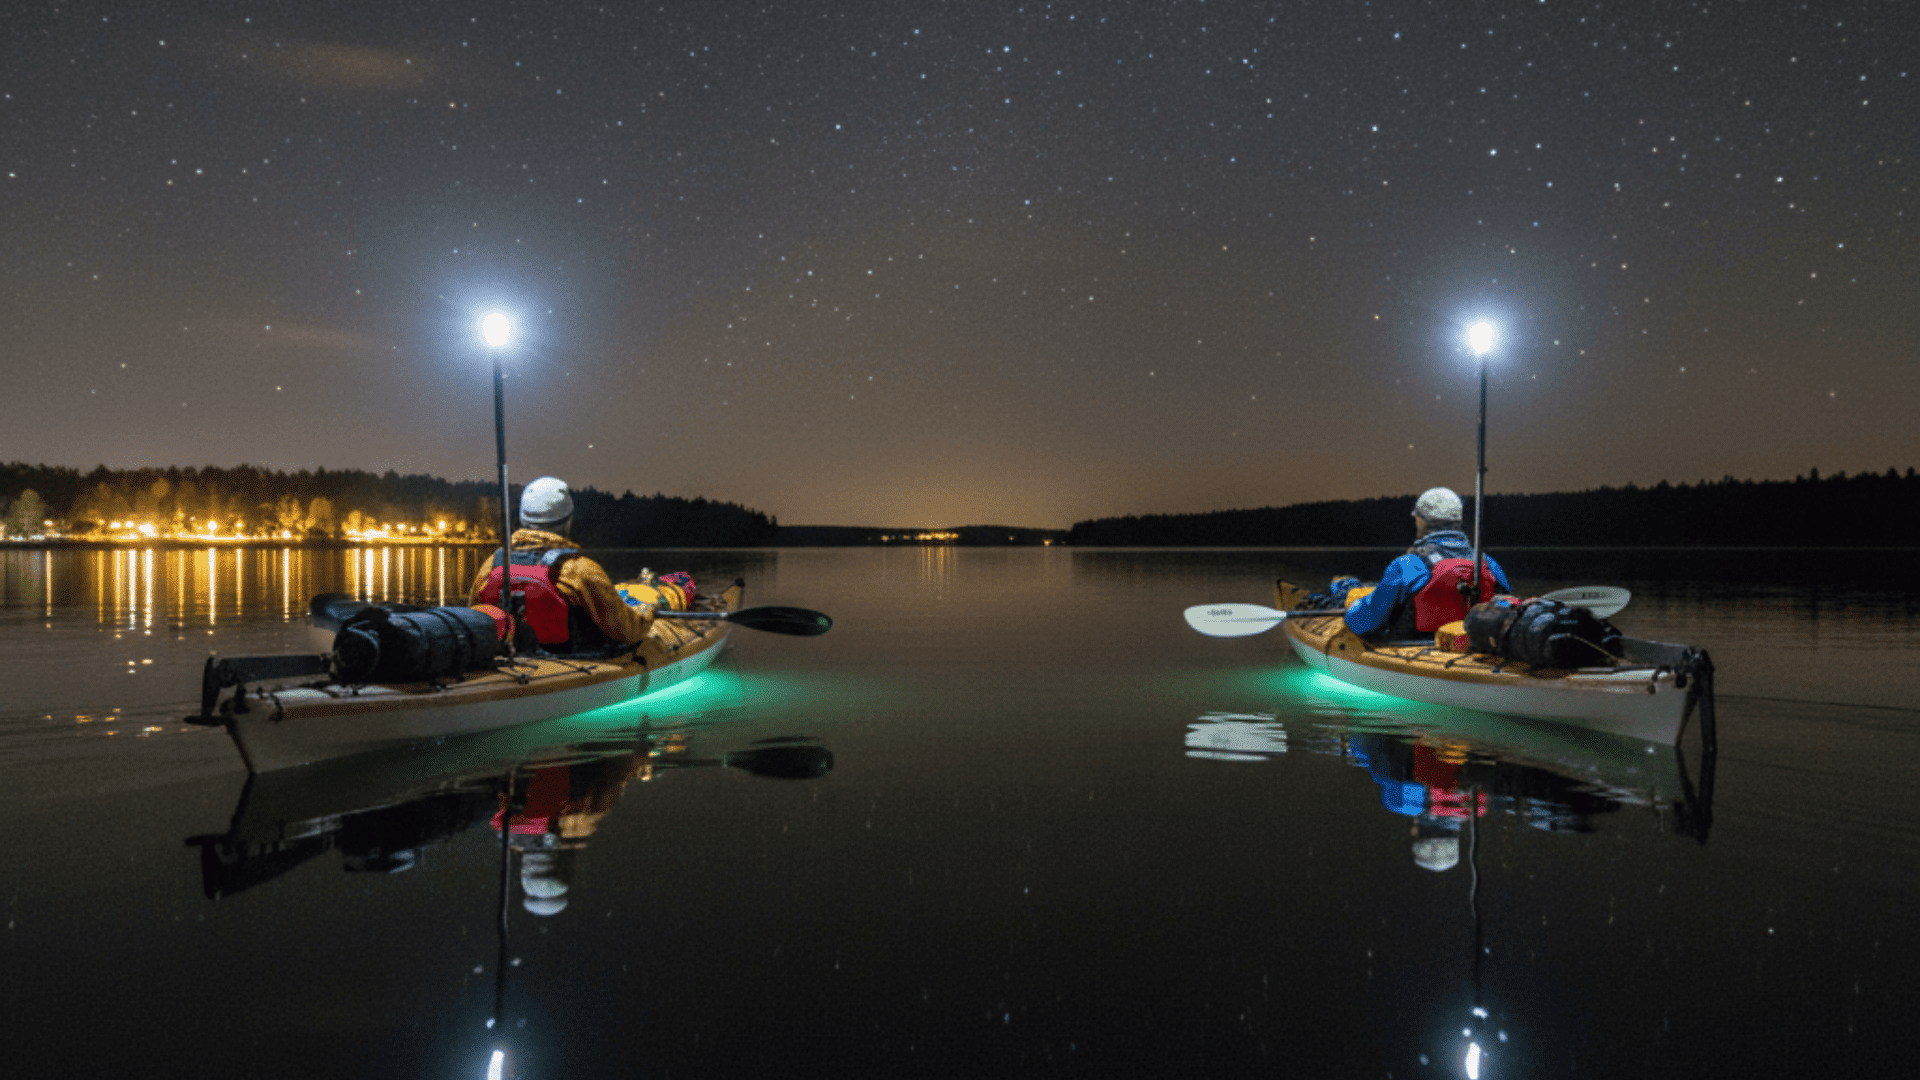
- Headlamp or lantern: Helps with cooking, organizing gear, and moving around after dark.
- Small camp chair or sit pad: Gives you a dry, comfortable place to sit.
- Repair kit: Useful for small gear fixes, kayak issues, or damaged equipment.
- Extra cord or rope: Handy for hanging gear, tying items down, or setting up a tarp.
Pro Tip: Choose comfort items that pack small and serve more than one purpose.
The right extras can make camp more comfortable without turning your kayak into a storage problem.
9. Best Kayaking Accessories

The right accessories make your kayak easier to handle, pack, and use during the trip. You do not need every add-on, but a few smart choices can save time and stress on the water, even when looking at kayak fishing gear.
- Paddle leash
- Deck bag for quick-access items
- Spray skirt for colder or rough water
- Waterproof phone case
- Kayak cart for transport
- Anchor system, if needed
Pro Tip: Keep the items you use often within arm’s reach while paddling.
Good accessories should solve real problems, not add clutter. Start with the basics, then add more as your trips get longer.
How to Pack a Kayak for Camping
Packing a kayak takes a little patience. I like to start with the heavier items first, placing them low and close to the center so the kayak feels steady on the water. Then I spread the rest between the front and back instead of loading one end too much.
Keep things you may need during the day, like snacks, rain gear, a map, sunscreen, or first aid, where you can reach them easily.
Everything else can go into dry bags inside the hatches. A balanced kayak paddles better, feels safer, and makes the trip less stressful.
Common Beginner Mistakes
Small packing mistakes can make kayak camping harder than it needs to be, especially when you are still learning.
- Packing too much gear
- Skipping proper dry bags
- Loading too much weight on one side
- Burying important items too deeply
- Not testing the gear before the trip
- Forgetting quick-access safety items
Start simple on your first trip, notice what worked, and adjust your gear list next time.
Quick Kayak Camping Checklist
Use this checklist before packing, so each system is covered without adding gear you do not really need.
| Gear System | What to Pack |
|---|---|
| Shelter | Tent, sleeping bag, sleeping pad |
| Cooking | Stove, fuel, cookware, water filter |
| Food | Prepped meals, snacks, dry storage |
| Safety | PFD, first aid kit, whistle, bilge pump |
| Navigation | Map, compass, phone |
| Clothing | Quick-dry layers, rain gear |
| Storage | Dry bags, compression sacks |
| Extras | Headlamp, repair kit, kayaking accessories |
A short checklist keeps packing simple, helps prevent forgotten items, and makes your kayak feel more organized on the water.
Final Thoughts
Kayak camping gets easier when you stop trying to bring everything and start packing with purpose. The right gear keeps you dry, fed, safe, and comfortable without overloading your kayak.
For your first trip, keep the route short and the setup simple, especially if you plan to visit the best kayaking spots. Notice what you used, what stayed packed, and what would have made camp easier.
That small bit of learning matters. Each trip helps you build a better system, so packing feels less stressful and the time on the water feels more enjoyable.
Frequently Asked Questions
How Do You Keep Gear from Smelling After Multi-Day Trips?
Rinse and dry gear quickly after trips, store loosely at home, and avoid sealing damp items inside bags for long periods.
What Time of Year is Best for Kayak Camping?
Late spring through early fall works best, when water conditions are safer, and the weather stays stable for longer paddling days.
How Do You Choose Campsites While Kayaking?
Look for flat ground, safe landing spots, wind protection, and access to fresh water while avoiding flood-prone or exposed areas.
How Do You Manage Waste During Kayak Trips?
Carry trash bags, pack out all waste, and follow local rules for human waste to protect water and campsites.