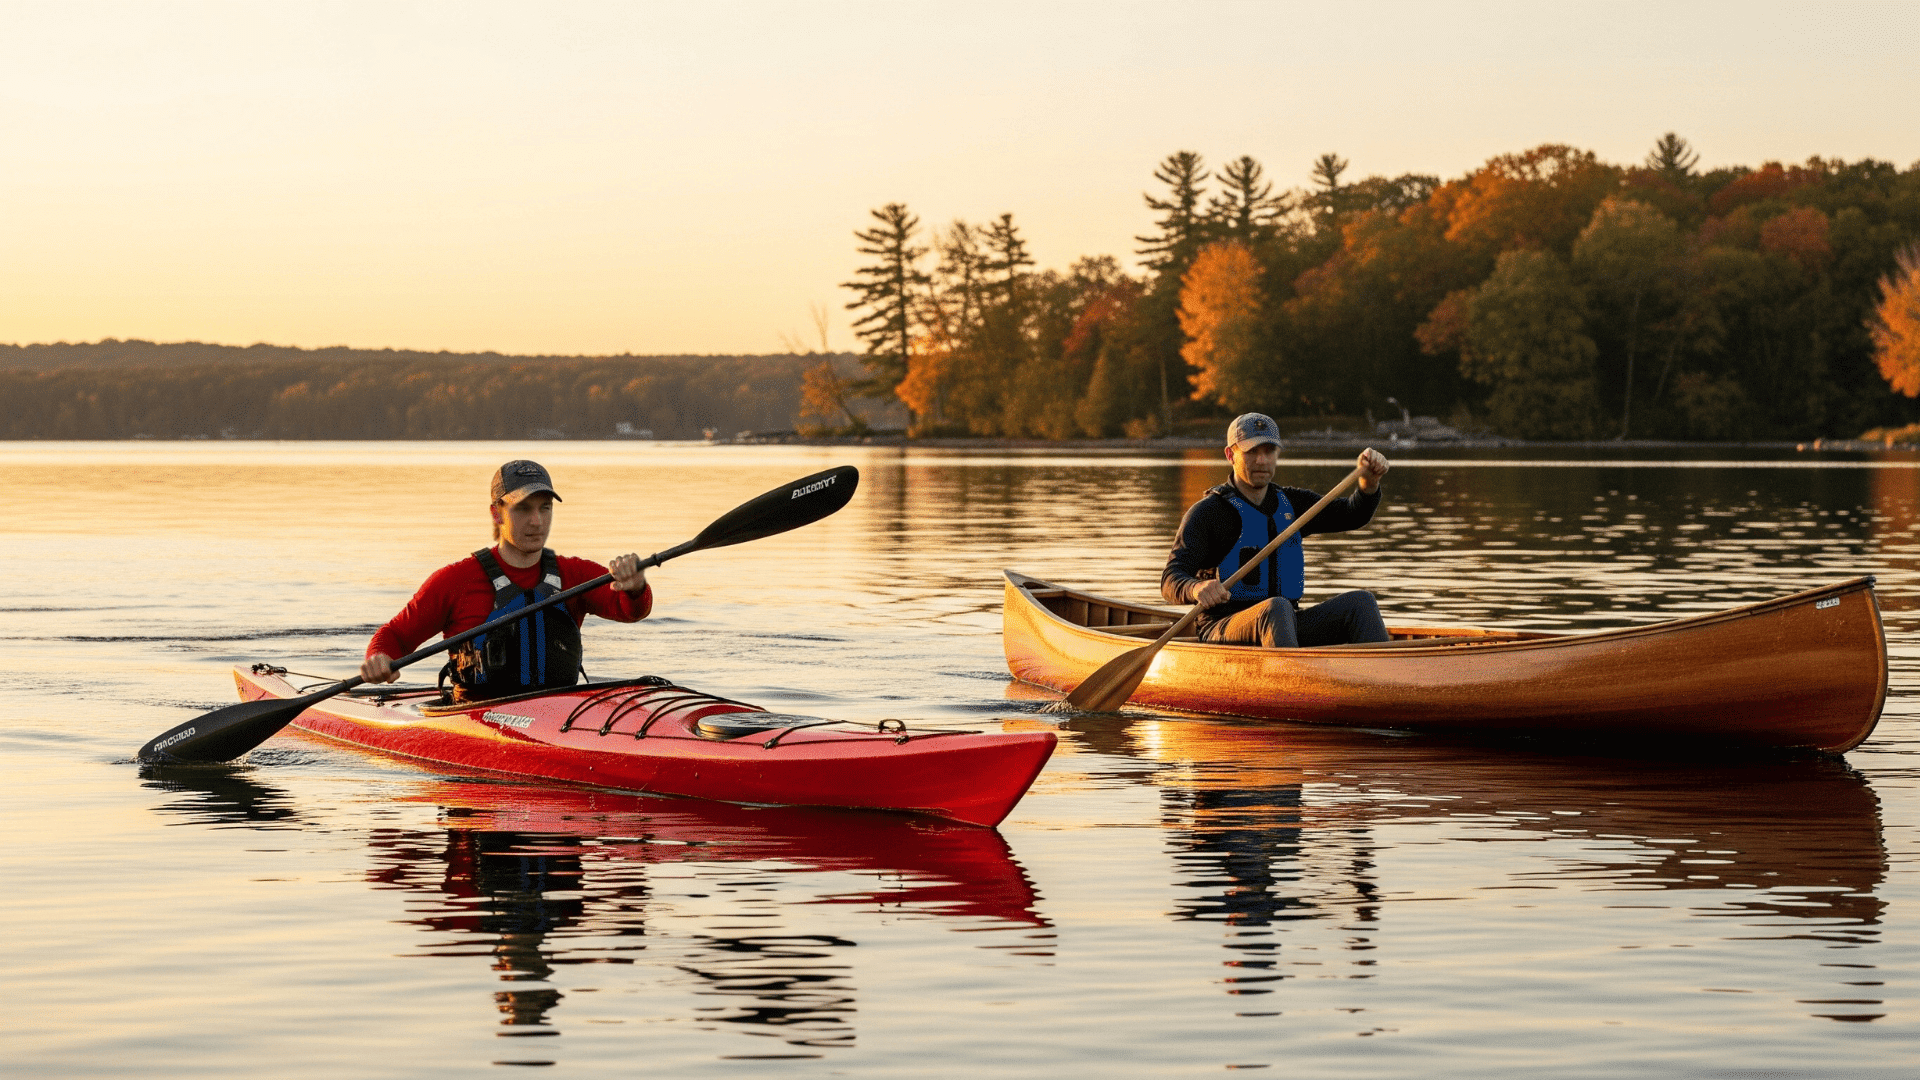
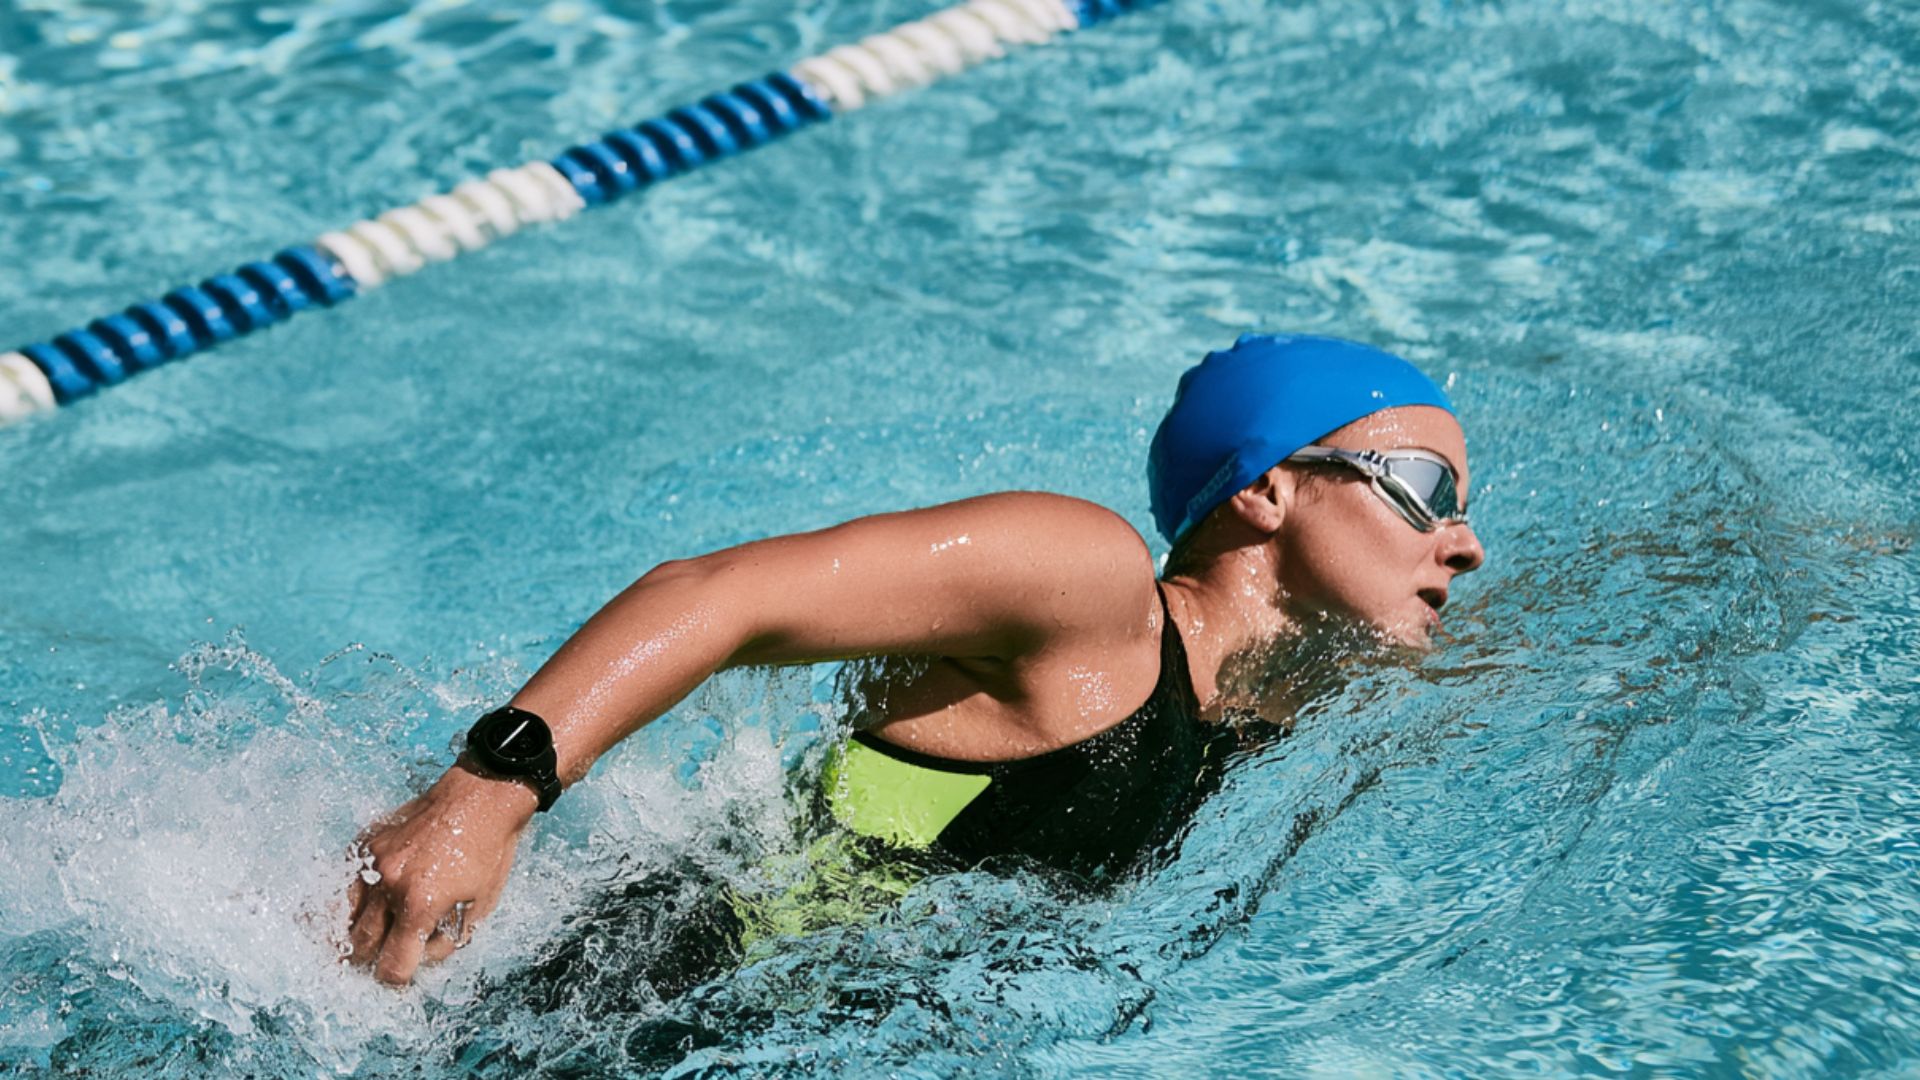
Side stroke swimming turns your body onto one side, pairing a scissor kick with two arms that work independently: one reaches and pulls, the other pushes and recovers.
Swimmers choose it because keeping the head above water makes breathing calm and unforced, unlike strokes that require timing each breath to an arm cycle.
Learning it well takes four building blocks: a level side-lying body position, an alternating arm pull, a scissor kick, and breathing that matches the glide.
Britannica counts side stroke among the earliest swimming strokes alongside breaststroke, noting it was eventually supplanted in competitive swimming as front crawl took over in the early 1900s. It never disappeared from open water, though.
Lifeguards, rescue swimmers, and long-distance athletes still rely on it today because a swimmer can flip to the other side mid-swim and rest a tired shoulder without stopping to float.
What Is Side Stroke Swimming?
Side stroke swimming keeps your body on one side as you glide through the water. Instead of both arms and legs moving the same way at the same time, one arm pulls while the other recovers, and the legs open and close in a scissor motion.
- Side body position: Keep your body straight and slightly tilted on one side to reduce drag and maintain balance in the water.
- Scissor kick: Move your legs forward and backward like scissors, then snap them together to create forward movement.
- Pull and glide arm movement: Pull water with your arms, bring them together, then glide briefly to move efficiently.
- Side breathing: Keep your head near the water’s surface so you can breathe comfortably without lifting your body.
Because it uses less energy than freestyle, lifeguards and swim instructors teach the sidestroke for water rescues and survival situations. Once you understand the four parts above, you’re ready to build the full sidestroke swimming technique step by step.
Side Stroke Swimming Benefits
Side stroke swimming provides a full-body workout while helping you build endurance and swimming efficiency.
The alternating arm movements and scissor kick engage the shoulders, arms, core, hips, and legs, making it useful for developing overall strength.
The side position can also help reduce resistance and conserve energy during longer swims. Regular practice improves coordination as you learn to time your arm strokes, kicking, and breathing together.
It also encourages controlled breathing and steady movement, which can help with open-water swimming. Like other swimming strokes, the side stroke offers a low-impact way to improve cardiovascular fitness while placing less stress on the joints.
How to Do the Sidestroke Swimming Technique Step by Step
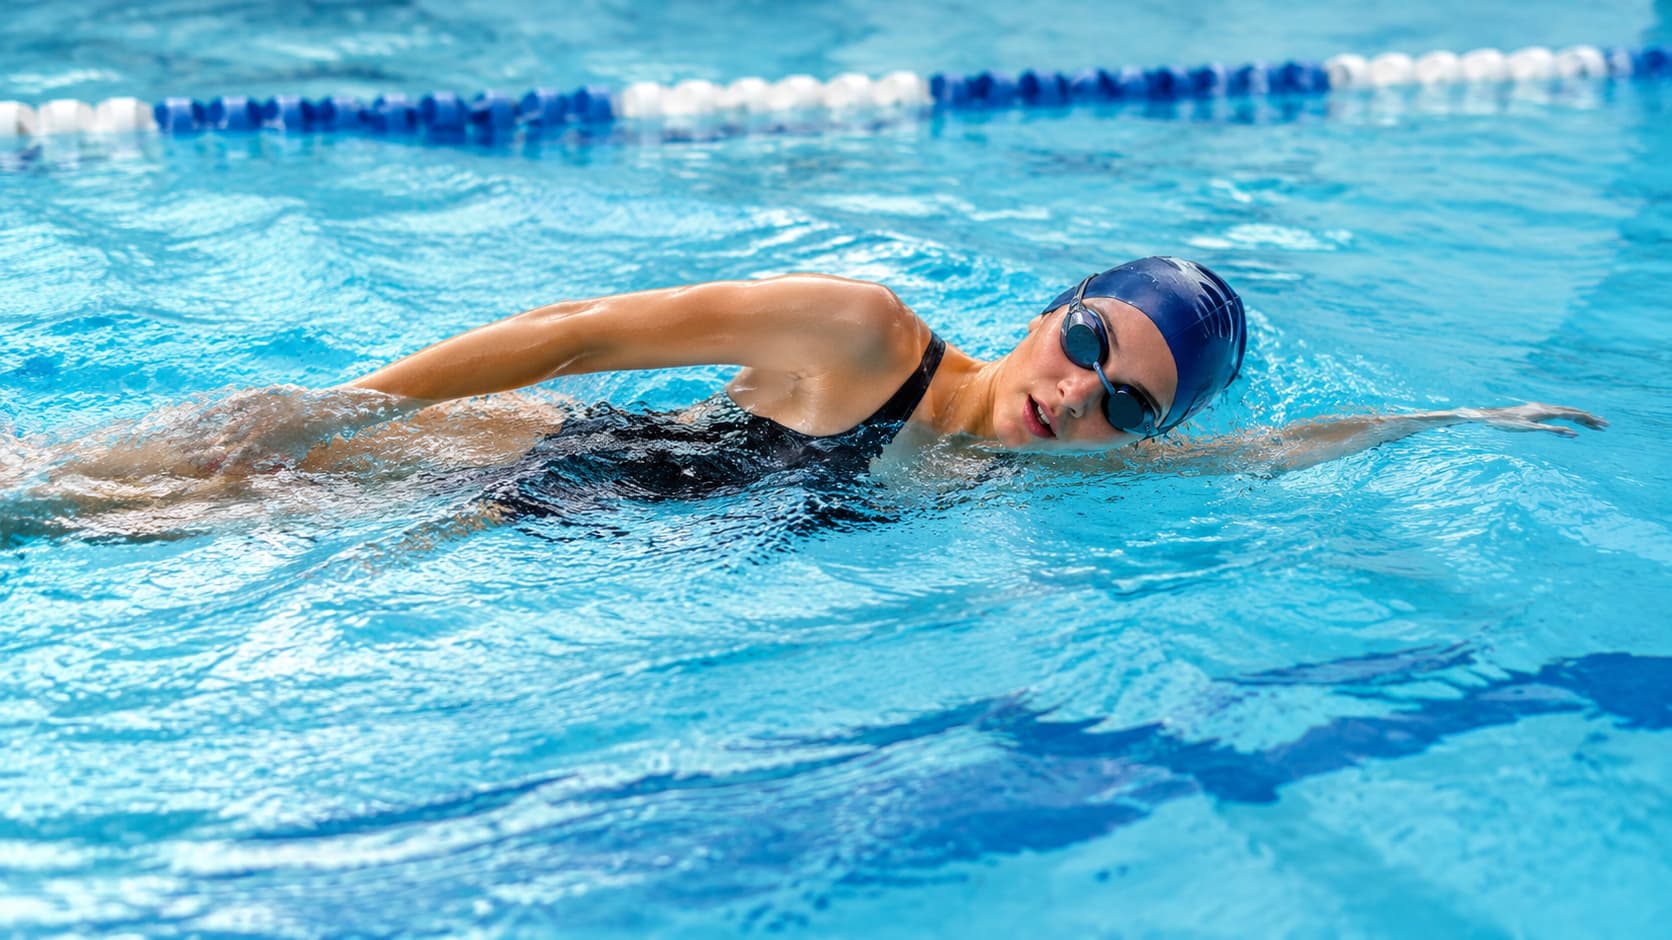
Here’s the full technique broken into four steps: body position, arm movement, the scissor kick, and breathing and timing. Practice each one on its own before putting them together.
Step 1: Get the Correct Body Position
Your body position decides how smoothly you move through the water. Keep your body straight from head to feet and roll onto one side, with one shoulder pointing toward the pool floor.
Keep your lower shoulder close to the surface and relax your neck. Keep your ear near the water while your face stays clear for breathing.
Pro Tip: Imagine you are lying straight on your side on a bed. Try to keep the same body line when you enter the water.
Step 2: Learn the Side Stroke Arm Movement
The side stroke uses two arms that work together but perform different actions. The front arm reaches forward and pulls water back toward your chest.
The back arm starts near your chest and pushes water past your hip. After both pulls, bring your arms together briefly in front of your body. This short pause creates the glide phase, helping you move farther with less effort.
Pro Tip: Do not rush the arm movements. A smooth pull followed by a short glide usually creates better speed than quick strokes.
Step 3: Practice the Scissor Kick
The scissor kick provides most of the forward power in side stroke swimming. Bend your knees slightly and open your legs in opposite directions, with one leg moving forward and the other moving backward.
Then snap both legs together to push water behind you. Keep your ankles loose so your feet can act like paddles and create more movement.
Pro Tip: Practice the kick slowly in shallow water first until you feel comfortable controlling both legs and creating a smooth, balanced movement.
Step 4: Add Breathing and Timing
Proper timing helps your arms, legs, and breathing work together smoothly. Breathe as your arms complete the pulling motion, then use the glide phase to relax before starting again.
Keep your head close to the surface instead of lifting it too high. The basic cycle is simple: pull with your arms, kick your legs together, glide forward, and repeat.
Pro Tip: Stay relaxed while practicing. Tension in your neck and shoulders can make the stroke feel harder.
Once these four steps feel natural individually, link them slowly in the water before adding speed.
Refer to the Rocket Swimming tutorial for beginner tips on balance, body position, breathing, and controlled movements. Apply the same approach to side stroke by practicing each movement separately before combining the full stroke.
Side Stroke Swimming Drills to Improve Your Technique
Drills break the stroke into smaller pieces, so you can fix one movement at a time instead of trying to correct everything at once.
1. One Arm Side Stroke Drill
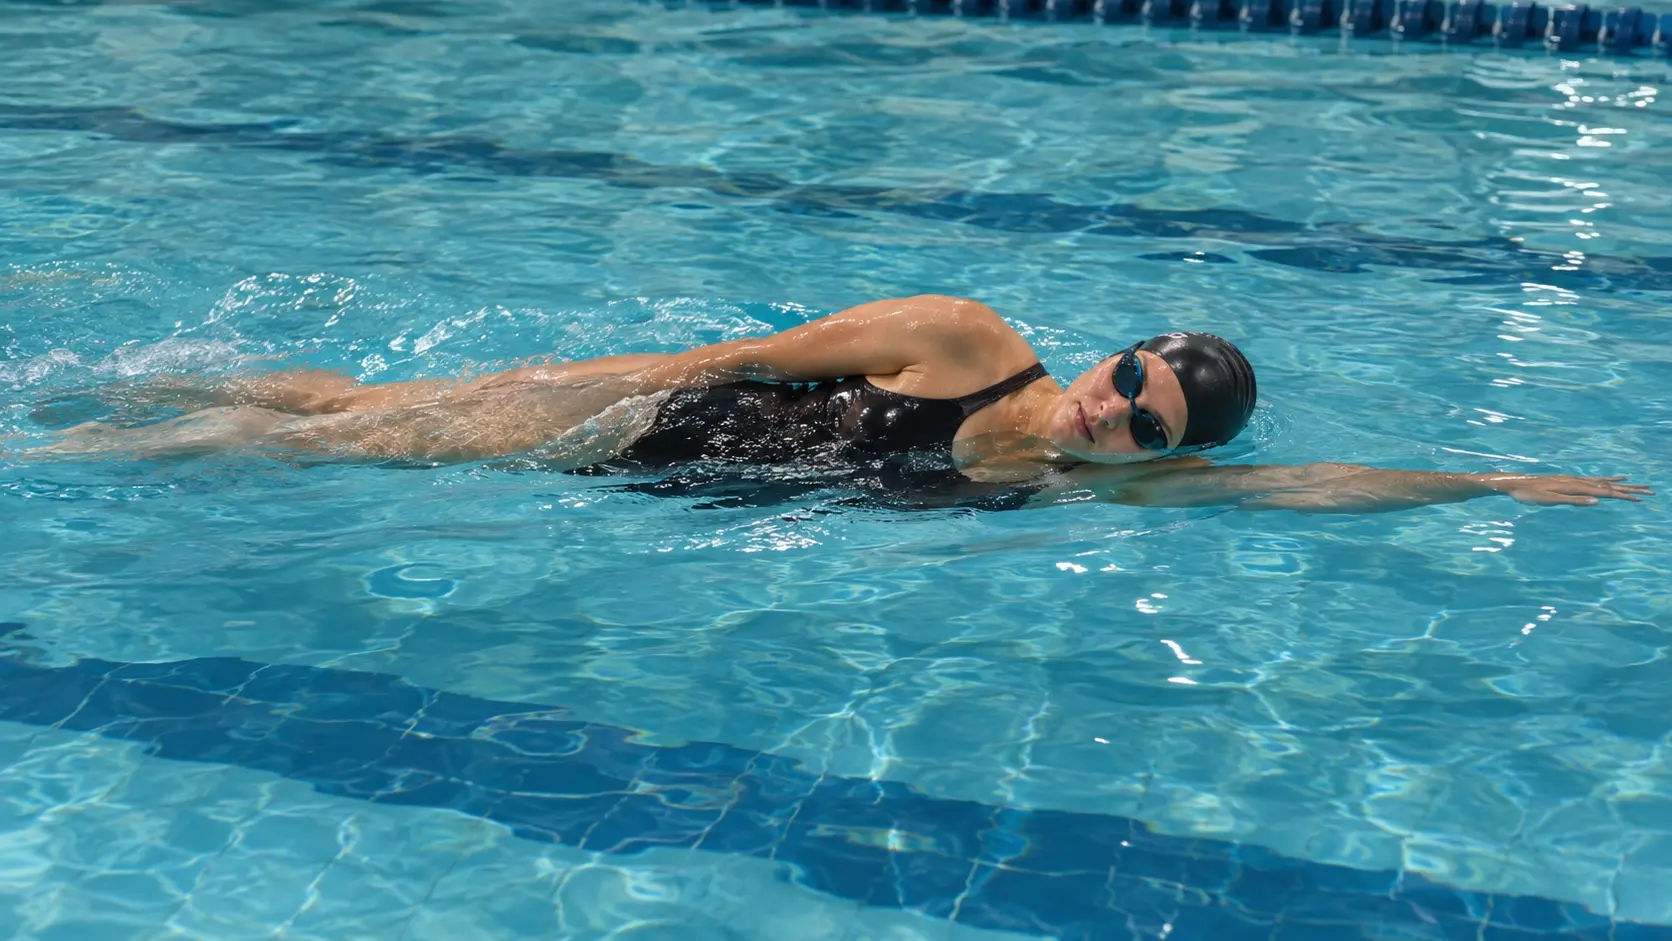
This drill helps you understand balance and body position while staying on your side. It removes the extra arm movement, making it easier to focus on keeping your body stable in the water.
- Extend one arm forward and keep it stretched.
- Use only your legs to move through the water.
- Focus on keeping your body balanced on its side without letting your hips drop.
After practicing this drill, you should feel more comfortable maintaining a straight body line before adding full arm movements.
2. Kick-Only Side Stroke Drill
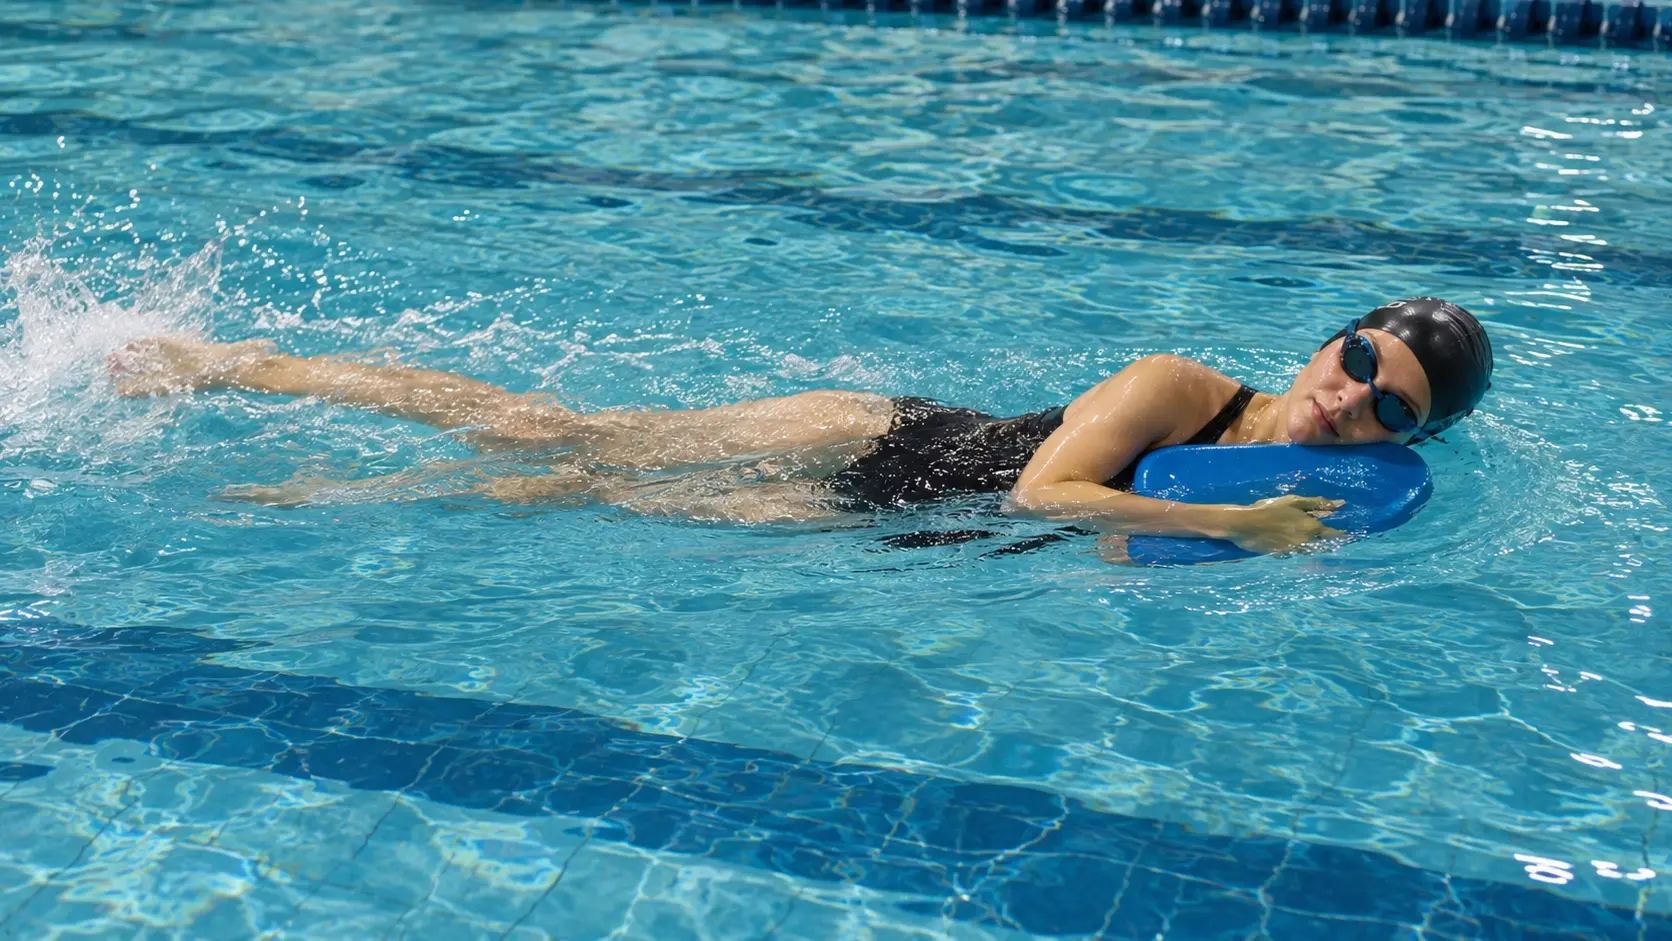
This drill focuses on the scissor kick, which creates most of the forward movement in side stroke swimming. Practicing the kick alone helps improve leg control and timing.
- Hold a kickboard against your chest or with your extended arm.
- Practice the scissor kick without using your arms.
- Repeat slowly to improve coordination and leg strength.
Once your kick feels natural, you can combine it with arm movements for a smoother stroke.
3. Slow Motion Sidestroke Drill
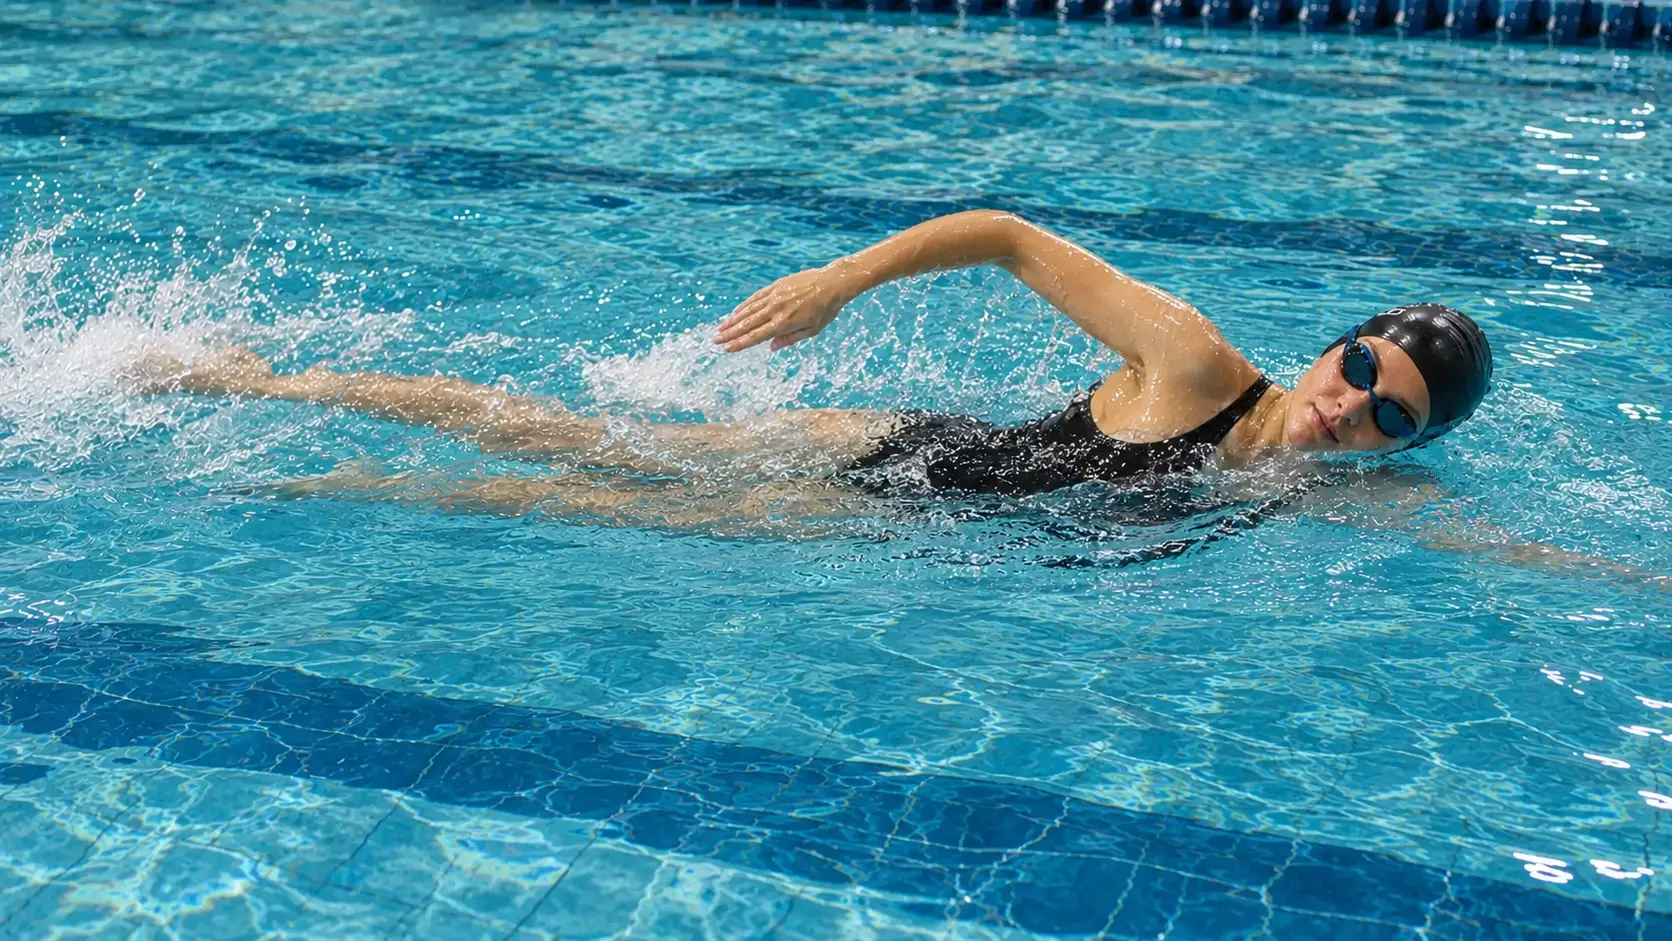
This drill helps you identify timing issues by slowing down every part of the stroke. Moving carefully allows you to understand how your arms, legs, and glide phase work together.
- Swim the complete stroke at half speed.
- Pause briefly after each phase: pull, kick, and glide.
- Notice where your movement feels uneven.
Regular slow-motion practice can help create a smoother rhythm before increasing your swimming speed.
Run through all three drills in short sets, then swim a few full strokes to see how the pieces come together. Once the movement feels steady, you can start working on speed and efficiency.
Tips to Swim Side Stroke Faster and More Efficiently
Improving your side-stroke swimming speed isn’t about using more force. It is about making each movement smoother and more controlled.
Keep your body streamlined by avoiding sagging hips, using a steady scissor kick instead of a rushed one, and allowing a short glide phase after each pull to maintain momentum.
Relax your shoulders and neck to reduce tension, and practice swimming on both sides to build better balance and control.
Slowing down and focusing on timing typically covers more distance per stroke than rushing through the movement, since a full glide phase carries you farther than a hurried pull.
Side stroke can also provide a good workout while feeling less demanding because of its comfortable breathing pattern.
How Long Does It Take to Learn Side Stroke Swimming?
The time needed to learn side stroke swimming depends on your swimming experience, comfort in water, and practice routine.
Swimmers who already know strokes like freestyle or backstroke may understand the basic movement within a few sessions. Beginners may need extra time to feel comfortable balancing on their side before adding arm and leg movements.
Developing a smooth and efficient stroke usually takes regular practice over several weeks. There is no fixed timeline, as steady and focused practice matters more than the number of hours spent in the pool.
Side Stroke Swimming vs Other Swimming Strokes
Different swimming strokes serve different purposes. Side stroke swimming focuses on comfort and energy saving, while strokes like freestyle swimming are designed more for speed and training.
|
Feature |
Side Stroke |
Freestyle |
Breaststroke |
Backstroke |
|---|---|---|---|---|
|
Body Position |
On one side |
Face down |
Face down |
On the back |
|
Breathing |
Easier with head near the surface |
Requires side head rotation |
Head lifts during strokes |
Face stays above water |
|
Main Movement |
Scissor kick and arm pulls |
Flutter kick and arm strokes |
Frog kick and pull |
Flutter kick and arm strokes |
|
Energy Use |
Low effort for endurance |
Higher effort for speed |
Moderate effort |
Moderate effort |
|
Speed |
Steady and efficient |
Fastest for racing |
Moderate |
Moderate |
|
Common Uses |
Rescue, distance, relaxed swimming |
Racing and fitness laps |
Recreation and beginners |
Relaxed practice |
Side stroke swimming is a good choice when you want to conserve energy and maintain a steady pace. Freestyle works better for speed, while other strokes offer different benefits based on your goals and comfort level.
Common Side Stroke Swimming Mistakes and How to Fix Them
Small technique mistakes can make side stroke swimming feel harder and less efficient. Fixing these issues helps you maintain better balance, improve your timing, and move through the water with less effort.
- Dropping hips: This usually happens when your body rolls too flat or turns too far toward your stomach. Keep your body straight from head to feet to stay balanced and reduce drag.
- Wide scissor kick: Opening your legs too far creates extra resistance in the water. Practice a smaller, controlled kick where your legs snap together smoothly without wasting energy.
- Moving arms too quickly: Rushing the arm movement often removes the glide phase between pulls. Let the hands meet fully in front of your chest before starting the next pull.
- Lifting head too high: This often happens when swimmers feel uncomfortable while breathing or try to look forward. Relax your neck and let your head rest near the water’s surface while keeping your face clear.
- Sinking legs: Poor kick timing or stiff ankles can cause your legs to drop. Loosen your ankles and slow the kick rhythm until the snap feels controlled rather than rushed.
Fixing these mistakes improves your side stroke balance, control, and efficiency. Make one adjustment at a time, then use focused drills to improve body position, breathing, and timing.
Final Thoughts
Side stroke swimming rests on four moving parts: a level, side-lying body line, a scissor kick, arms that pull in turn, and a breath that matches the rhythm of the glide.
An 1846 swimming account described the side stroke’s arm pull as working like oars that waste no power when angled correctly, a principle that still holds: a sloppy pull costs you energy today.
Most swimmers get there faster by folding side stroke into an existing routine: a few lengths as a warm-up, a recovery set mid-workout, rather than trying to master it in isolation.
Spend equal time drilling your weaker side, since favoring one arm shows up as a crooked path through the water. With a few focused sessions, the stroke settles into a steady rhythm before it feels fast.
Frequently Asked Questions
Is Side Stroke Swimming Easier Than Freestyle?
Side stroke is often easier for beginners since your face stays above water, making breathing simpler than in freestyle.
Which Side Should You Swim Side Stroke On?
Most swimmers start with a dominant side, but practicing both sides evenly prevents imbalance and improves overall body control.
Can You Use Side Stroke For Long-Distance Swimming?
Yes, side stroke conserves energy and eases breathing, making it a popular choice for open water and long-distance recreational swimmers.
Why Does My Body Sink While Doing Side Stroke?
Your body sinks when your hips drop, or your kick timing is off. Keep your body straight and glide longer.
Do Lifeguards Use Side Stroke Swimming?
Yes. The American Red Cross includes side stroke as a required skill in its Lifeguarding curriculum, and lifeguards use it to tow a distressed swimmer with one arm free while the other arm and legs provide propulsion.