
You just bought your first board, or maybe you’ve been riding for years. Either way, learning how to wax a surfboard properly makes a real difference. It’s what keeps you on your feet during takeoff instead of slipping off.
Most beginners rush through this step or skip it completely, then can’t figure out why they keep wiping out. If you’re just starting out, learning proper surfing technique combined with good wax makes everything click faster.
Good surfboard wax gives you the grip you need. It also tells you about water temperature and when your board needs a fresh coat. Get this right, and your sessions improve fast.
Why Waxing Your Surfboard is Essential
Your board won’t grip without wax. Simple as that. Even the most expensive surfboard has a slick finish that’ll send you sliding off on your first paddle out.
Surfboard wax creates the traction you need to pop up, turn, and stay balanced through choppy water. Skip it, and you’re done before you start.
Water temperature matters too. Cold water needs harder wax, warm water needs softer stuff. Use the wrong type, and it melts into a useless mess or stays too hard to grip.
Surfboard Wax Types and Temperatures
Surfboard wax isn’t one-size-fits-all. The water temperature where you surf decides which wax you need. Grab the wrong one, and you’ll regret it halfway through your session.
| Wax Type | Water Temperature | When to Use It |
|---|---|---|
| Cold Water Wax | Below 60°F (15°C) | Winter sessions, northern beaches, early mornings when the ocean’s freezing |
| Cool Water Wax | 58-68°F (14-20°C) | Spring and fall are places where water stays chilly most of the year |
| Warm Water Wax | 64-74°F (18-23°C) | Summer surf, tropical spots, midday sessions when the sun’s been heating things up |
| Tropical Wax | Above 75°F (24°C) | Hawaii, Indonesia, the Caribbean, anywhere the water feels like bathwater |
| Basecoat | Any temperature | Goes on first, creates bumps for your top coat to stick to |
Check your local water temp before buying. Most surf shops post current conditions, or you can look it up online. Buy wax made for your area, and you won’t waste money.
How to Prepare Your Surfboard for Waxing
Clean boards take wax better. Old wax, dirt, and sand mess up your new coat, so you need to start fresh. This part takes maybe ten minutes, but makes everything stick right.
- Remove old wax first: Leave your board in the sun for a few minutes until the wax gets soft. Scrape it off with a wax comb or old credit card. Work from nose to tail.
- Clean the surface completely: Wipe down the deck with a rag and some citrus cleaner or warm water. Get rid of any sticky residue left behind.
- Dry it off: Water under fresh wax creates air bubbles and weak spots. Let your board sit for a minute or just towel it down.
- Check for dings: Fix any cracks or dents before waxing. Water gets in through damaged spots, ruining your board from the inside. Different surfboard materials react differently to water damage, so knowing what you’re working with matters.
Your deck should look clean and smooth now. No old wax chunks, no grime. That’s when you’re ready to apply fresh surfboard wax.
Essential Tools and Materials You’ll Need
|
How to Wax a Surfboard
Learning how to wax a surfboard takes practice, but the actual process is pretty straightforward. Follow these four steps, and you’ll have a grippy deck in under ten minutes.
Step 1: Apply Your Basecoat
Start with basecoat wax, not your temperature-specific stuff. Rub it in small circles across the entire deck where your feet will go. Press hard and make diagonal crosshatch lines.
This creates raised bumps that your top coat grabs onto. Don’t skip this layer or your wax won’t last. The basecoat stays on for weeks, so take your time getting it right.
Step 2: Add Your Temperature Coat
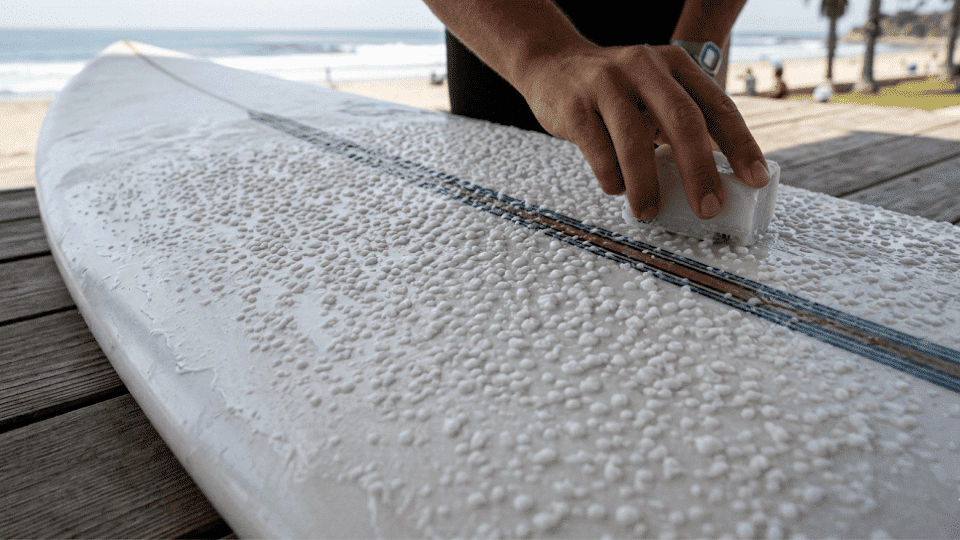
Now grab your warm, cool, or cold water wax depending on conditions. Use the same circular motion, but cover the basecoat bumps you just made.
Work from the tail forward toward where you pop up. Keep rubbing until you see little beads forming across the surface. That texture is what keeps your feet stuck during turns.
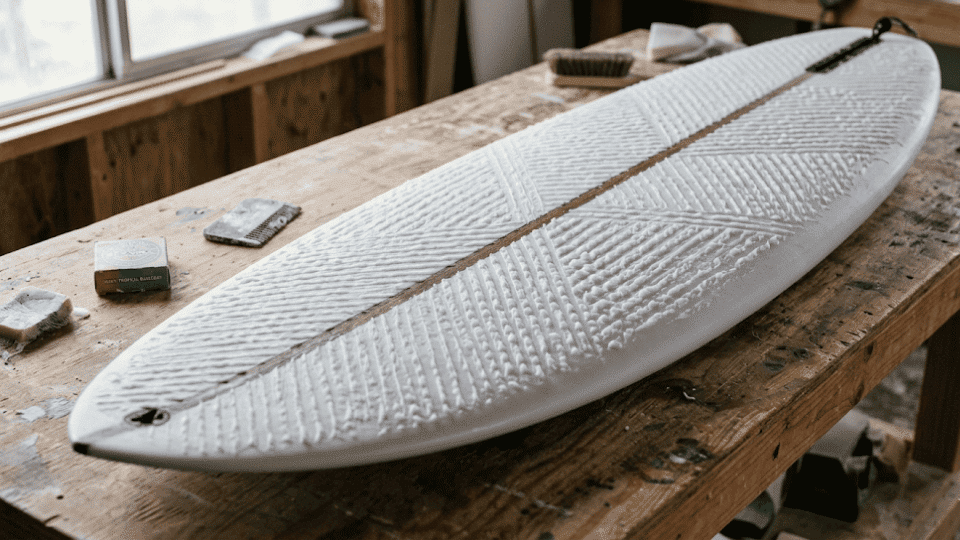
Step 3: Build Up Texture
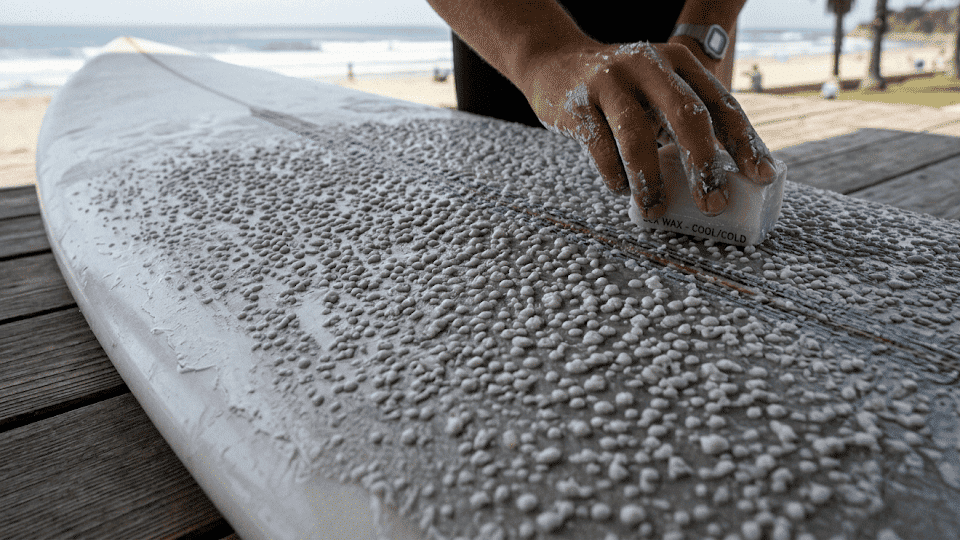
Go over the deck again with more pressure. You want bumps, not a smooth coat. Rub in different directions to create a rough, pebbly feel. Run your hand across it.
If it feels slick or flat in any spot, add more wax there. The bumpier it gets, the better your grip. Stop when the whole area feels like sandpaper.
Step 4: Test and Touch Up
Stand on your board and check for slippery spots. Your feet should stick when you twist them slightly. Add more wax where it feels smooth.
Some surfers like extra wax right where their back foot plants for cutbacks. After a few sessions, you’ll know exactly how much surfboard wax your style needs.
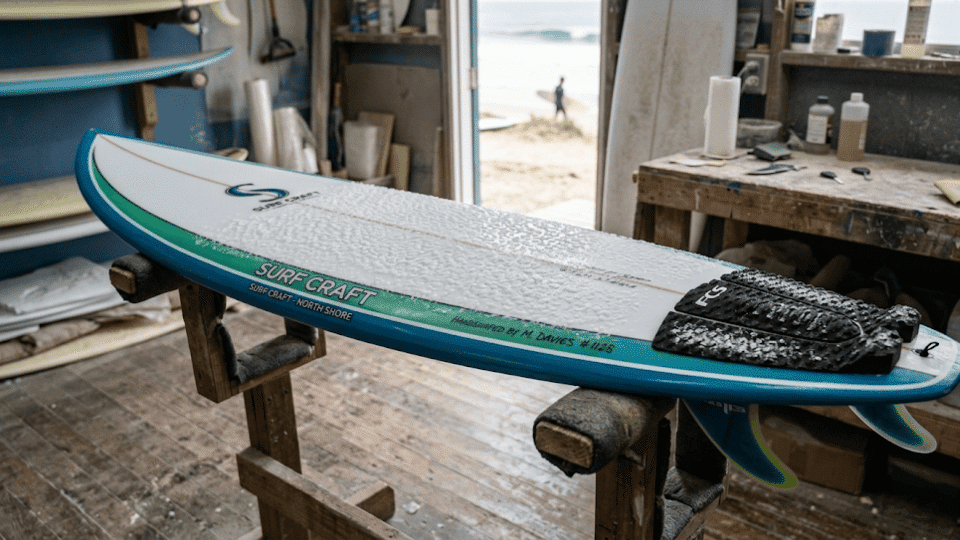
You’re done. Your board’s ready to hit the water. Just remember to check your wax before every surf and add a fresh coat when those bumps start wearing down.
Choose Your Waxing Technique
Different surfers wax in different ways. Some techniques build texture faster, others spread wax more evenly. Try each one and see what feels right for your board.
| Technique | How It Works | Best For |
|---|---|---|
| Circular Method | Small circles across the deck create even bumps | Beginners, first-time waxing, building consistent texture |
| Straight Lines | Diagonal strokes, corner to corner, crisscross pattern | Quick touch-ups, adding grip between sessions |
| Random Scribble | No pattern, just rub the wax everywhere randomly | Fast application when you’re in a hurry |
| Crosshatch | Vertical lines, then horizontal over top | Thick basecoat layer, maximum bump height |
Pick one and stick with it for your whole session. Switching techniques halfway through leaves uneven spots. Most surfers use circles for the basecoat, then switch to lines for quick adds before paddling out.
Where to Wax Different Types of Surfboards
Board shape changes where you put surfboard wax. Longboards need way more coverage than shortboards because you walk up and down the deck.
- Shortboards (under 7 feet): Wax from the tail to about halfway up the deck. That covers where your back foot plants and where your chest sits during paddling. Skip the nose unless you’re doing nose grabs.
- Funboards and mid-lengths (7-8 feet): Wax the full deck from nose to tail. Since longboard footwork involves moving up and down the board, you need grip across the whole surface. Well-built longboards tend to hold wax better, so the grip lasts longer.
- Longboards (9+ feet): Wax the whole deck, nose to tail. You’ll be cross-stepping and hanging five, so every inch needs grip. Some longboarders even wax the rails.
- Fish and hybrids: Treat these like shortboards. Tail-to-midpoint works fine since you stay pretty planted on these wider boards.
Now you know exactly where to apply wax based on what you’re riding. Don’t waste product on areas your feet never touch.
How to Remove Old Surfboard Wax
Old wax gets dirty and loses grip. Strip it off every few months to start fresh. Leave your board in the sun for five to ten minutes if you live somewhere warm. The wax softens up and scrapes right off with your comb.
No sun? Use a hair dryer on low heat instead. Move it around so you don’t melt the foam, then scrape when the wax gets gooey.
Commercial wax removers work faster than scraping alone. White spirit cuts through stubborn spots, but citrus-based cleaners smell better and won’t harm the ocean.
After scraping, wipe the deck with a cloth and some remover. Keep rubbing until the surface feels completely smooth and ready for fresh surfboard wax.
Common Surfboard Waxing Mistakes to Avoid
Most beginners mess up their wax job without knowing it. These mistakes kill your grip and waste product, but they’re easy to fix once you know what to watch for.
- Using the wrong temperature wax: Cold water wax melts in a warm ocean. Tropical wax stays too hard in chilly surf. Match your wax to actual water temperature, not air temperature.
- Skipping the basecoat: Your top coat slides right off without those bumpy base layers. Always start with basecoat, even when you’re in a rush.
- Waxing a dirty deck: Sand and old wax under fresh coats create slick patches. Clean your board completely before reapplying.
- Not building enough texture: Smooth wax looks nice, but grips terribly. Keep rubbing until you get pebbly bumps across the whole surface.
- Waxing the rails: Save your product for the deck. Waxy rails make your board harder to grab during duck dives.
Avoid these, and your surfboard wax will actually do its job. Check your technique next session and see what improves.
The Bottom Line
Knowing how to wax a surfboard correctly separates decent sessions from frustrating ones. You’ve got the techniques, the temperature guide, and the common mistakes covered.
Clean deck, right wax type, bumpy texture. That’s all it takes to stop slipping mid-ride. Your board won’t fix itself, though. Bad wax jobs add up over time and wreck your progress faster than you think.
Grab a bar of surfboard wax that matches your local water temp and redo your deck this weekend. Test the grip before you paddle out.
Frequently Asked Questions
How Often Do You Re-Wax a Surfboard?
Re-wax your surfboard every few weeks or after 5-10 sessions, depending on usage and water conditions.
Do Pro Surfers Use Wax?
Yes, pro surfers use wax to improve grip and control across different wave conditions.
What Is a Female Surfer Called?
A female surfer is simply called a “surfer,” though “surfress” is occasionally used.