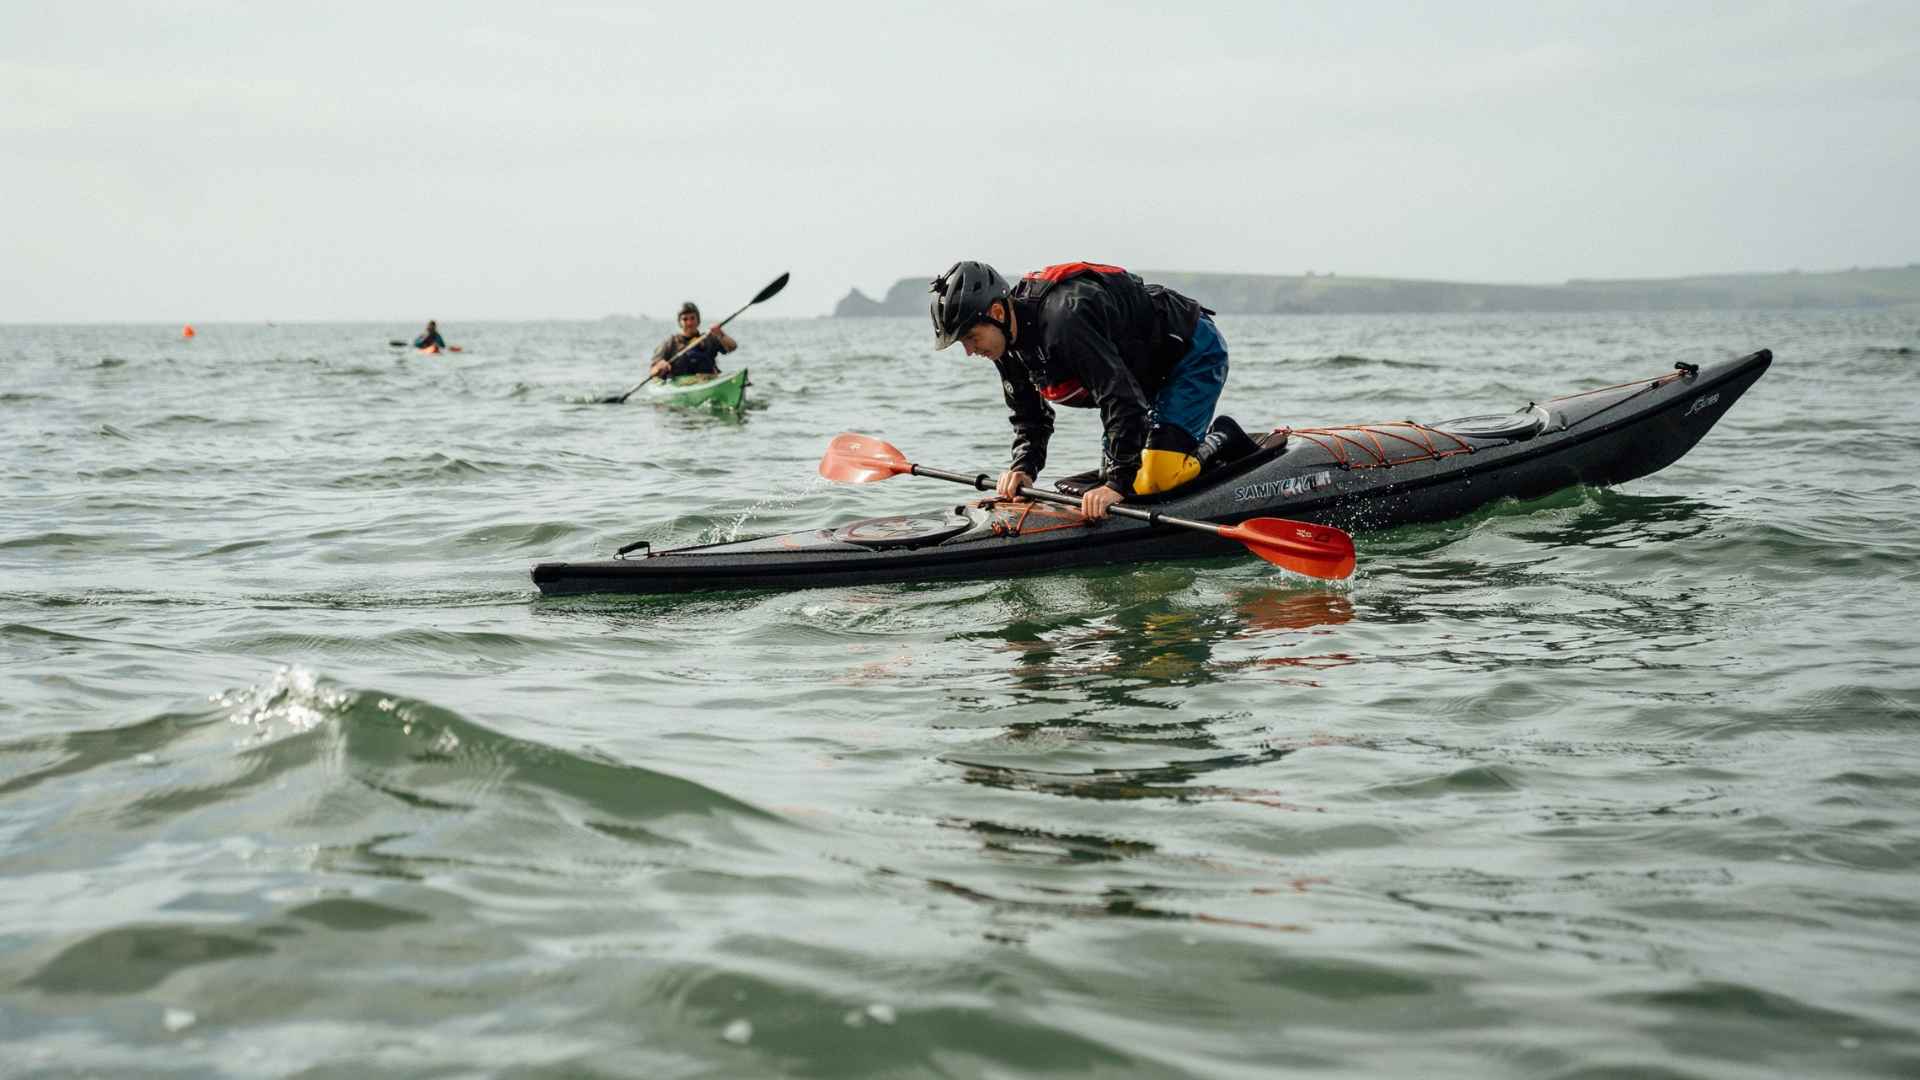
Cold water can turn a simple kayak trip into a serious challenge. Staying calm and knowing what to do makes all the difference when things go wrong.
Most guides stop at the basic steps. This one goes further, covering why the technique fails, how to fix a bad attempt mid-water, and which backup methods to learn in case your paddle or your strength gives out first.
Learning this skill builds confidence and improves safety for beginners and experienced paddlers alike.
Practice in calm conditions first, then gradually move to real-water situations for better control and timing. Small steps and steady practice turn a difficult rescue into a manageable skill on the water.
How Does Paddle Float Re-Entry Work?
Before troubleshooting anything, it helps to see the technique laid out in plain terms, so you know exactly where things tend to go sideways.
REI’s self-rescue guide breaks the sequence into four clear stages, from setting up the float to sliding back into the cockpit, and the version below follows that same structure.
The basic version goes like this: after a capsize, you flip your kayak upright, slide a paddle float onto one paddle blade, and inflate or secure it.
You then wedge the paddle shaft behind the cockpit coaming, forming a T-shaped outrigger off one side of the boat.
Using that outrigger for support, you pull your body onto the back deck, swing your legs in one at a time, and slide down into your seat. Once you’re in, you pump or bail out any remaining water.
That’s the technique in a nutshell. Now here’s where paddlers report it actually going wrong, and what fixes it.
Common Reasons Why Paddle Float Re-Entry Fails
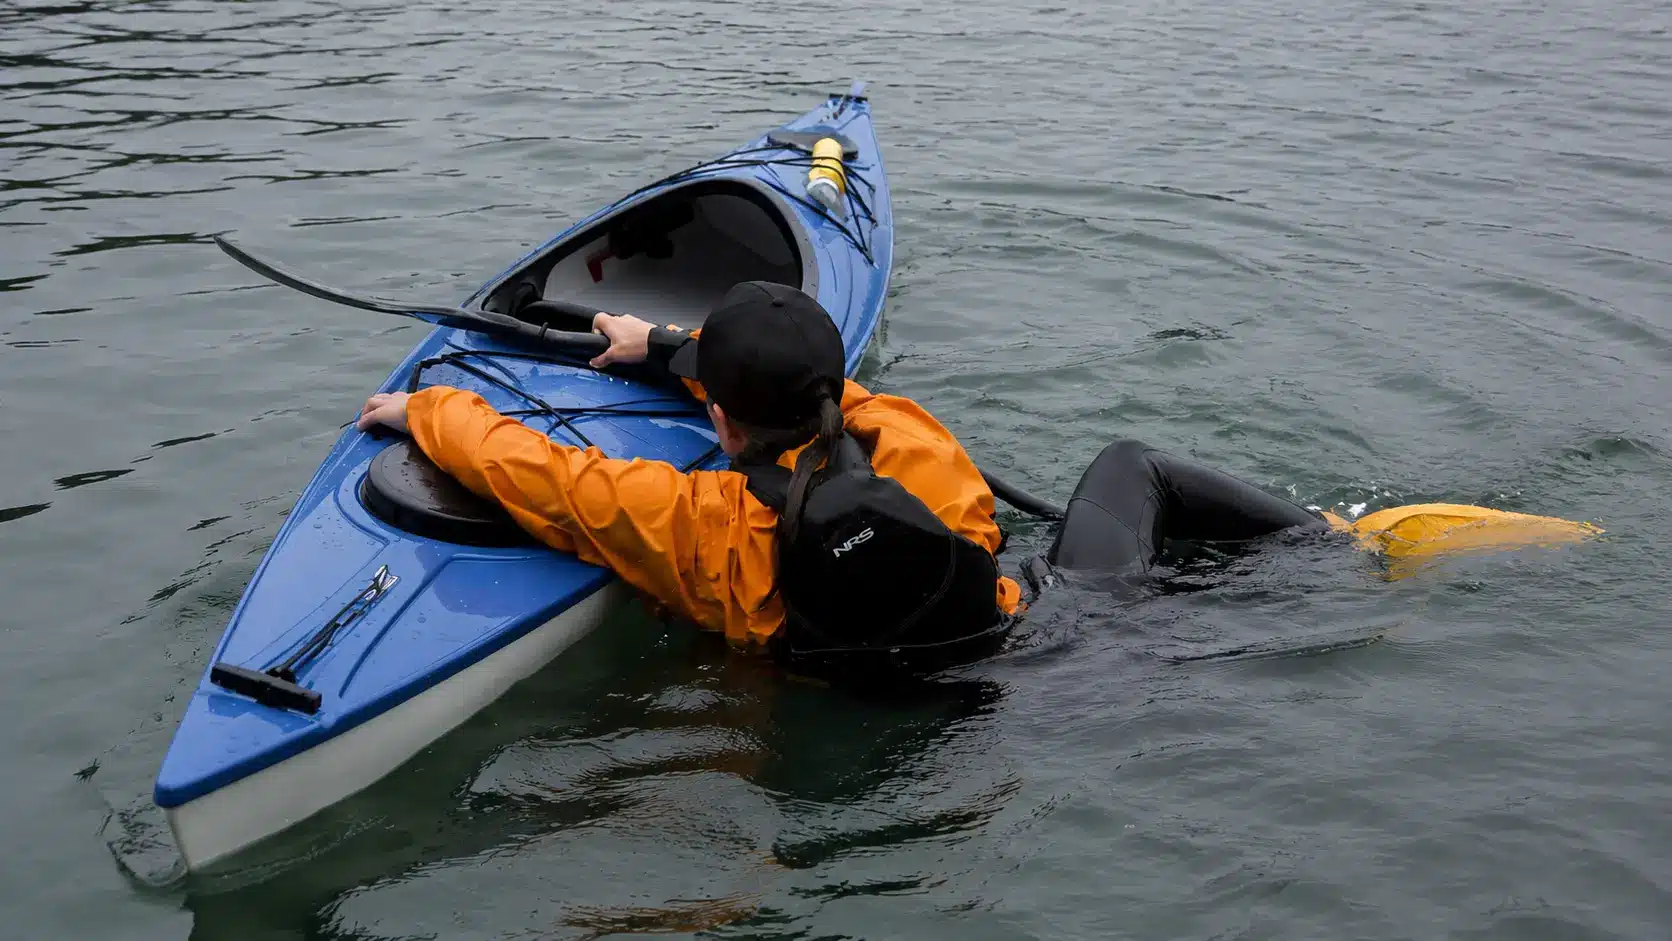
Paddle float re-entry looks simple until you try it in real water. Small mistakes in strength, setup, or balance often turn recovery into another capsize instead of a safe return.
- You don’t have the upper body strength to reach the back deck. Pulling your full body weight out of the water and onto a kayak deck takes real strength, and many paddlers, especially beginners, simply can’t lunge up far enough on the first few tries.
- You keep re-capsizing before you’re fully seated. This usually happens when your weight shifts away from the float too early, or when there’s still enough water in the cockpit to make the boat unstable as you climb in.
- Your foam paddle float doesn’t have enough buoyancy. Foam floats work fine for lighter paddlers, but anyone on the heavier side often finds a foam float sinks under load instead of holding the boat steady.
- Your paddle shaft bends or breaks under the strain. This is more common than people expect, especially with lightweight or wooden paddles that weren’t built to support a person’s full body weight as an outrigger.
- Setup takes too long in cold or rough water. Inflating a float, securing it to the blade, and positioning it correctly takes precious time you may not have if you’re cold, tired, or dealing with waves.
Pro tip: Practice the full sequence from wet exit to seated with a timer. Over two minutes in calm water is a sign your technique needs work, not your strength.
Most paddle float re-entry failures come from setup and balance issues, not technique alone. Fixing buoyancy, timing, and positioning makes recovery far more stable and predictable in real conditions.
What to Do Immediately After a Failed Attempt
A failed attempt doesn’t mean you’re back to square one. What matters most is staying calm and sticking with your kayak, since it’s your only source of flotation and your way back to shore.
Before trying again, take a moment to check your float. A lot of second failures come from a float that’s slipped position rather than anything wrong with your technique.
Reset your body low and slow instead of rushing straight back into the same motion, since repeating a rushed attempt usually just repeats the same mistake.
If the same approach fails twice in a row, treat it as your cue to switch to a different rescue method rather than trying the same approach a third time.
Pro tip: Practice the full sequence from wet exit to seated with a timer. Over two minutes in calm water signals slow technique.
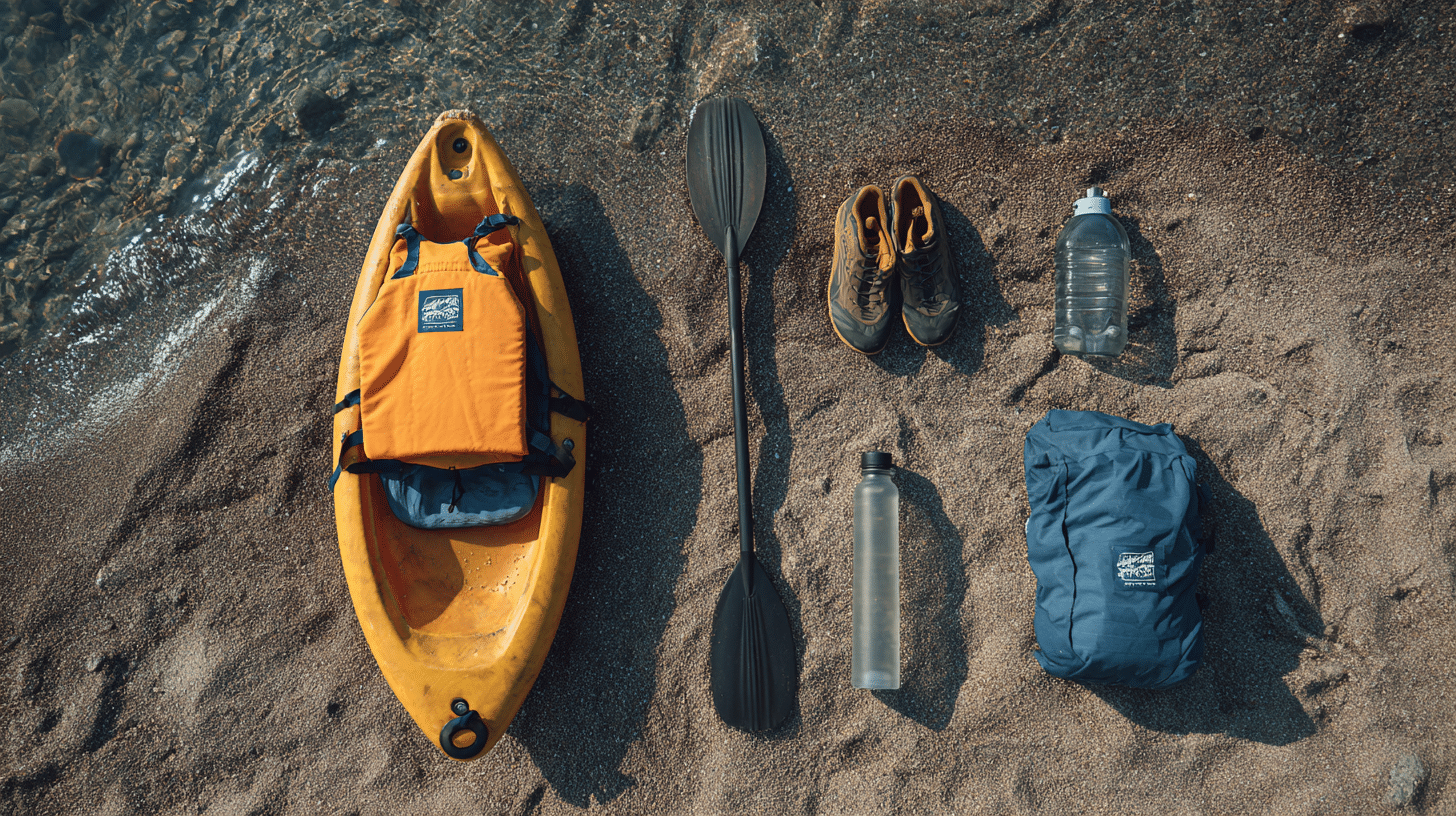
What You Need Before You Attempt Paddle Float Re-Entry
|
How to Practice Paddle Float Re-Entry the Right Way
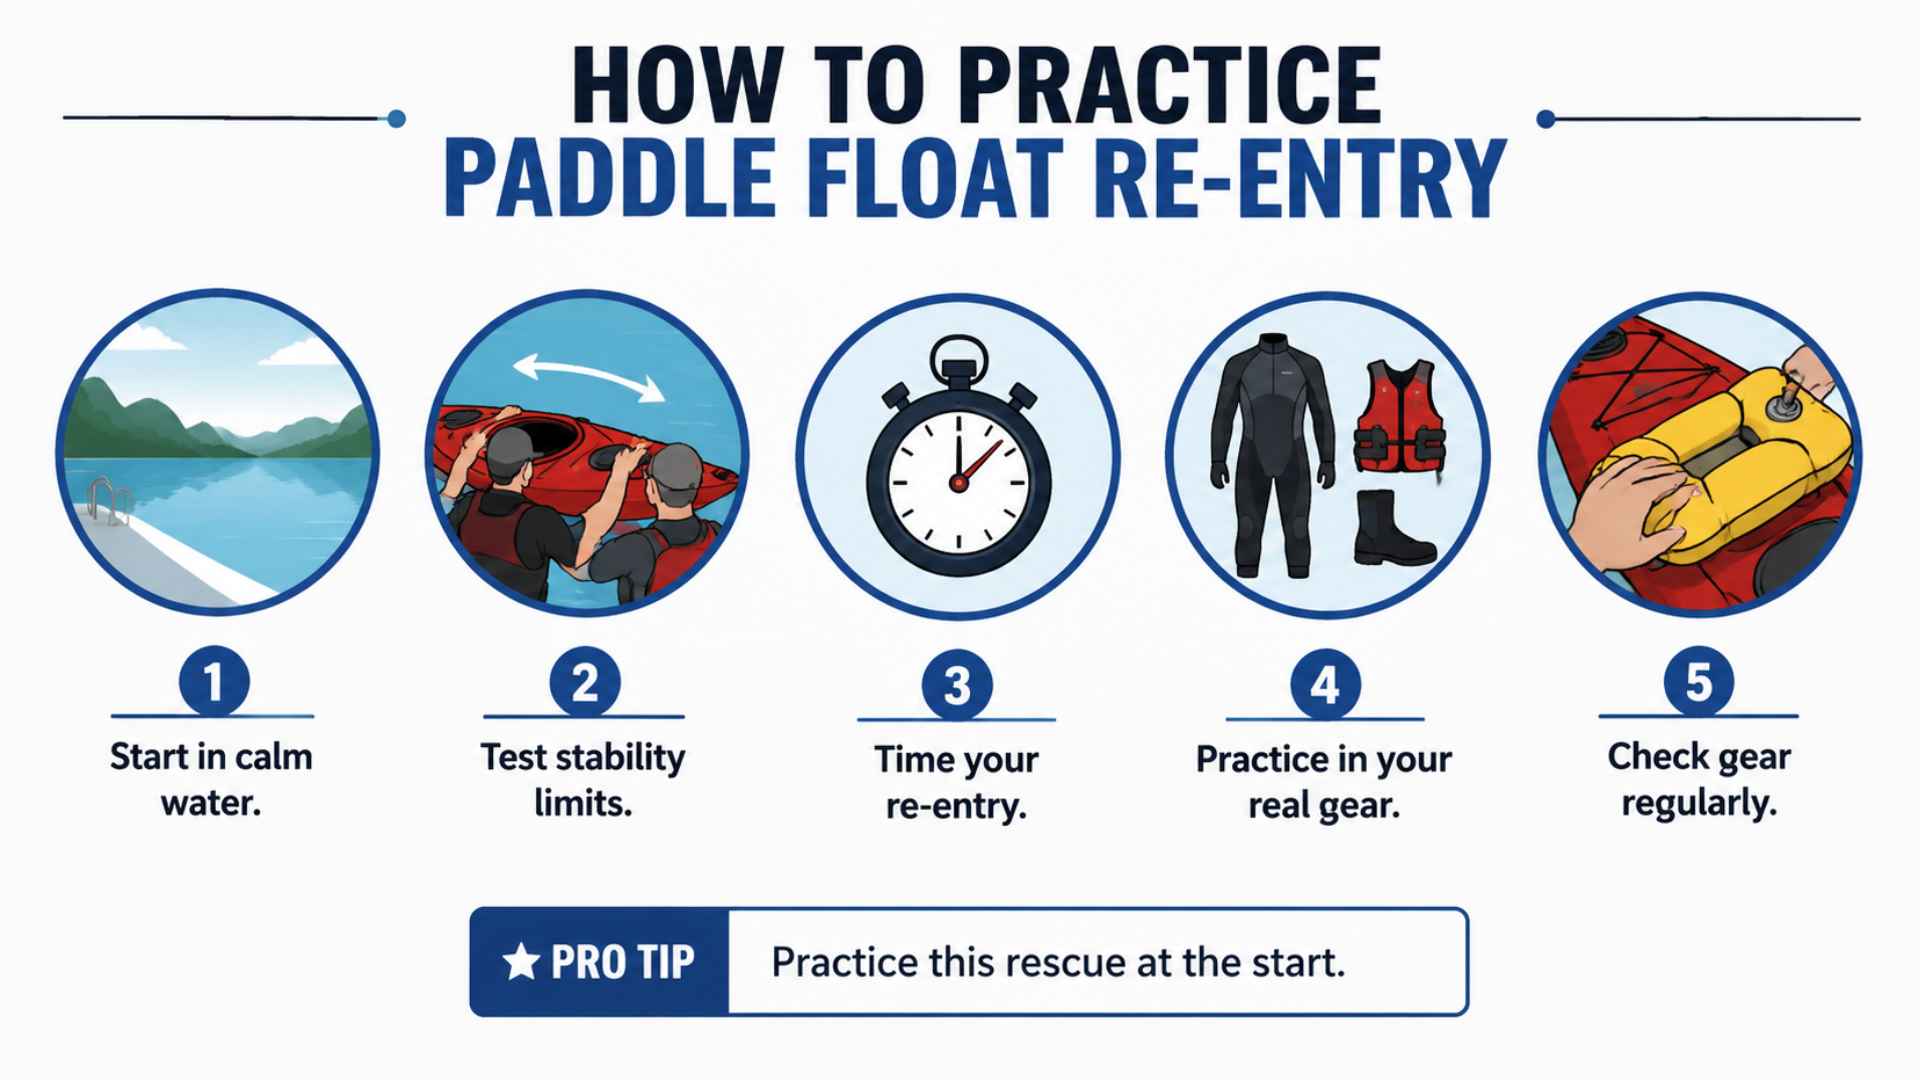
Reading about this rescue only gets you so far. Real confidence comes from repetition in conditions that actually challenge you.
- Practice in a pool or calm lake first, then work up to moderate chop once you’re comfortable with the basic motion.
- Have a friend rock your kayak from side to side while you check how much water it takes before the cockpit rim disappears, so you know your boat’s real stability limits.
- Time yourself from wet exit to fully seated and pumped out, then work on shaving that time down with each session.
- Practice wearing the same gear you’d actually paddle in, including a wetsuit or drysuit, so that cold water or bulky layers don’t catch you by surprise later.
- Test your gear regularly, since inflatable floats can develop slow leaks just from being stored in a cockpit.
Pro tip: Practice this rescue at the start of your season every year, even if you feel confident. Muscle memory fades faster than most paddlers expect.
Consistent practice turns this rescue from something you read about into something your body just knows how to do when it matters.
Alternative Re-Entry Methods
If the standard paddle float rescue isn’t a good fit for your strength, boat, or comfort level, you have other solid options. Each one suits a different situation.
| Method | Best For | Quick Description |
|---|---|---|
| Re-enter and roll | Paddlers who already have a reliable roll | Slide into the cockpit while the boat is on its side, then roll upright, often faster than a full paddle float setup |
| Heel hook | Paddlers with limited upper body strength | Uses a hooking leg motion instead of a lunge, reducing the strength needed to get onto the deck |
| Cowboy scramble | Calmer water, no float needed | Straddle the kayak like a cowboy mounting a horse, then twist into the seat, no equipment required |
| Sling-assisted re-entry | Paddlers who need extra support getting a foot up | A loop attached to the paddle or deck gives you a step, though it takes more time to set up |
| Assisted rescue with a buddy | Group paddling, rough conditions | A second paddler stabilizes your boat while you climb in, generally the safest and fastest option when available |
Pro tip: Learn at least one method that doesn’t rely on your paddle at all, like the cowboy scramble. If your paddle ever breaks mid-rescue, you’ll still have a way back into your boat.
None of these methods replaces the value of practicing your primary rescue, but having a second option ready means one failed attempt doesn’t turn into a real emergency.
Paddle Float Re-Entry by Kayak Type
The standard technique assumes a sit-in vs. sit-on sea kayak, but plenty of paddlers use something different, which changes how the rescue plays out.
- Sit-in sea kayaks. This is what the technique was built for. Narrow decks and a defined cockpit rim give you a clear point to brace against.
- Sit-on-top kayaks. Re-entry is usually easier since there’s no cockpit to climb into, but the flatter deck offers less to grip, so balance takes more practice.
- Recreational kayaks. Wider, more stable hulls make capsizing less likely in the first place, but the wide beam can make it awkward to reach a paddle float outrigger.
- Tandem kayaks. Re-entry works best with two people coordinating, since one paddler stabilizing the boat makes the whole process far easier for the other.
Different kayak types change how paddle float re-entry feels and performs. Knowing your boat’s stability, width, and setup helps you adjust technique and improve safety during real recovery situations.
Is Paddle Float Re-Entry Still Worth Learning?Some see paddle float re-entry as slower than rolling, but it remains valuable. It requires gear and setup, yet works when tired, injured, or unable to roll in emergencies. |
When to Skip Self-Rescue and Call for Help
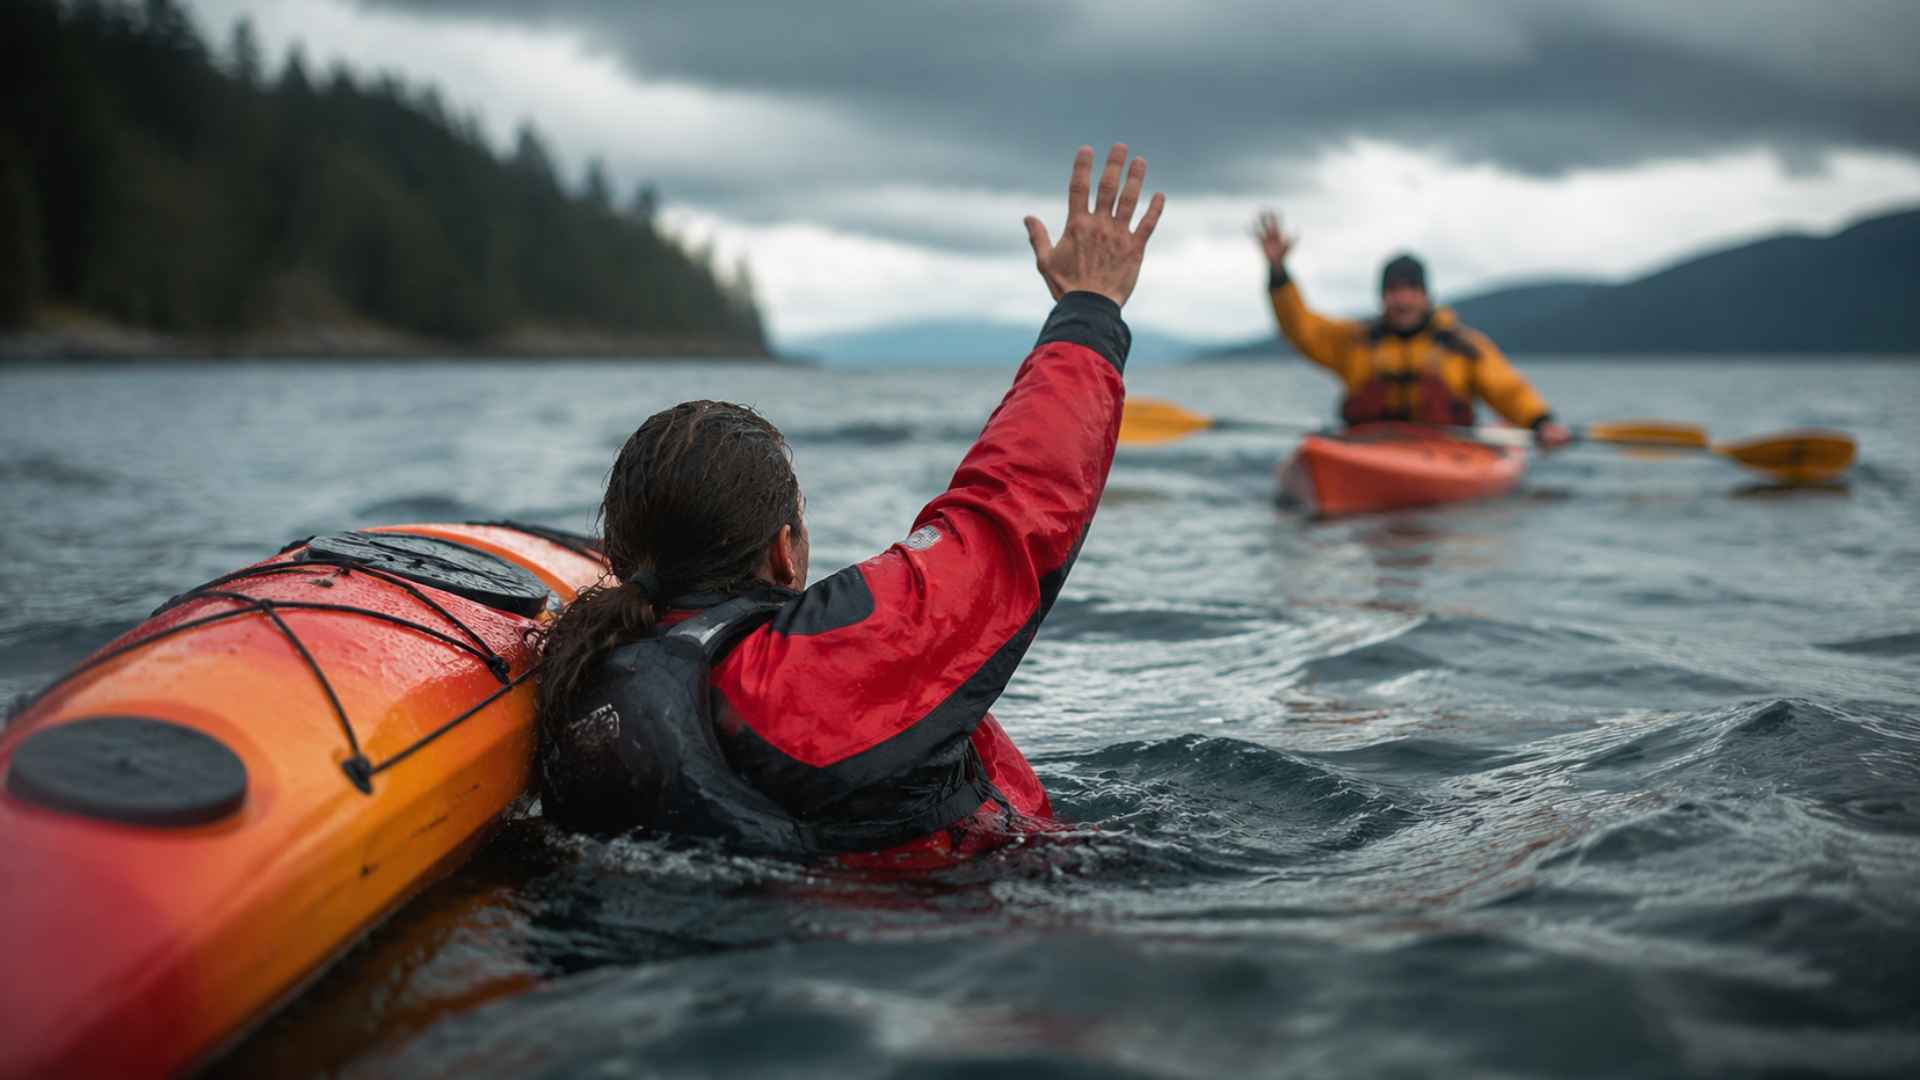
Self-rescue skills matter, but they’re not always the right call. Knowing your limits keeps you safer than pushing through a rescue that isn’t working.
If you’re paddling in conditions well beyond your skill level, dealing with a physical limitation like reduced strength or a medical condition, or you’ve already made several failed attempts and you’re getting cold or exhausted, it’s time to signal for help instead of trying again.
A tow from another paddler or a call to local water rescue services is not a failure. It’s the safer choice, and it’s exactly what those resources are there for.
Cold Water and Fitness Considerations
Cold water and fatigue change everything about this rescue, often more than technique does. Checking a cold water safety guide before you launch gives you a quick read on the risk level for that day.
- Cold shock cuts strength fast. It can reduce your usable strength and coordination within minutes, making a rescue that felt easy in a pool feel nearly impossible in open water.
- Health and fitness affect timing. Paddlers with reduced strength, prior injuries, or conditions that affect stamina should practice at a lower intensity first and build up gradually, ideally with an instructor present.
- A wetsuit or drysuit isn’t optional in cold conditions. It’s often the difference between a successful self-rescue and needing outside help.
Cold water and fatigue can quickly reduce strength, coordination, and control during rescue. Proper gear, fitness awareness, and gradual practice help make paddle float re-entry safer and more reliable.
Real Paddler Tips and Lessons Learned
Beyond the textbook steps, a handful of hard-earned lessons recur in my own rescue classes.
I tell every student to carry two paddle floats instead of one. I’ve watched a single leaky valve turn a routine drill into a scramble, and a backup float solves that in seconds.
Solo paddlers often point to a wetsuit or drysuit as the real difference-maker, since staying warm buys extra time to calmly work through a failed attempt rather than panic.
In my experience, panic causes more failed rescues than weak arms ever do. The students who slow down and reset almost always get back in on the second try. The ones who muscle through usually capsize again.
I also have every student practice with a fully loaded boat at least once, since a lightly packed kayak behaves very differently from one loaded for a real trip.
A few also recommend practicing with a fully loaded boat at least once, since a lightly packed kayak behaves very differently from one loaded for a real trip.
Common Mistakes to Avoid
Even paddlers who know the technique well tend to repeat the same handful of errors.
- Climbing onto the paddle shaft before your body is on the deck. This is one of the fastest ways to snap a paddle or sink a foam float, since it puts all your weight on the shaft too soon.
- Leaning away from the float side. Even a small shift in weight away from your outrigger can flip you right back into the water.
- Skipping the water drain step. Trying to climb into a cockpit still half full of water makes the boat unstable and much harder to balance in.
- Never practicing in real conditions. Getting comfortable in a pool or a flat lake is a great start, but it won’t prepare you for wind, waves, or cold-water shock.
Most paddle float mistakes come from poor balance, rushed movement, and lack of real practice. Slow down, stay centered, and train in realistic conditions before you need it for survival.
Final Thought
In the end, paddle float re-entry is less about strength and more about control, timing, and steady practice. It gives paddlers a reliable way back into the kayak after a capsize, especially when rolling is not an option.
Small details like buoyancy, body position, and setup speed decide how successful the rescue will be in real water. Practicing in calm conditions builds the confidence needed when conditions get rough.
Knowing when to switch methods or ask for help matters just as much as the technique itself. Cold water, fatigue, and gear choice all play a major role in success, so preparation matters as much as skill.
Run through the sequence a few times this season, and it will feel automatic the day you actually need it.
Frequently Asked Questions
Why Does My Paddle Float Keep Failing?
Usually it’s timing, weight balance, or a float without enough buoyancy for your size. Try the heel hook method or check your float’s inflation level.
What’s the Best Paddle Float Re-Entry Method for Solo Kayakers?
Most solo paddlers rely on the standard outrigger method or re-enter and roll, since both work without needing another paddler nearby.
Can a Heavier Paddler Use a Foam Paddle Float?
Sometimes, but many heavier paddlers find foam floats lack enough buoyancy and get better results with an inflatable, double-chamber float instead.
How Long Should Paddle Float Re-Entry Take?
Aim for under two minutes from wet exit to fully seated, including float inflation. If it’s taking longer in calm water, the issue is usually setup speed or positioning rather than strength.