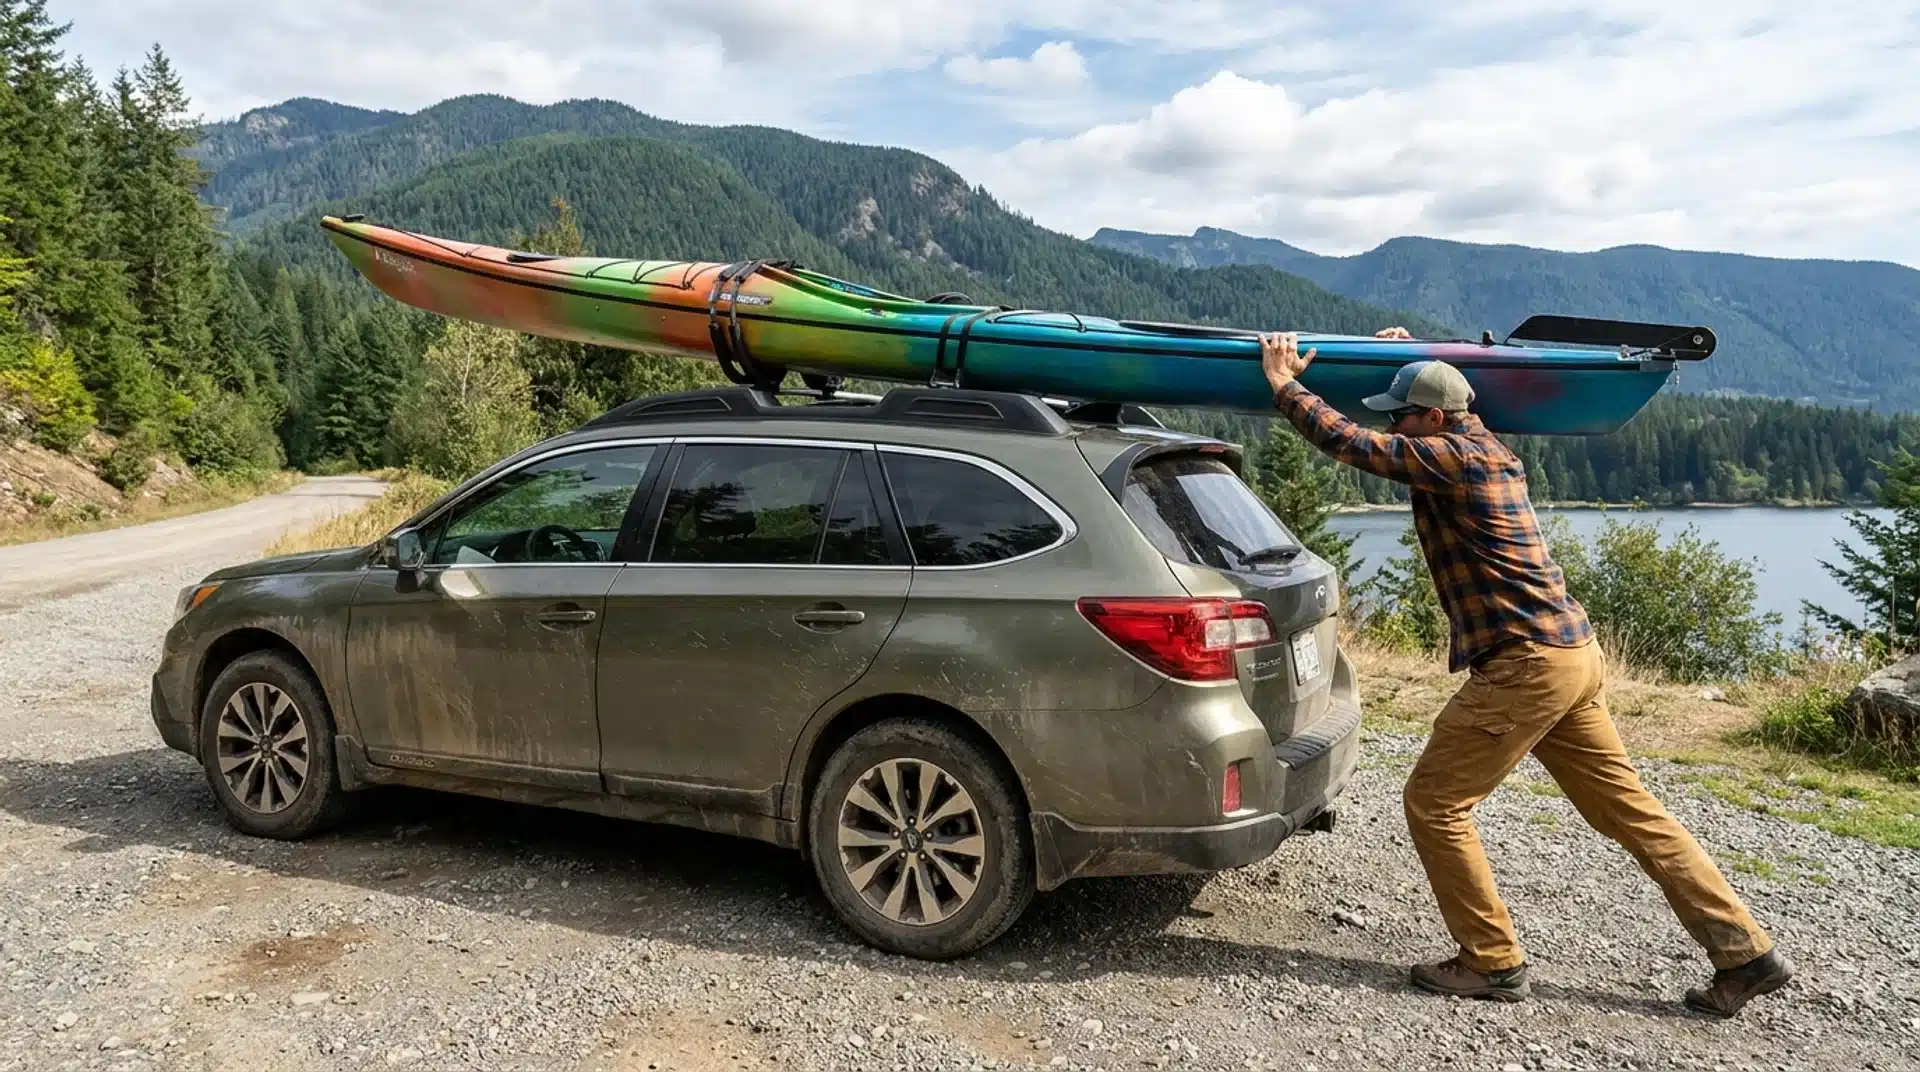
Loading a kayak alone can feel tricky at first, especially when you are trying to balance weight, position, and control at the same time.
Many people struggle to find the right method for loading a kayak on a roof rack solo without strain or scratches. A few simple steps and smart techniques can make the process much easier and safer.
With the right setup, proper lifting method, and support from different roof rack styles, you can handle your kayak confidently and get it ready for travel without needing extra help.
How to Load a Kayak on a Roof Rack Solo?
Loading a kayak on a roof rack alone can feel tricky at first, but it becomes simple with the right steps.
Solo kayak loading is all about balance, patience, and using smart kayak roof rack loading techniques. Start by placing the kayak beside your vehicle and lifting one end onto the rack.
Then gently slide it forward while supporting the weight. Keep your movements slow and steady to avoid scratches or slipping.
Knowing how to load a kayak by yourself makes trips easier and saves time when you head out on the water.
Choosing the Right Roof Rack Setup for Solo Kayak Loading
Picking the right setup makes solo kayak loading much easier and safer. Different kayak roof rack systems offer different levels of support, stability, and loading comfort.
Some are better for quick loading, while others give a stronger hold during travel.
J-Cradles vs Flat Roof Racks vs Foam Blocks
Each rack type works differently, especially when loading a solo kayak. The table below shows how they compare on ease of use, stability, and price.
| ROOF RACK TYPE | EASE OF LOADING | STABILITY | PRICE RANGE | BEST FOR |
|---|---|---|---|---|
| J-Cradles | Easy | High | Medium | Regular solo use |
| Saddle-Style Racks | Very Easy | High | Medium–High | Solo loading, shorter paddlers, back concerns |
| Flat Roof Racks | Moderate | Medium | Low–Medium | Short trips, beginners |
| Foam Blocks | Hard | Low | Low | Occasional use, budget setup |
For most people learning to load a kayak on their own, J-cradles offer the best balance of control and comfort. Still, the best choice depends on how often you travel and how much effort you want to put in during loading.
Best Roof Rack Type for SUVs and Sedans
Choosing the right roof rack depends a lot on your vehicle type. SUVs and sedans sit at different heights, which changes how easy or hard solo kayak loading feels.
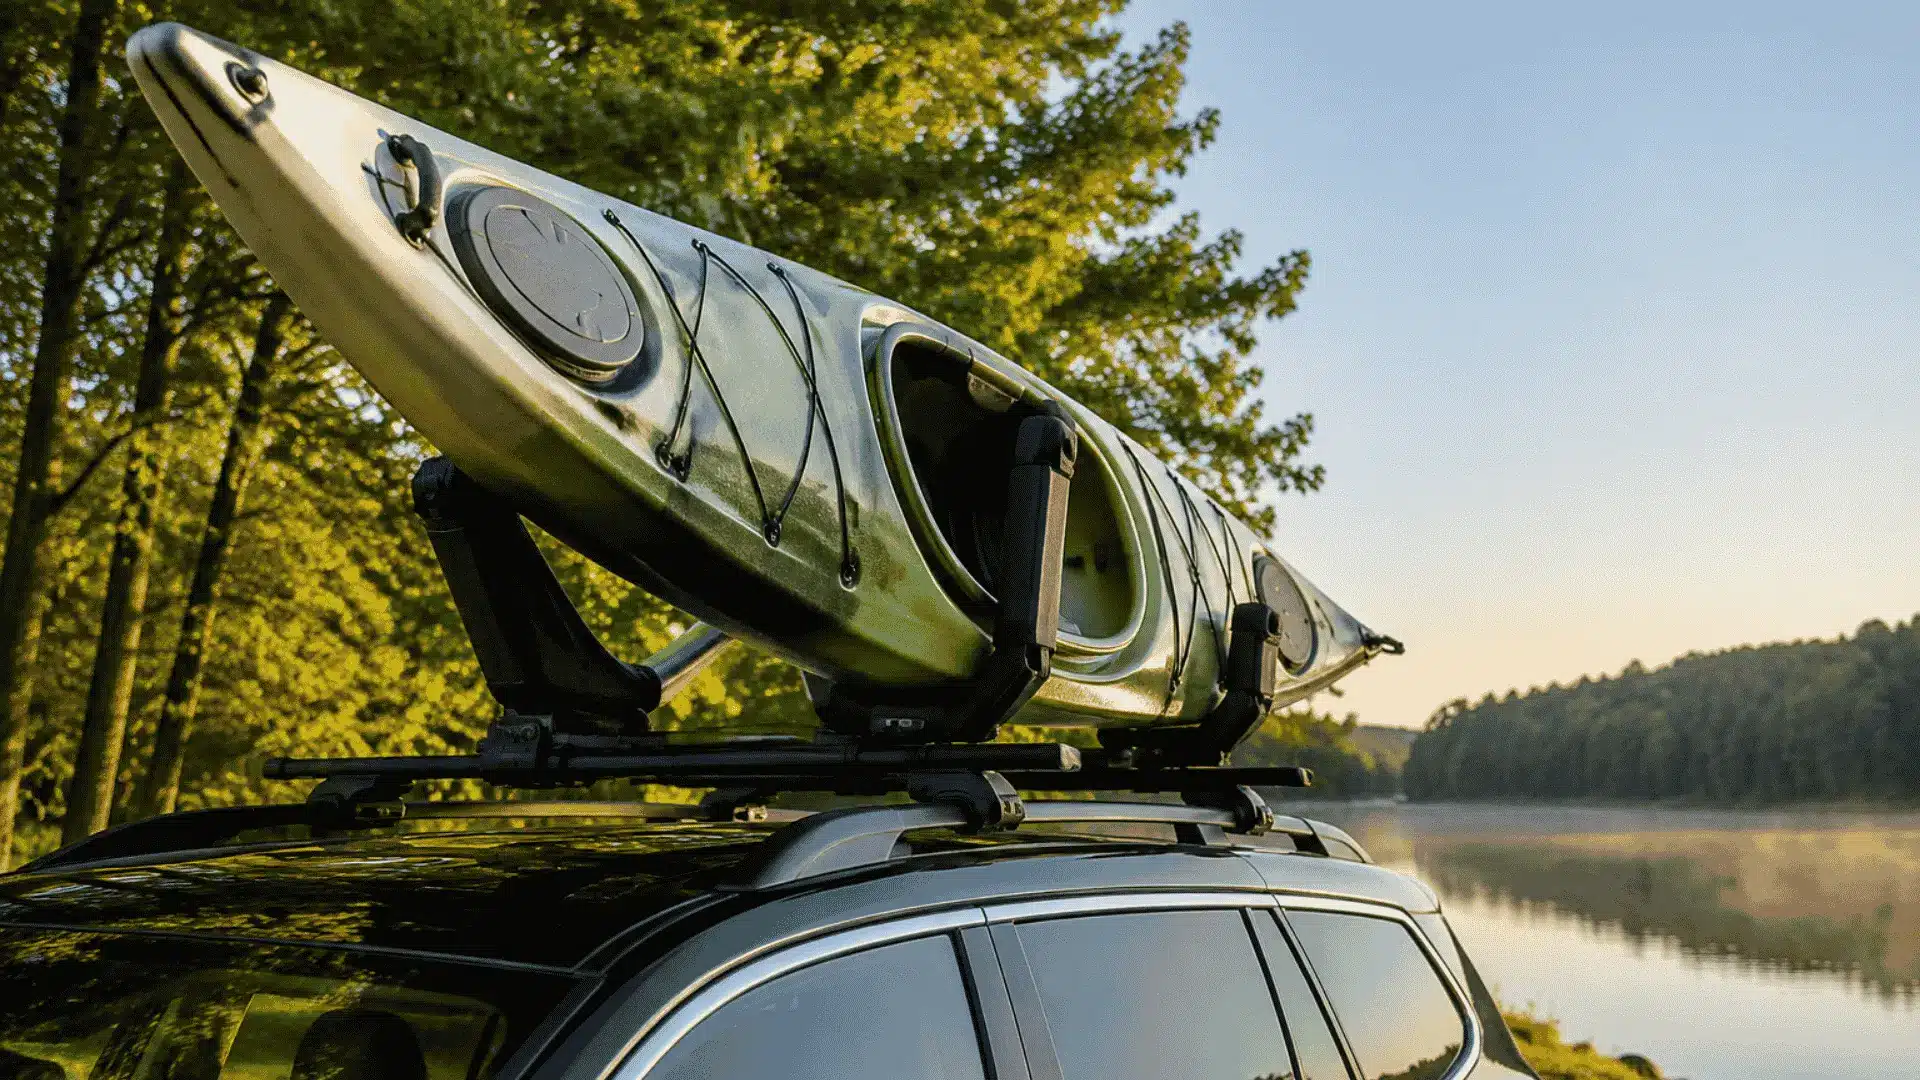
- SUV Setup: J-cradles or load assist racks work best because the roof is higher, and many SUV roof rack systems are designed to improve loading control while reducing lifting strain.
- Sedan Setup: Flat roof racks or J-cradles are more suitable since the roof is lower. This makes it simpler to lift and place the kayak by yourself.
In short, the best roof rack is the one that fits both your car and your comfort level.
Key Tip: Match the rack type with your vehicle height and strength level. The right fit improves control and makes loading a kayak by yourself much safer and smoother.
Preparing Your Kayak Before You Lift (Avoid Scratches & Slips)
Before you start lifting, a little preparation can make solo kayak handling much easier and safer. It also helps prevent damage and gives you better control while placing the kayak on the roof rack.
- Dry the Kayak Surface: Wipe off water, dirt, or sand to prevent the kayak from slipping while lifting.
- Add Padding at Contact Points: Place a towel or foam on the roof rack to prevent scratches on the kayak and reduce friction.
- Position the Kayak Correctly: Keep the bow facing forward to help it move smoothly through the water.
- Lift from the Cockpit Area: Always lift from the cockpit for better balance and safer solo control.
These small steps make solo kayak handling more stable and reduce the chance of damage. A few minutes of care before lifting can make the full loading process much easier.
Step-by-Step Guide to Loading a Kayak on Roof Rack by Yourself
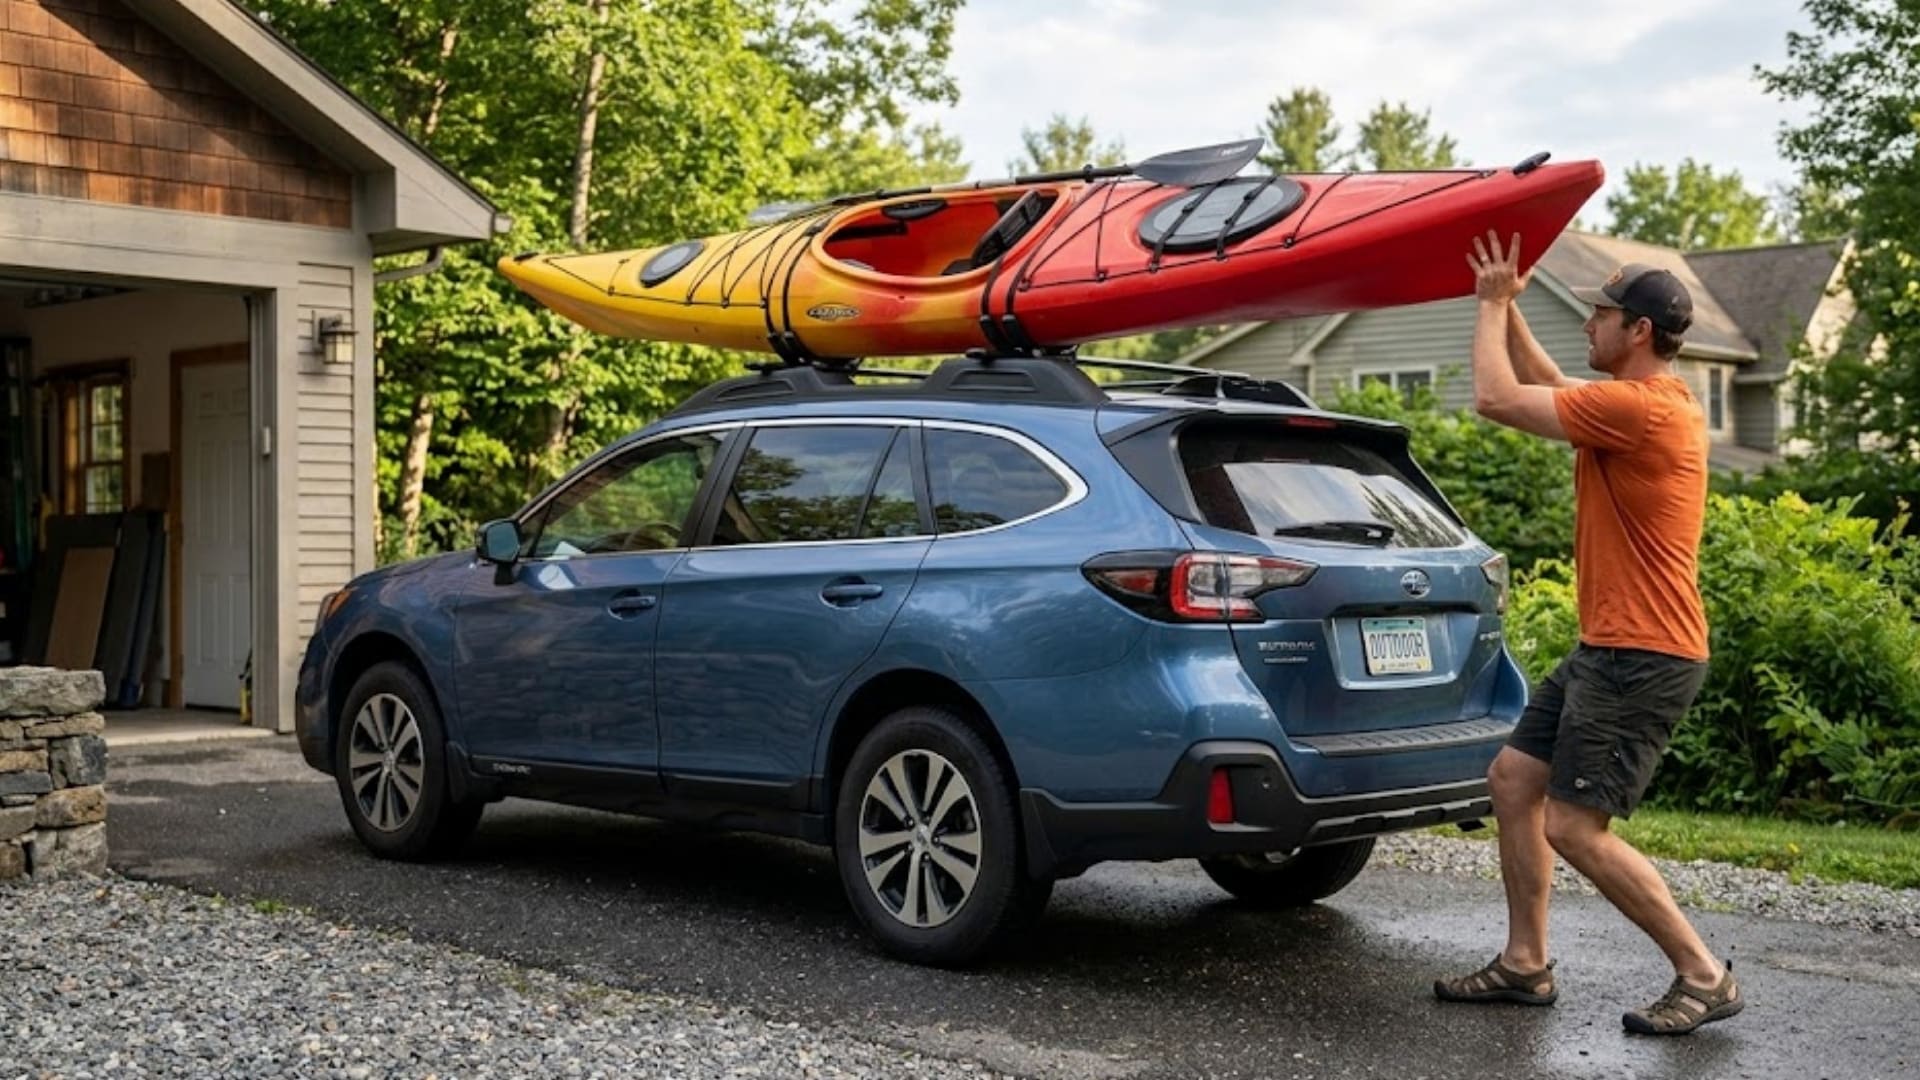
Loading a kayak alone becomes much easier when you follow a clear and steady process. A proper kayak lifting technique helps you manage weight safely and avoid sudden slips or strain.
1. Position Kayak at Rear of Vehicle
Place the kayak flat on the ground behind your vehicle and line it up with the roof rack. Keep the bow facing forward so it moves in the right direction while loading.
Make sure the kayak is straight to avoid twisting during the lift. This setup reduces extra adjustments and helps you start the solo kayak loading process in a stable and controlled way.
2. Lift One End onto the Rear Rack
Hold the kayak firmly and lift one end onto the rear part of the roof rack. Use your legs for strength instead of your back to stay safe.
Keep a steady grip so the kayak does not tilt or slip. Once the rear end is secure on the rack, it becomes easier to control the front end in the next step of the process.
3. Use the “Push and Slide” Method
Push the kayak forward, letting it slide across the roof rack rather than lifting the full weight.
This kayak roof rack loading technique reduces effort and keeps the movement smooth. Guide it gently with both hands so it stays aligned.
Move slowly to avoid scratching the vehicle and to ensure the kayak does not shift or lose balance during loading.
4. Walk Forward While Guiding the Kayak
Walk along the side of your vehicle as you guide the kayak forward. Keep one hand steady on the kayak to control balance and direction.
Move at a slow pace so you can adjust if needed. This step helps distribute weight evenly and makes solo handling easier, especially when working with longer or slightly heavier kayaks.
5. Center and Adjust Alignment Before Tying Down
Once the kayak is fully on the roof rack, shift it slightly so it sits in the center. Check both sides to ensure equal balance for safe travel.
Small adjustments now help prevent movement on the road later. Take a moment to confirm alignment before securing straps for a stable and safe setup.
Easiest Solo Kayak Loading Techniques that Actually Work
Loading a kayak alone becomes much easier when you use the right method instead of lifting everything at once. Different kayak loading assist methods can reduce effort and improve control during placement.
1. The Rear Slide Method (Most Beginner-Friendly)
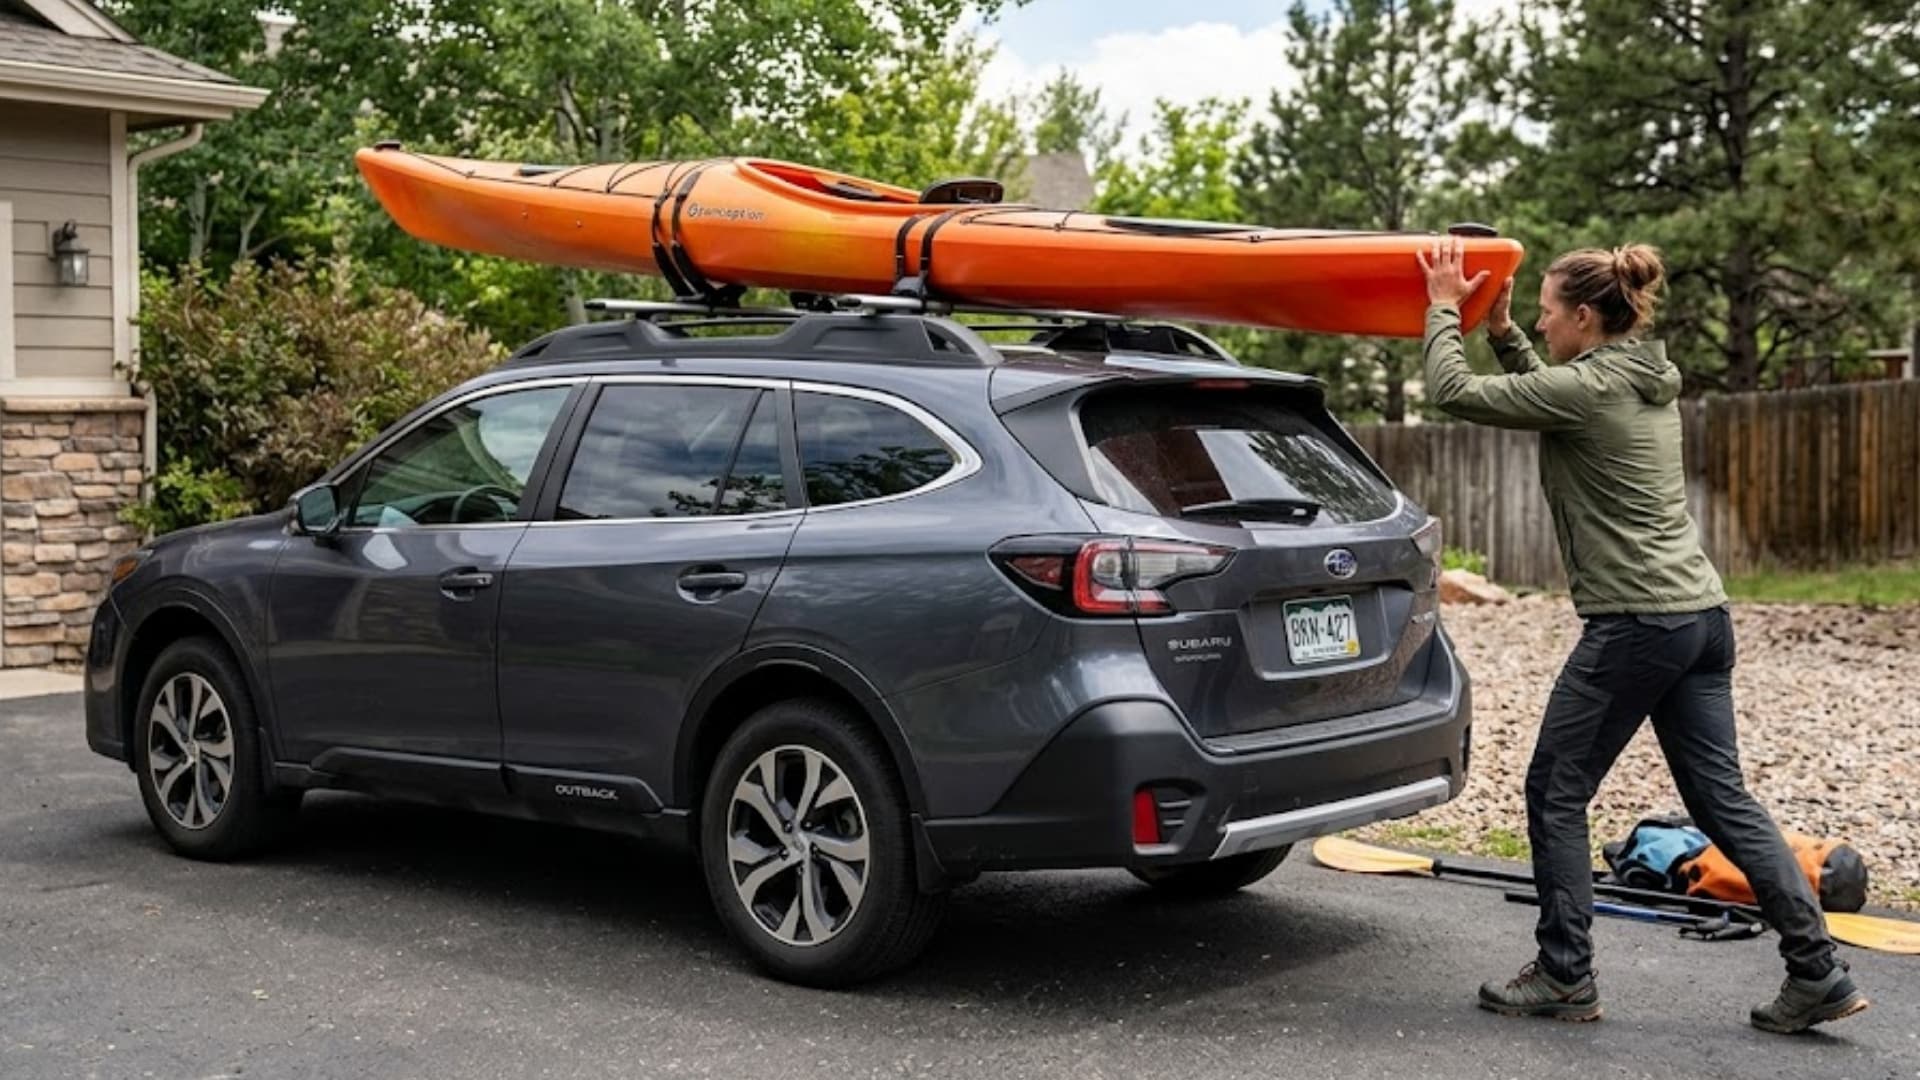
The rear slide method is one of the simplest side-loading kayak technique options for solo use. Place the kayak behind your vehicle and lift one end onto the rear rack.
Then push it forward while it slides into place. This leverage method, kayak loading, reduces lifting strain and maintains steady control.
It works especially well for SUVs and hatchbacks because of their rear access height and space.
2. The Shoulder Lift Technique

The shoulder lift technique works best for lightweight kayaks that are easier to handle. You place the kayak partially on your shoulder to help support its weight as you lift it onto the roof rack.
Keep your steps slow and balanced to avoid sudden shifts. This method combines body strength and balance, making it a practical option for short trips and smaller kayaks.
3. Using a Load Assist Bar or Roller
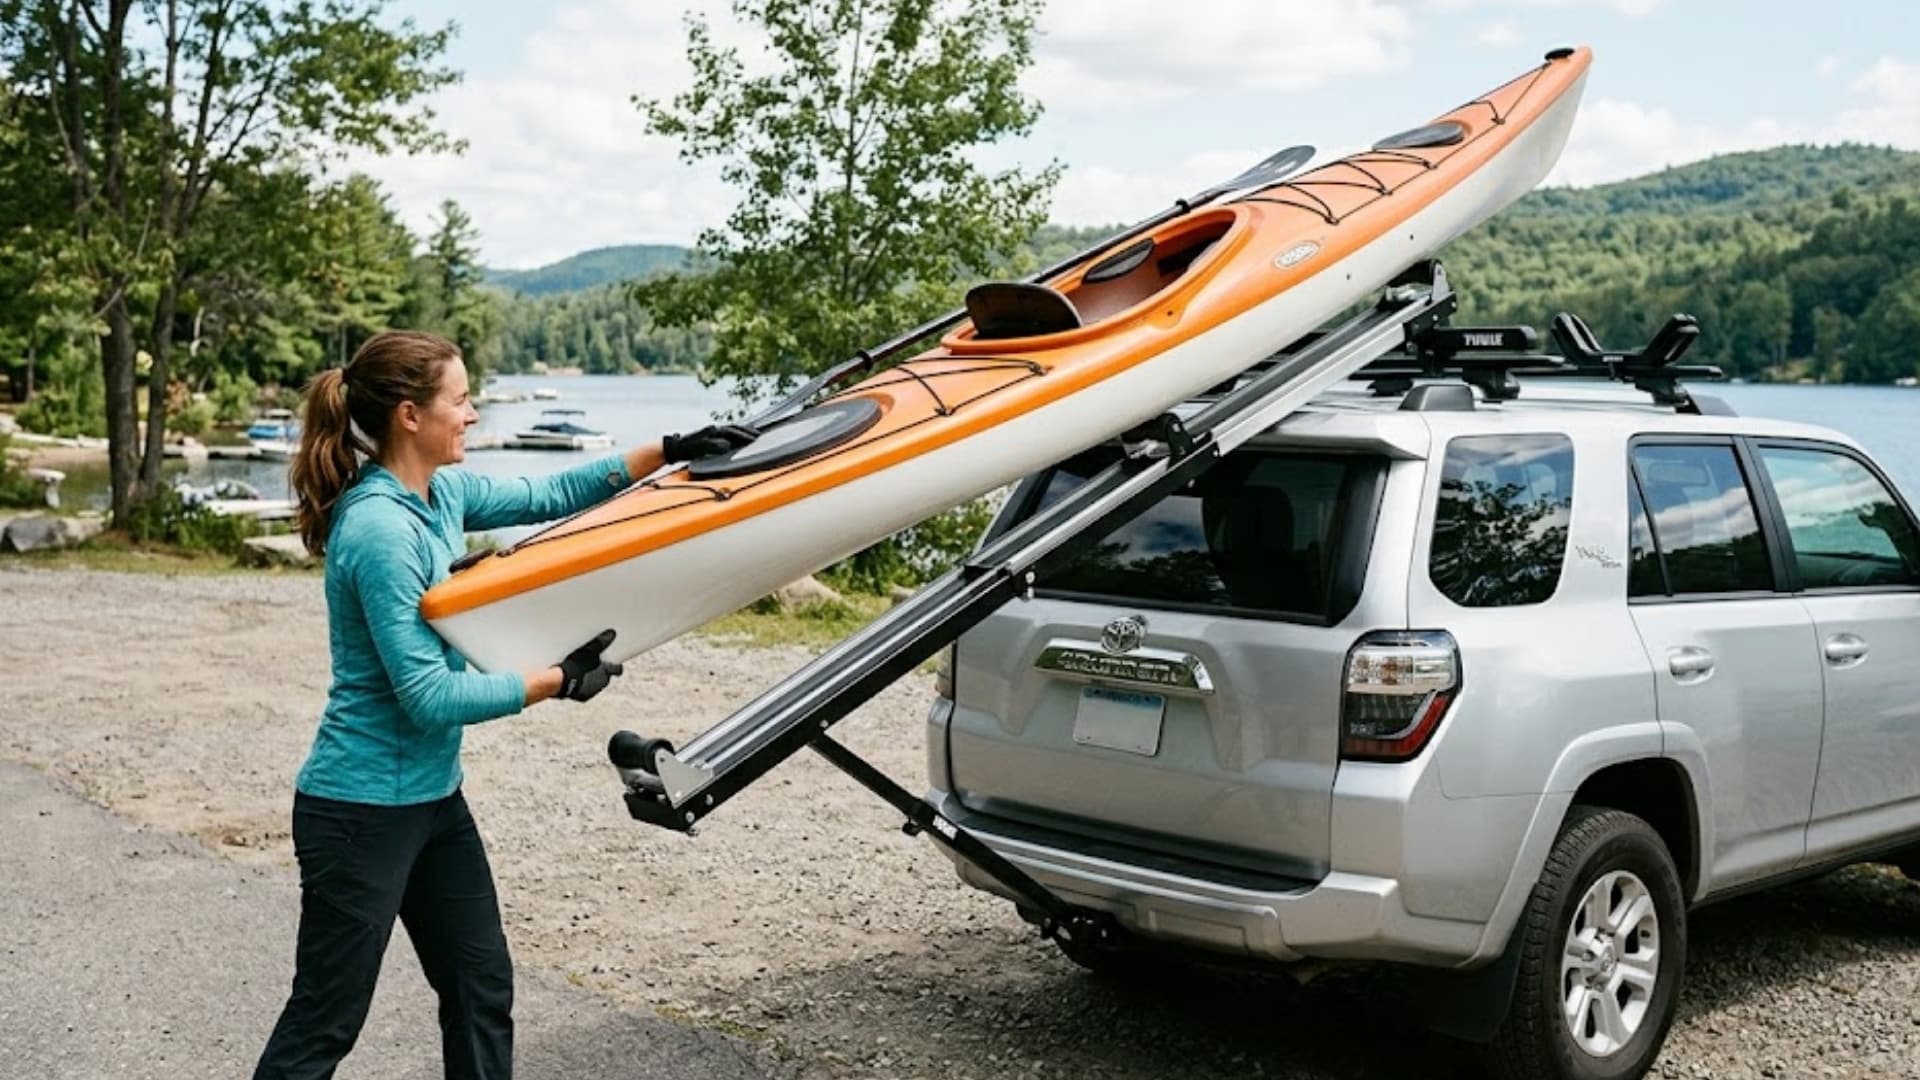
A load assist bar or roller is a helpful gear-based option for heavier kayaks. It reduces lifting effort by letting you roll or slide the kayak up onto the roof rack.
This kayak loading assist method gives better control and reduces strain on your back.
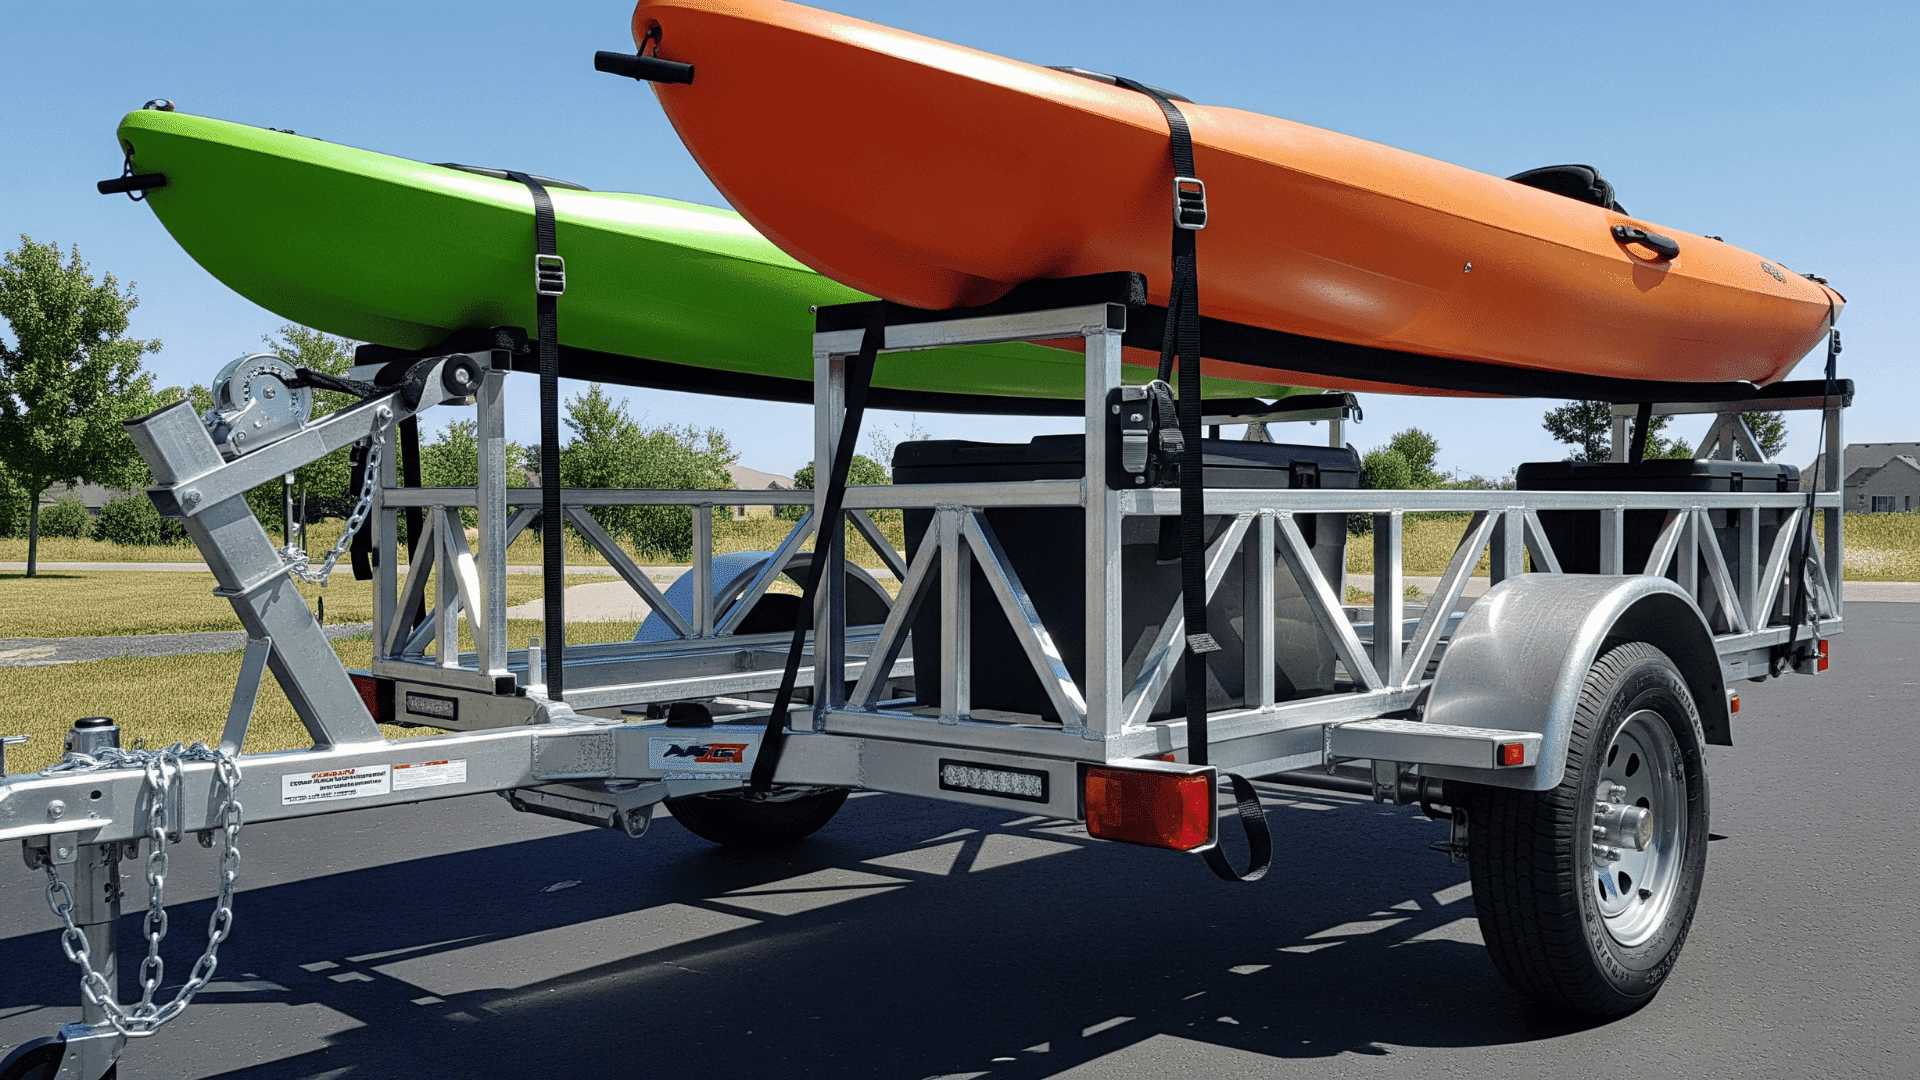
It is especially useful for taller vehicles or long kayaks where full lifting becomes difficult during solo loading, and many truckbed kayak transport setups also use rollers or assist bars to reduce lifting effort.
How to Secure a Kayak on Roof Rack (Straps, Bow & Stern Lines)
Use cam straps, not ratchet straps. Ratchet straps apply far more pressure than a kayak hull is built to handle, and they can permanently dent or crack the hull, even on hard plastic kayaks.
Cam buckle straps with a 12-foot minimum length give the right tension and are much safer. This is the single most common mistake paddlers make when strapping a kayak for transport.
Securing your kayak properly is just as important as loading it. Start by using kayak tie-down straps and tighten them in a cross pattern to keep the kayak secure on both sides.
Next, attach bow and stern lines to the kayak at the front and rear anchor points to stop forward or backward movement while driving.
Make sure the straps are tight enough to hold the kayak steady, but avoid over-tightening, as it can damage the hull. Knowing how to strap a kayak to a roof rack correctly keeps it stable and safe on the road.
Common Solo Kayak Loading Mistakes
Even small errors during solo kayak loading can lead to kayak transport mistakes or roof rack safety issues.
These mistakes can make the kayak unstable or unsafe while driving. Knowing what to avoid helps you keep better control and ensures a smoother experience every time you load your kayak alone.
- Loading from the Wrong Side: Loading from the incorrect side can make lifting harder and compromise balance, increasing the risk of slips or strains.
- Skipping Bow and Stern Lines: Without bow and stern lines, the kayak may shift forward or backward during travel.
- Not Centering Weight: If the kayak is not centered, it can cause unstable kayak loading and affect vehicle balance on the road.
- Using Loose Straps: Loose kayak tie-down straps can let the kayak move or shake, which is unsafe at higher speeds.
- Using Ratchet Straps: Ratchet straps over-tighten easily and can crack or permanently warp a kayak hull. Always use cam straps instead.
Avoiding these common mistakes makes loading safer and keeps your kayak secure during every trip.
Summing It Up
Learning how to load a kayak on the roof rack solo becomes easier with practice and the right approach.
From choosing the right rack setup to using safe lifting and securing methods, each step plays an important role in keeping your kayak stable during travel.
Small habits like centering weight and tightening straps properly can prevent common problems on the road.
If you have tried any of these methods or have your own tips, share them in the comments below. Your experience can help others improve their kayak loading process, too.
Frequently Asked Questions
What Speed Should You Drive with a Kayak on a Roof Rack?
Most experts recommend keeping your speed between 50 and 80 km/h for better stability and control. Higher speeds can increase wind pressure and the risk of straps loosening over long distances.
Can You Safely Leave a Kayak on the Roof Rack Overnight?
Yes, but it is better to remove it when parking in open or unsecured areas. Leaving it overnight can expose it to theft, weather damage, or strap loosening.
How Much Overhang is Allowed for a Kayak on a Car Roof?
A small overhang is normal, but it should not extend too far beyond the car’s length. Excessive overhang can affect balance and may be unsafe or illegal in some areas.