
If you own a kayak, you already know the fun part starts on the water. The less glamorous part shows up before and after the trip: getting your boat where it needs to go and storing it without slowly wrecking it. If you live in or around Round Rock, Texas, heat, sun exposure, and limited garage space can make the whole process trickier. A few smart habits can save you money, space, and a lot of avoidable frustration.
Know What Can Damage a Kayak During Transport
A kayak looks tough, and most are. That doesn’t mean they enjoy being strapped down like luggage in a storm. Over-tightening tie-downs can warp a plastic hull, especially in hot weather. Texas sun adds extra drama, since heat softens some materials and makes pressure damage more likely.
You also need to watch for movement during the drive. Even a slight side-to-side shift can scrape the hull or stress the mounting points. If your kayak sticks too far past your vehicle, visibility and road safety become real concerns.
Keep these risks in mind:
– Hull warping from tight straps
– Damage from direct sun and heat
– Scratches from poor rack padding
– Bow and stern movement at highway speed
– Weak tie-down points that loosen mid-trip
A little setup time beats discovering your kayak now has a personality twist.
Plan for Moves, Seasonal Changes, and Longer Gaps Between Trips
Transport and storage get more complicated when life changes. Moving homes, switching apartments, or taking a long break during colder months can create new risks for your kayak. A rushed move often leads to careless stacking, bad tie-downs, or leaving gear exposed in the wrong place.
If you’re relocating in Central Texas, working with professionals like Mountain Movers can make a difference when you need to protect bulky outdoor equipment along with furniture and boxes. That matters in Round Rock, where summer heat can turn a delayed unloading process into a material-stressing mess.
Before any move or seasonal reset, make time to:
– Inspect the hull for soft spots or dents
– Remove loose accessories
– Pack paddles and safety gear separately
– Reevaluate storage layout in the new space
– Avoid stacking heavy items on the kayak
Your kayak may spend plenty of time out of the water. It still deserves a setup that keeps it ready for the next launch.
Choose the Right Roof Rack or Vehicle Setup
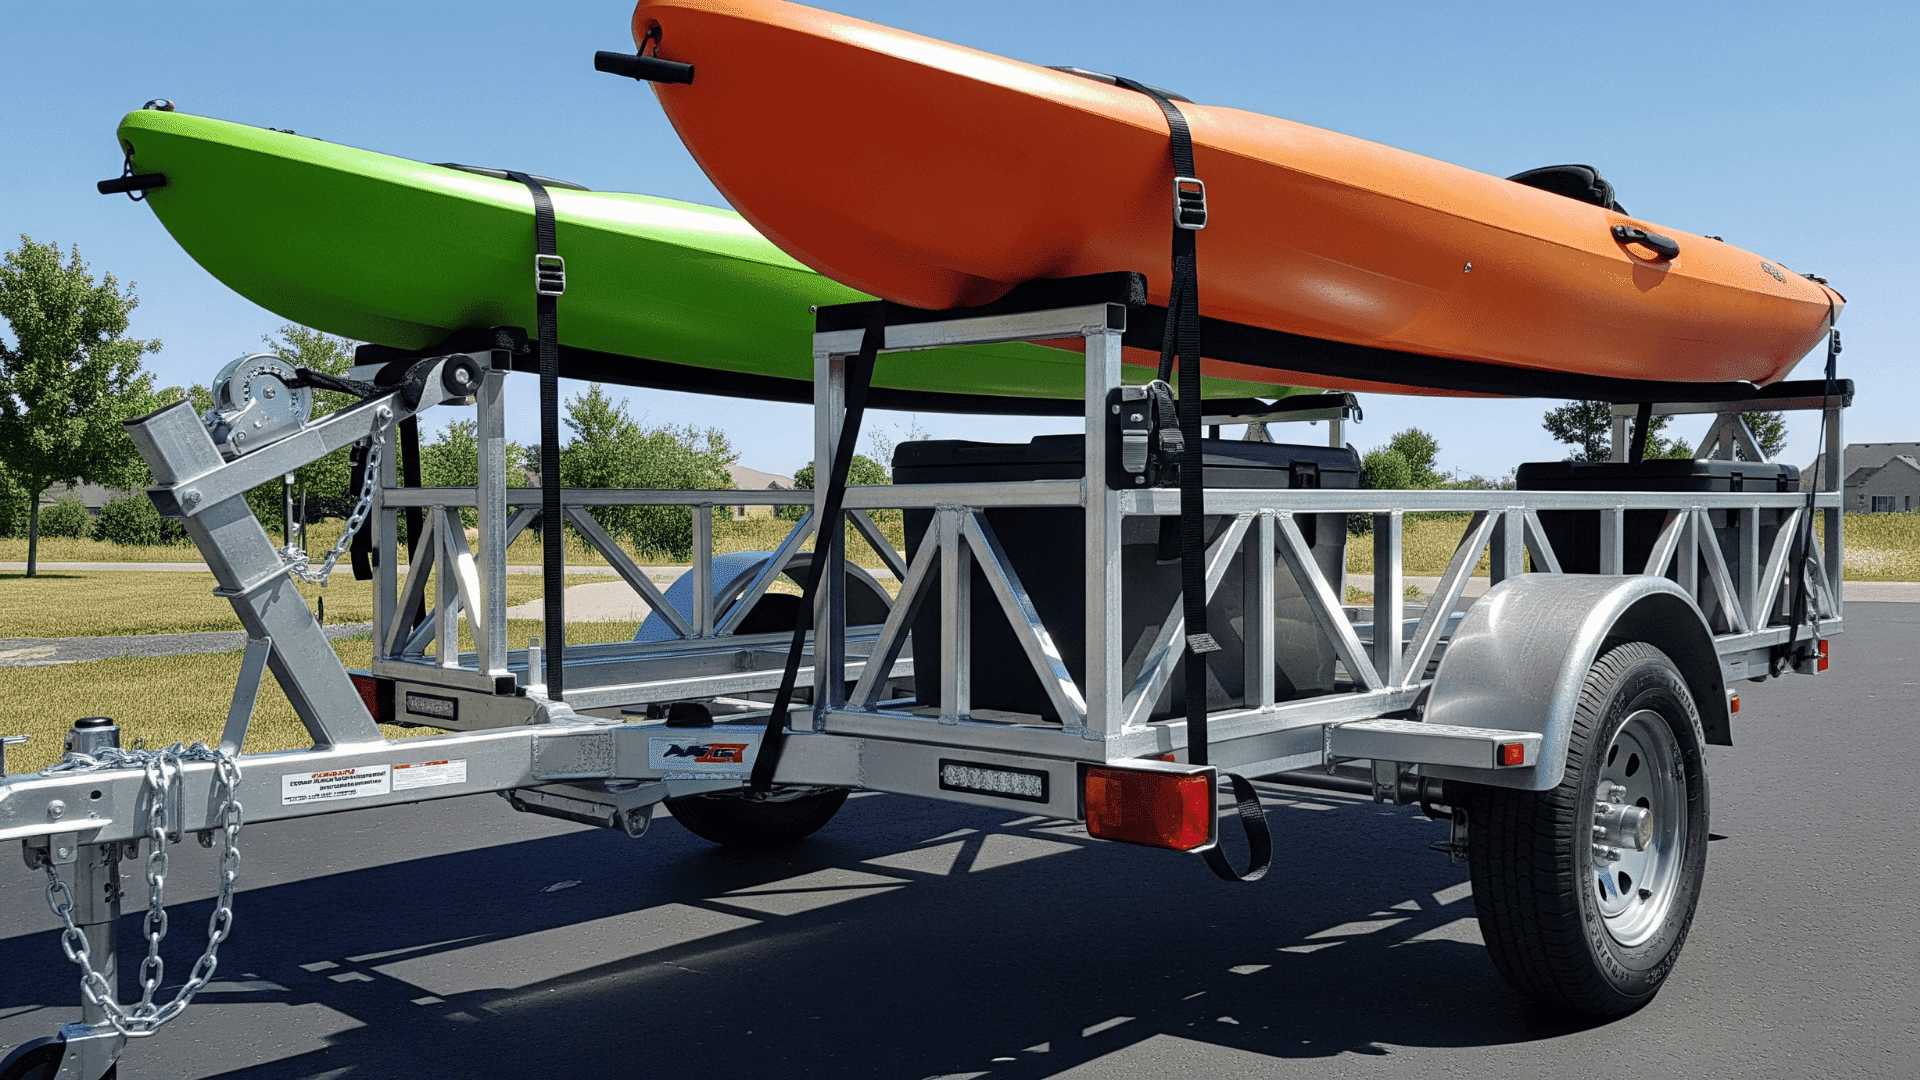
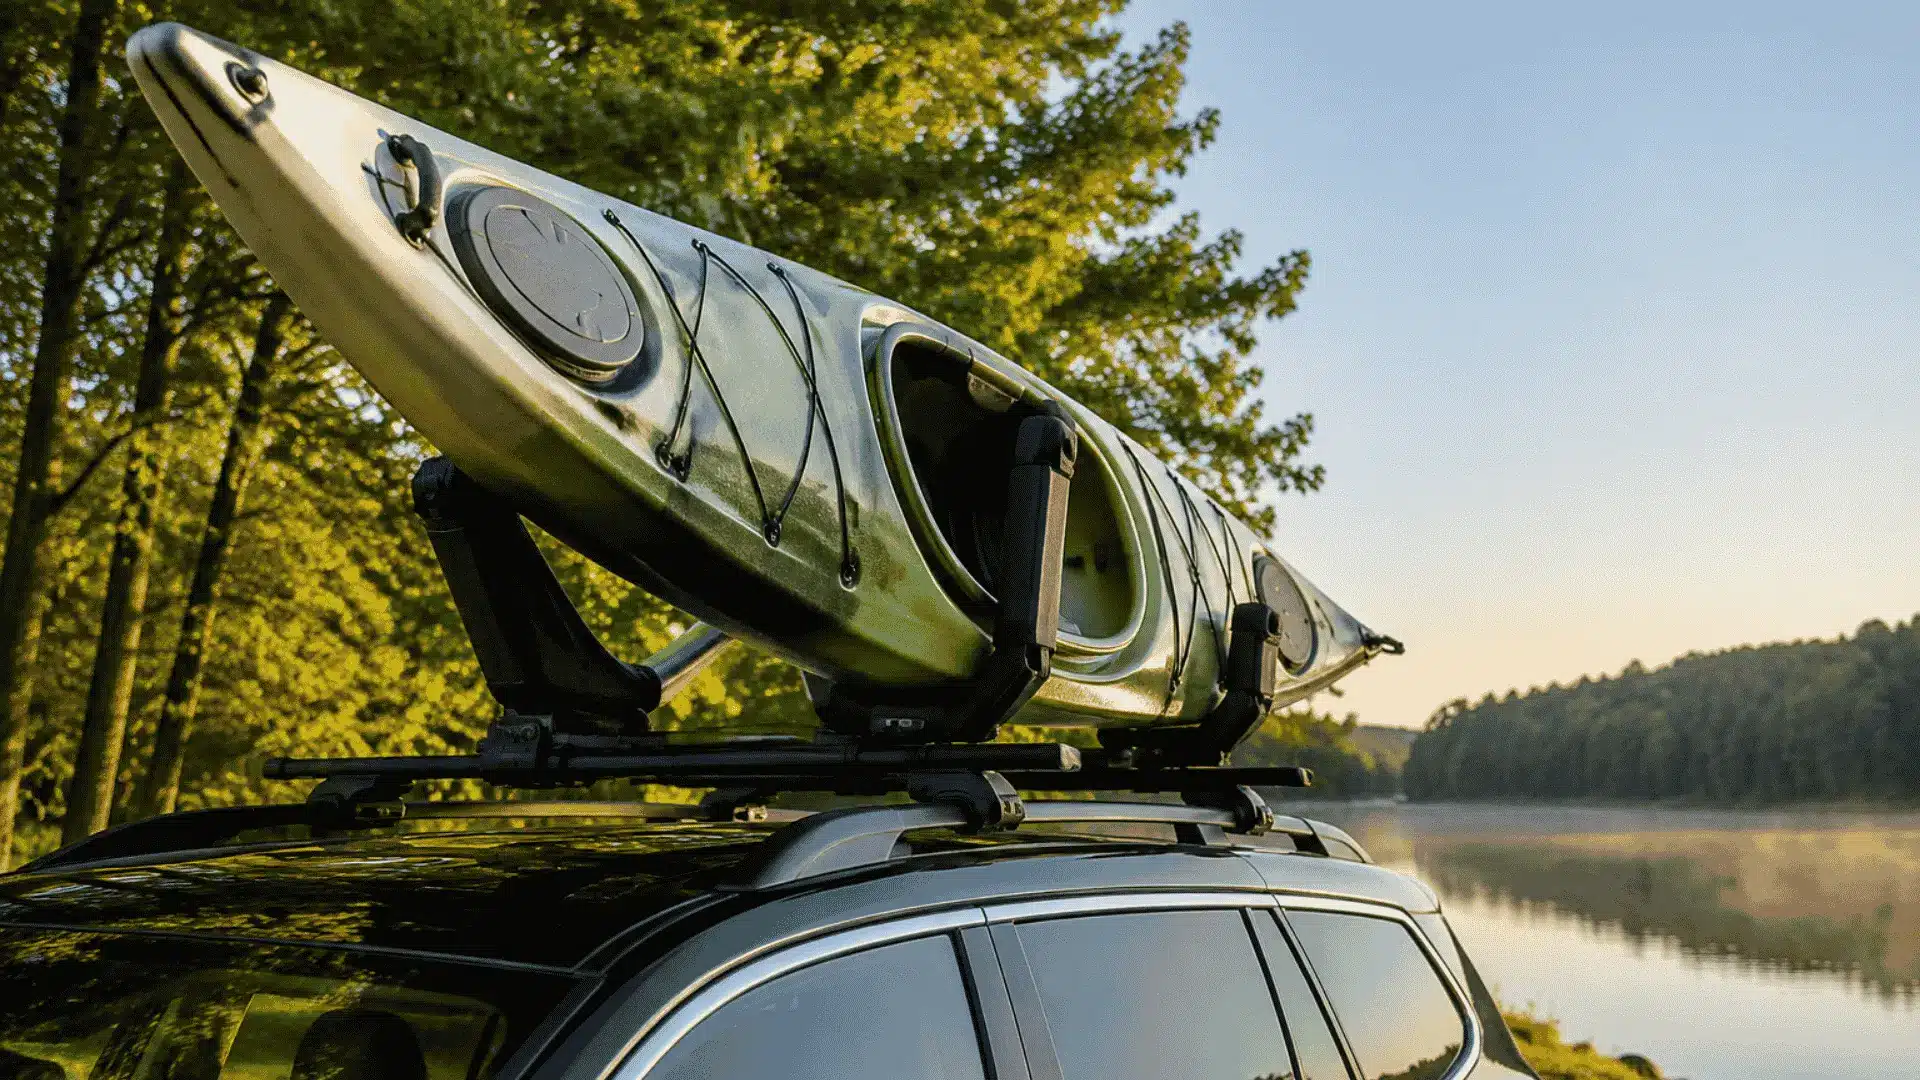
Your transport system matters more than many first-time owners expect. Tossing a kayak onto bare roof rails is not a strategy. It’s a gamble. Crossbars, saddles, J-cradles, and foam blocks all serve different purposes depending on your kayak’s size, weight, and hull shape.
If you drive a sedan, lighter recreational kayaks often work well with padded racks and bow-stern lines. SUVs and trucks give you more flexibility, but they still need secure anchor points. Wider fishing kayaks may need sturdier crossbars or even a trailer.
When comparing your options, focus on:
– Vehicle roof weight limits
– Kayak length and hull design
– Ease of loading solo
– Storage space for rack accessories
– Frequency of short trips versus highway travel
A setup that works for a ten-minute local drive may be miserable on a three-hour highway run. Match the system to how you actually use your kayak, not just what looks neat in the driveway.
Load and Strap Your Kayak the Right Way
Loading a kayak badly can damage both the boat and your car before you even leave home. If you’re lifting solo, use a towel, load assist bar, or rear roller to avoid dragging the hull across metal or glass. That scraping sound is never a good sign.
Once the kayak is centered, use cam straps instead of ratchet straps when possible. Ratchet straps make it far too easy to crank down too hard. Secure the boat at the rack, then add bow and stern lines to reduce lift and sway.
A good loading routine includes:
– Centering the kayak before tightening anything
– Using padded contact points
– Tightening until snug, not crushed
– Twisting strap sections to reduce wind hum
– Checking all lines after ten to fifteen minutes of driving
That last step matters. Straps settle. Wind changes things. Your kayak should ride securely, not audition for a low-budget action scene.
Store Your Kayak to Protect Its Shape and Surface
Storage habits have a huge effect on kayak lifespan. Leaving a kayak flat on concrete or balanced on two random corners can lead to dents, warping, and stress spots over time. Plastic kayaks are especially vulnerable when stored poorly in hot conditions.
The ideal setup keeps the kayak off the ground, supported at recommended points, and out of direct sunlight. Wall racks, suspended straps, and freestanding cradles all work if they distribute weight properly. If indoor space is tight, use a breathable cover and choose the shadiest, coolest spot available.
For better long-term storage, try to:
– Store the kayak in a garage or shed when possible
– Avoid prolonged UV exposure
– Support it on its side or according to manufacturer guidance
– Keep straps loose if using hanging storage
– Clean and dry the kayak before putting it away
A kayak can handle adventure. It should not have to survive months of bad storage decisions too.
Make Small-Space Storage Work Without the Chaos
Not everyone has a giant garage with polished floors and labeled hooks. Plenty of kayak owners are working with apartment parking, narrow sheds, shared garages, or patios that already look one lawn chair away from collapse.
In smaller spaces, vertical storage can be useful for lighter kayaks if the manufacturer allows it. Ceiling hoists are another strong option, especially if floor space is already crowded with bikes, bins, and the usual mystery tools nobody claims. Folding racks can help if you want something less permanent.
You can also save space by organizing accessories separately:
– Keep paddles on wall clips
– Store PFDs in ventilated bins
– Hang straps to prevent tangling
– Use labeled tubs for repair kits and dry bags
– Keep roof rack parts together in one spot
A tidy setup makes your next trip faster. It also cuts down on the classic pre-launch ritual of hunting for one missing buckle.
Build a Routine That Makes Every Trip Easier
The best transport and storage system is the one you’ll actually use every time. Complicated routines tend to fall apart when you’re tired, running late, or trying to beat the weather. A simple checklist helps you stay consistent and avoid preventable mistakes.
Create a repeatable process for loading, checking straps, unloading, rinsing, and storing your kayak. If multiple people in your household use the boat, keep the system easy enough for everyone to follow. Reliability matters more than fancy gear.
A practical routine might include:
– Pre-checking straps and rack hardware
– Keeping a small transport kit in your vehicle
– Rinsing the kayak after each trip
– Letting everything dry before storage
– Doing a quick monthly inspection for wear
When your setup works smoothly, you spend less time wrestling with logistics and more time planning where to paddle next. That’s the whole point, and your back will probably send a thank-you note.