Most people assume cross-country skiing is something you figure out naturally. Strap on skis, push off, done. Then the first downhill hits.
Learning how to cross-country ski the right way, weight forward, poles timed, rhythm locked in, changes everything about the experience.
Let’s walk through the gear you actually need, the classic techniques beginners should start with, and the specific drills that build real confidence on snow.
No steep learning curves. Just a practical path from first steps to first full run.
What is Cross Country Skiing?
Cross-country skiing, also called Nordic skiing or XC skiing, is a winter sport where you propel yourself across snow-covered terrain using skis, boots, and poles, no ski lift required. Unlike downhill skiing, where the mountain does most of the work, cross-country skiing is self-powered from start to finish.
There are two main styles beginners will encounter:
| Style | Movement | Best For |
|---|---|---|
| Classic | Skis move straight forward in groomed tracks | Beginners, relaxed pace, varied terrain |
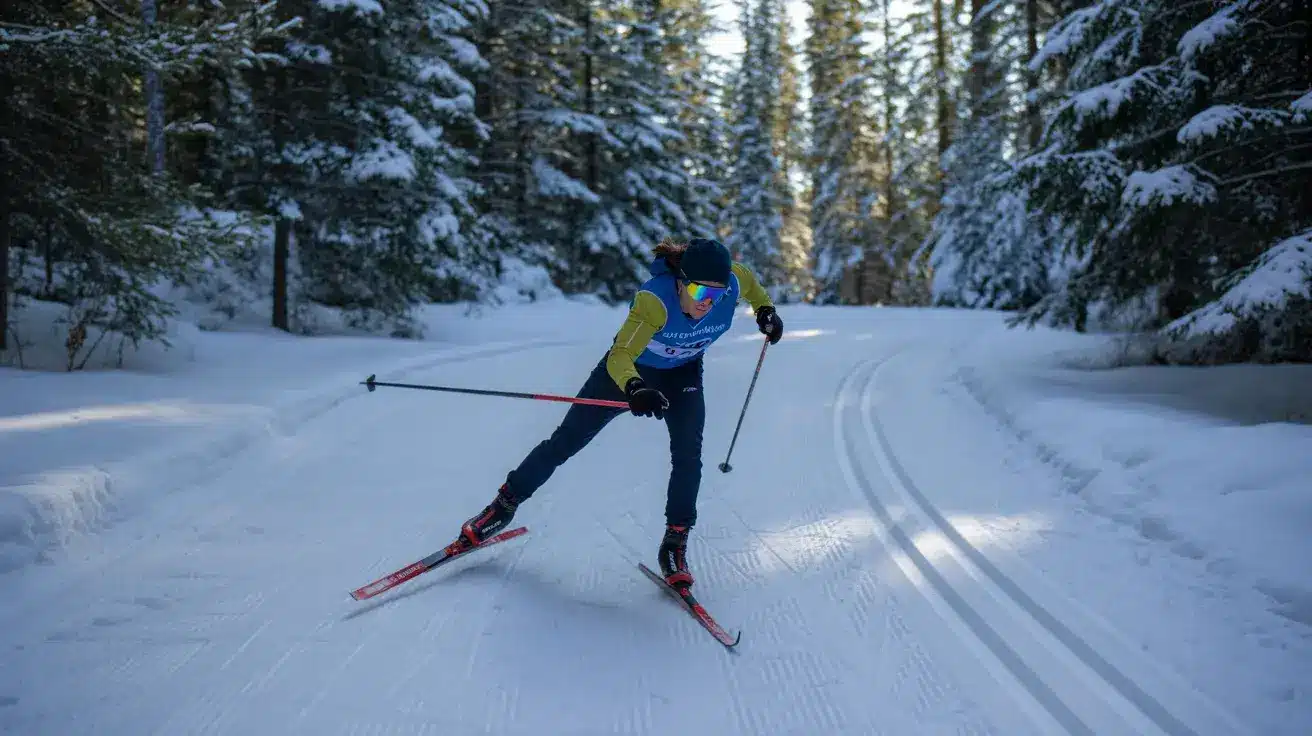
| Skate | V-shape push mimicking ice skating | Faster speeds, an intense workout, and advanced users |
Classic skiing is the starting point for almost every new skier. The movement mirrors walking, the gear is more forgiving, and groomed tracks guide you through the terrain. Among other skiing types, skate skiing gained mainstream popularity in the 1980s and is significantly more technically demanding, worth exploring later, but not on day one.
Why Learn How to Cross Country SkiCross-country skiing works muscles from your calves to your shoulders in a single session. It’s one of the few winter sports that qualify as a genuine full-body workout without the joint strain that comes with running or high-impact training. On flat and rolling terrain, the impact is low, making it accessible for a wide range of fitness levels and ages. Beyond fitness, it opens up outdoor spaces that go quiet in winter. |
Essential Gear & Equipment
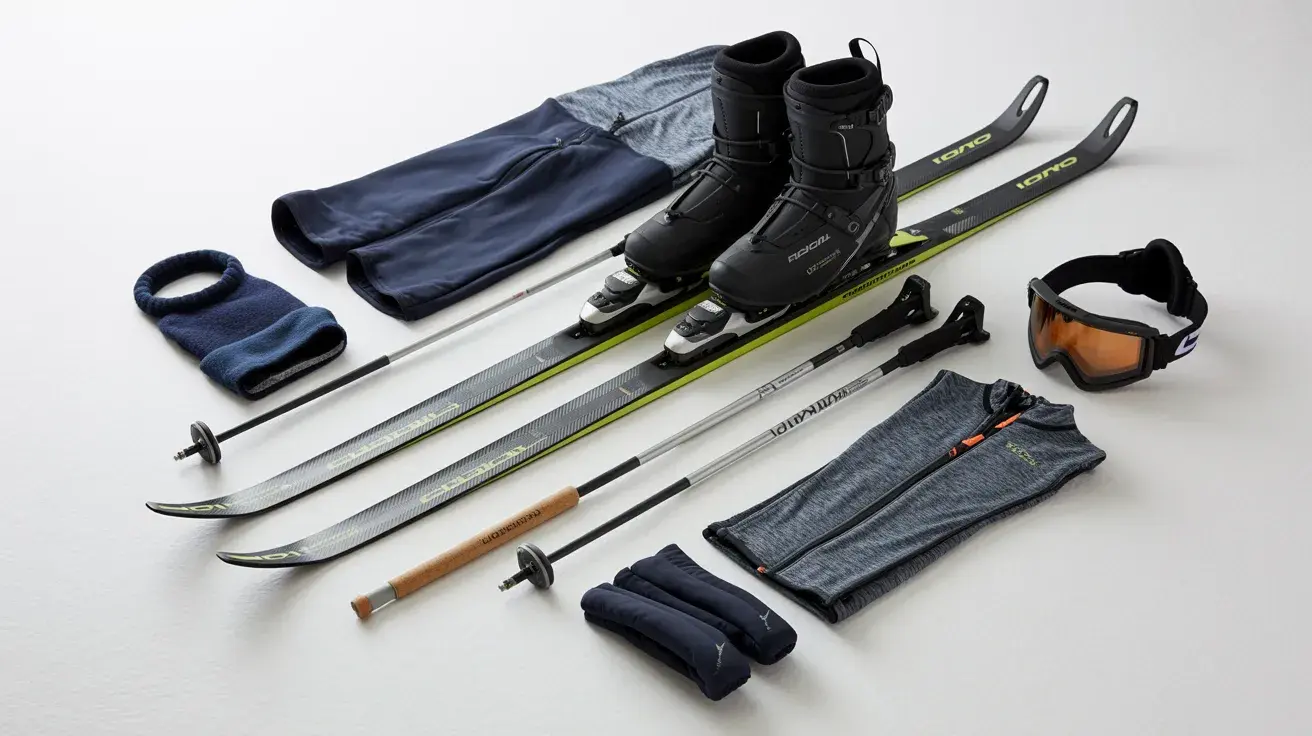
Getting the right gear before you step on snow saves a lot of frustration on the trail. None of it needs to be expensive, but fit, sizing, and system compatibility matter more than most beginners realize.
- Skis: Start with waxless classic skis (fishscale or skin), which grip on the kick and glide cleanly without wax. Sized by body weight, not height; skate skis are a separate, incompatible design.
- Boots: Should feel snug with zero heel slip. Nordic boots are lightweight and flexible; flex them forward when trying a pair to confirm the heel stays planted.
- Bindings: Cross-country boots and bindings use four main systems, NNN, SNS, Turnamic, and ProLink. NNN, Turnamic, and ProLink are all cross-compatible. SNS is a Salomon-only system and is not compatible with the others.
- Poles: For classic skiing, poles should reach your armpit when standing upright. Too long, and you pull up instead of pushing back; too short, and you lose drive.
- Clothing: Layering for skiing is yet another important aspect. A moisture-wicking base, a light fleece midlayer, and a wind-resistant (not waterproof) shell keep you warm without overheating.
Add a thin hat, light gloves, and thin wool socks. Avoid cotton entirely. Once it absorbs sweat, it stays wet and cold.
Quick Gear Checklist for Beginners
|
Basic Techniques: How to Cross Country Ski
Technique is where most beginners either build confidence fast or pick up habits that take weeks to undo. Start with the basics here, get them solid on flat terrain, and everything else
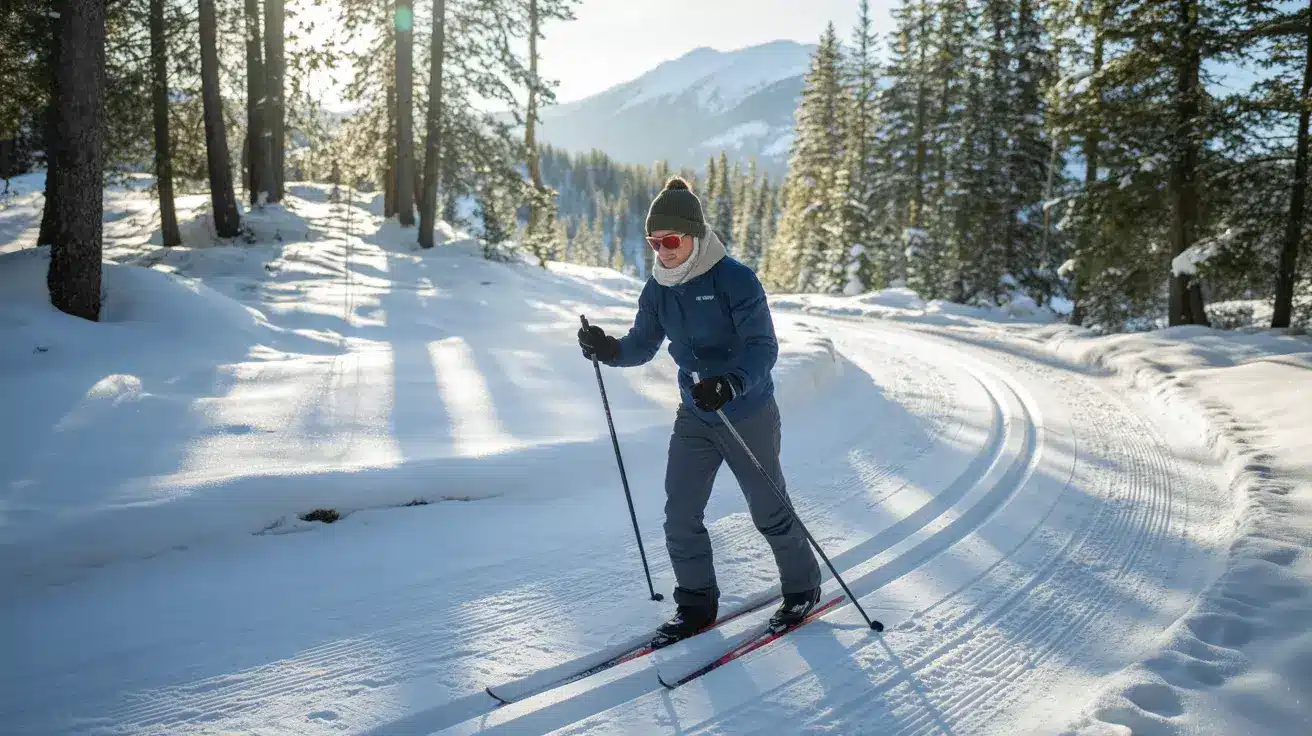
Balanced Stance & Weight Transfer
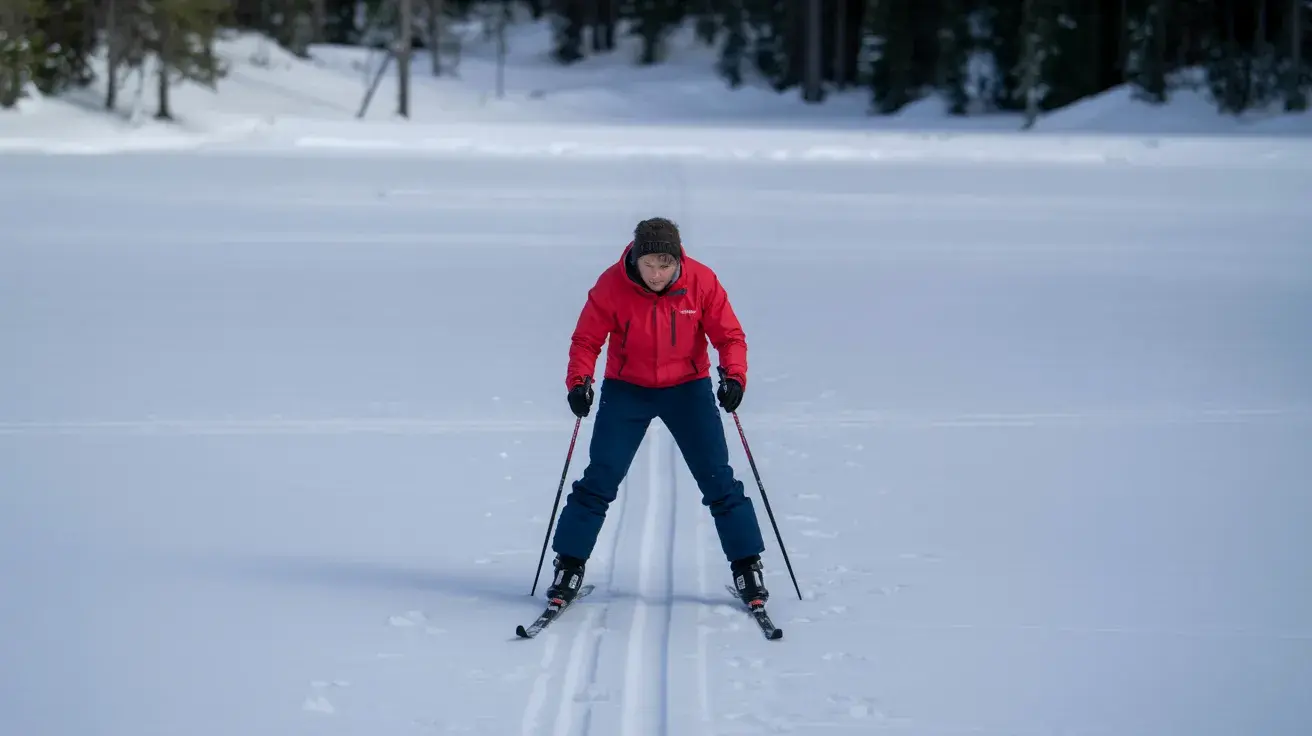
Before moving, get comfortable in the stance. Stand with feet roughly shoulder-width apart. Bend slightly at the hips, knees, and ankles, not a deep squat, just a slight forward lean.
Your weight should sit over the balls of your feet, not your heels. This posture is the foundation of every movement in classic skiing.
Check Here: What National Centre for Biotechnology Information has to say on technique and maximal skiing speed for youth.
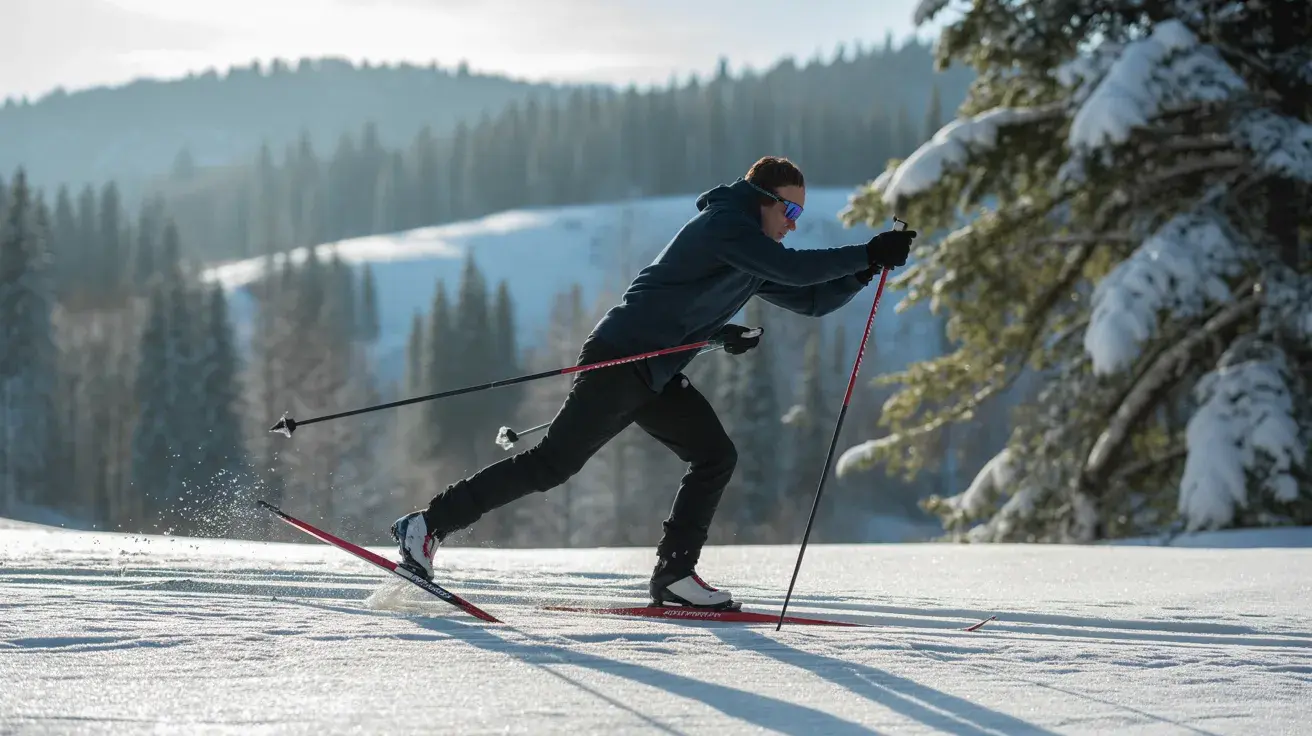
Kick & Glide (Classic Skiing)
The diagonal stride, also called kick and glide, is the core movement of classic cross-country skiing. Here’s how it breaks down step by step:
Step 1: Shuffle forward. Start by shuffling one foot forward, then the other. Keep it slow and relaxed. Notice how the grip zone under your foot grips the snow as you push back.
Step 2: Add a kick. As your right foot moves back, push down firmly through the ball of your foot. This compresses the grip zone into the snow and generates forward momentum. That push is the “kick.”
Step 3: Shift weight and glide. As you kick with the right foot, shift your weight fully onto the left ski and let it glide forward. The glide is the payoff. Most beginners rush this part — hold it for a beat.
Step 4: Repeat on the other side. Left foot kicks, right ski glides. The rhythm alternates in a walking-like pattern: kick, glide, kick, glide.
The goal isn’t speed, it’s rhythm. Smooth, relaxed alternation between kick and glide is what classic cross country skiing feels like when the technique clicks.
Using Poles for Propulsion
Once the kick-glide rhythm feels natural, bring in the poles. In classic skiing, poles follow an opposite arm, opposite leg pattern:
- Right ski kicks → left pole plants
- Left ski kicks → right pole plants
Plant the pole slightly behind the tip of your forward ski and push back as your leg kicks. Release the grip at the end of the push and let the pole swing forward naturally. Gripping the entire stroke tight kills efficiency.
How to Start: Step-by-Step on Snow
The first time on snow, forget technique entirely. Focus on feel, how the skis glide, how your weight shifts, how the poles connect to the ground. Everything else builds from there.
1. Putting on Your Skis On flat ground, step in toe-first and press down until the binding clicks. Shake each ski to confirm it’s locked. On any incline, angle skis across the slope before clipping in.
2. Walking with Poles. Before attempting a stride, just walk. Push gently off the poles and get used to the glide underfoot. It removes the mental load of technique, letting your body adjust to the skis naturally.
3. First Glides on Flat Terrain Push off one foot and hold the glide on the other ski as long as possible before the next foot comes down. Repeat on both sides. This single-leg drill builds the balance, a classic technique that depends on speed more than any other exercise.
4. Adding the Kick Once gliding feels stable, bring in the kick. Shuffle-kick-glide, shuffle-kick-glide, slow and deliberate. Count a beat on each glide to stop yourself rushing. Add poles only after the leg rhythm feels automatic.
Don’t move on to hills or poles until flat terrain feels comfortable. Ten minutes of solid groundwork here is worth more than an hour of struggling through terrain you’re not ready for.
Common Challenges & How to Handle Them
Every beginner hits the same walls: a slope that feels steeper than it looks, poles that seem to work against you, and a stop that doesn’t happen fast enough.
Stopping: The Wedge Push heels outward, tips together, tails apart. Roll knees and ankles slightly inward to engage the inside edges. Widen the wedge to brake harder; hold it until you stop. Practice on flat terrain first, then a gentle slope, before any real descent.
Handling Hills
| Situation | What to Do |
|---|---|
| Shallow uphill | Stay in your diagonal stride; press body weight firmly into the grip zone with each kick |
| Steep uphill | Switch to herringbone, tips out in a V, inside edges dug in, poles planted behind your skis |
| Downhill | Weight forward, knees bent, arms out; use the wedge to control speed |
Beginner Mistakes to Fix Early
- Leaning Back: Skis shoot forward, you fall. Fix: bend the ankles and knees, and keep the weight over the balls of the feet at all times.
- Planting Poles Too Far Forward: Arms pull forward rather than push back. Fix: plant behind the tip of your forward ski.
- Gripping Poles Through the Full Stroke: Kills drive efficiency. Fix: release after the push and let the pole swing freely.
- Rushing the Glide: Momentum never builds; legs tire fast. Fix: count a full beat on each glide before switching feet.
- Incomplete Weight Transfer: Skis slip to the side. Fix: commit your full weight onto the gliding ski with each stride.
The mistakes listed above are fixable in an afternoon; the skiers who improve fastest are simply the ones who slow down and correct one thing at a time.
Where to Ski as a Beginner?
Start on groomed, flat trails, the kind maintained by Nordic ski centers or cross-country trail networks. These places of skiing have packed snow surfaces and, for classic skiing, pre-set tracks you step into. The tracks guide your skis and reduce the amount of balance work.
Trail rating systems use color codes similar to alpine skiing:
- Green (novice): Flat to gently rolling, wide trails, minimal obstacles
- Blue (intermediate): More elevation change, some narrower sections
- Black (advanced): Steep grades, technical terrain, not for beginners
Stick to green trails for your first several sessions. The technique work is already challenging on flat ground; adding elevation before the basics are solid makes the learning curve steeper than it needs to be.
Conclusion
Cross-country skiing is one of those sports that reward patience in the first few sessions and pay back handsomely once the rhythm clicks.
The kick-glide feels awkward before it feels natural, and that’s true for everyone.
Get the gear fitted properly, start on flat groomed terrain, and focus on building rhythm before trying anything technical.
The technique details in this guide give you the foundation; the snow gives you the feedback.
Once you’ve had your first real run, share how it went. First experiences on cross-country skis tend to be memorable in the best possible way.
Frequently Asked Questions
How Long Does it Take to Learn Cross Country Skiing?
Most beginners manage a basic diagonal stride within one or two sessions. Consistent technique takes several outings to develop naturally.
Classic vs Skate Skiing: Which is Better for Beginners?
Classic skiing. The movement resembles walking, the gear is more forgiving, and groomed tracks significantly reduce balance demands.
Do I Need Skiing Lessons to Start?
Not strictly, but a single lesson at a Nordic center accelerates progress faster than several self-taught sessions and helps avoid bad habits early.