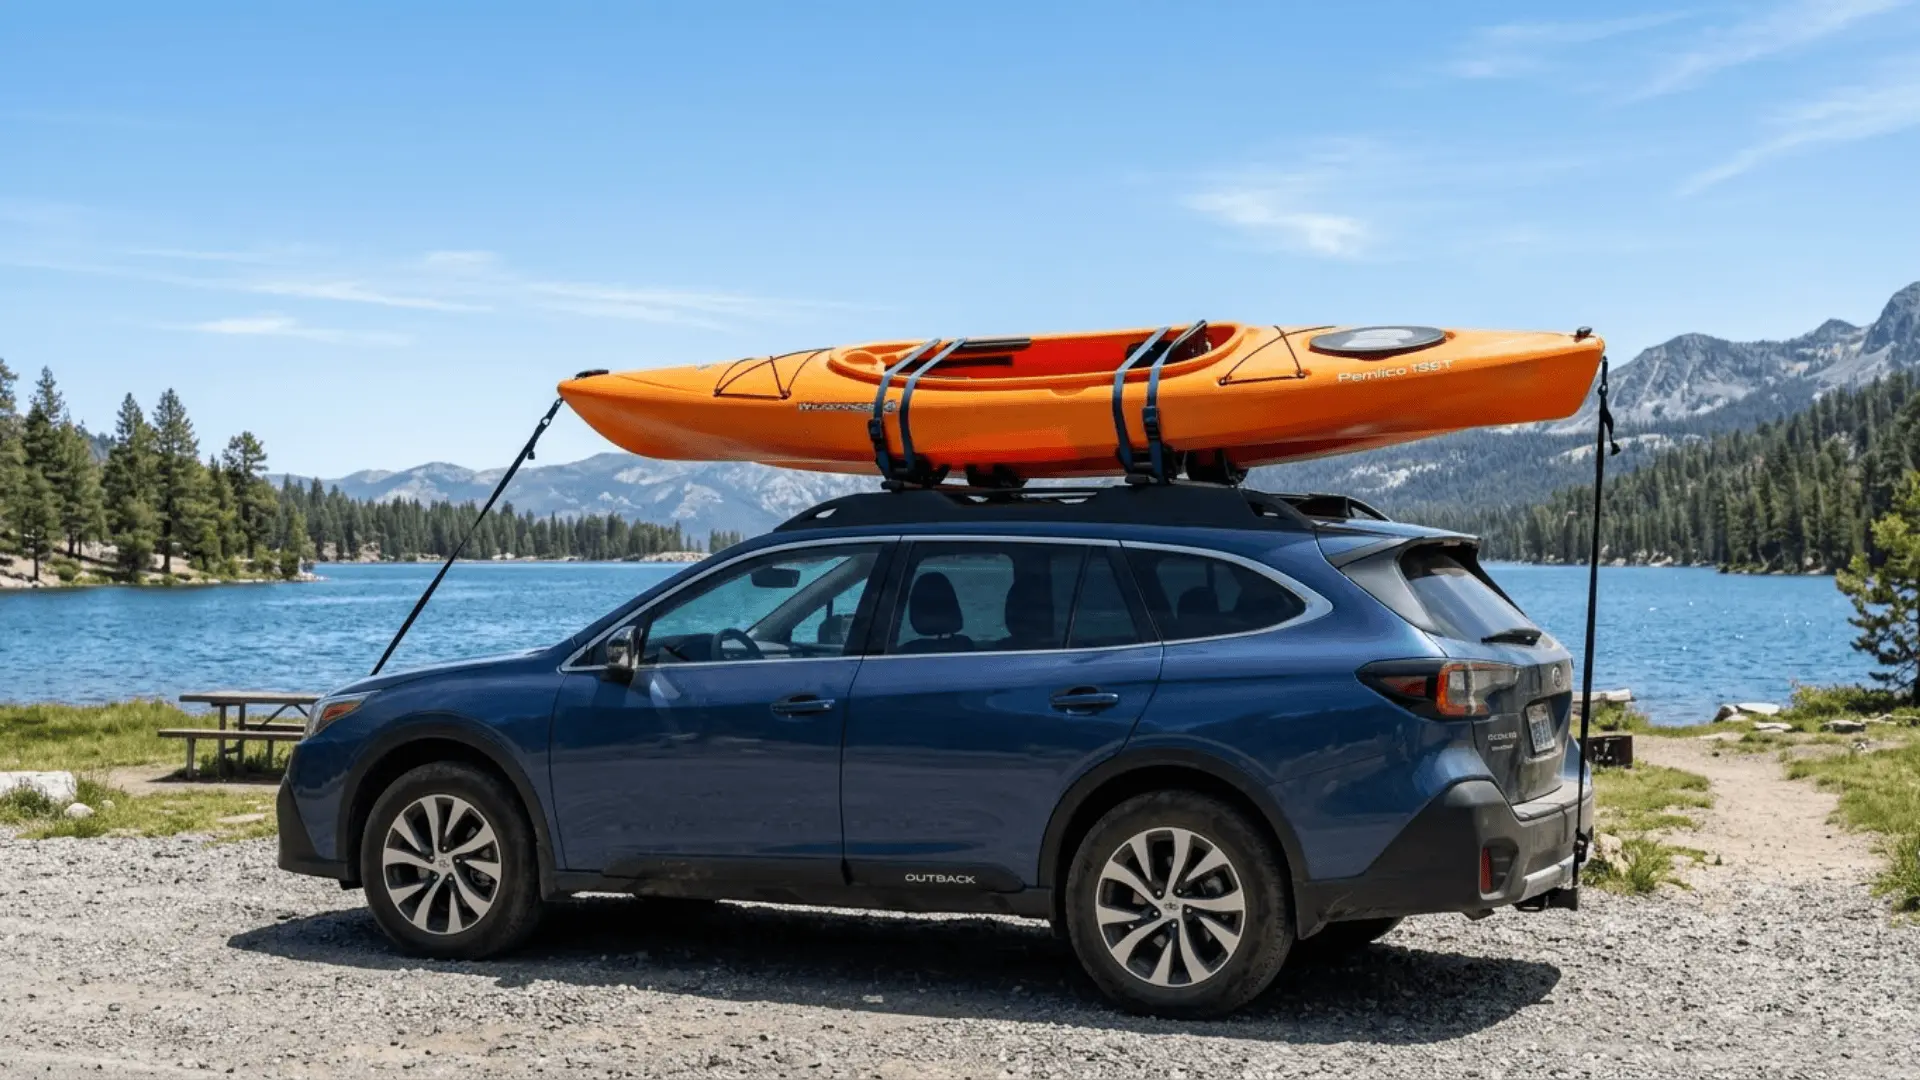
Roof-racking a single kayak is manageable. Trying to load two or three kayaks onto a car roof by yourself, especially after a long day on the water, is where most paddlers start thinking about trailers.
A Harbor Freight kayak trailer is one of the most cost-effective ways to solve this problem.
The Harbor Freight 4×8 utility trailer (model #42708 or the heavy-duty #94564) gives you a solid steel base that converts into a capable kayak hauler for a fraction of the cost of a factory-built trailer.
I have helped build and configure several of these setups over the years, and the process is straightforward once you know which modifications actually matter.
This guide covers what to buy, what to change, and how to build it safely from the ground up.
Why Kayakers Use Harbor Freight Trailers
Many kayakers start with a Harbor Freight trailer because it costs much less than buying a ready-made kayak trailer.
The simple frame makes it easy to add racks, crossbars, storage boxes, and other parts based on your setup. Most models are lightweight, making them easier to tow and move around than heavier steel trailers.
Folding trailer options are also popular because they save space in garages and driveways when not in use.
For comparison, purpose-built kayak trailers from brands like Malone or Yakima start at around $1,000 and go up to $2,200, with no storage. A Harbor Freight build with a proper rack, lights, and hardware typically comes in at $450 to $700 all in.
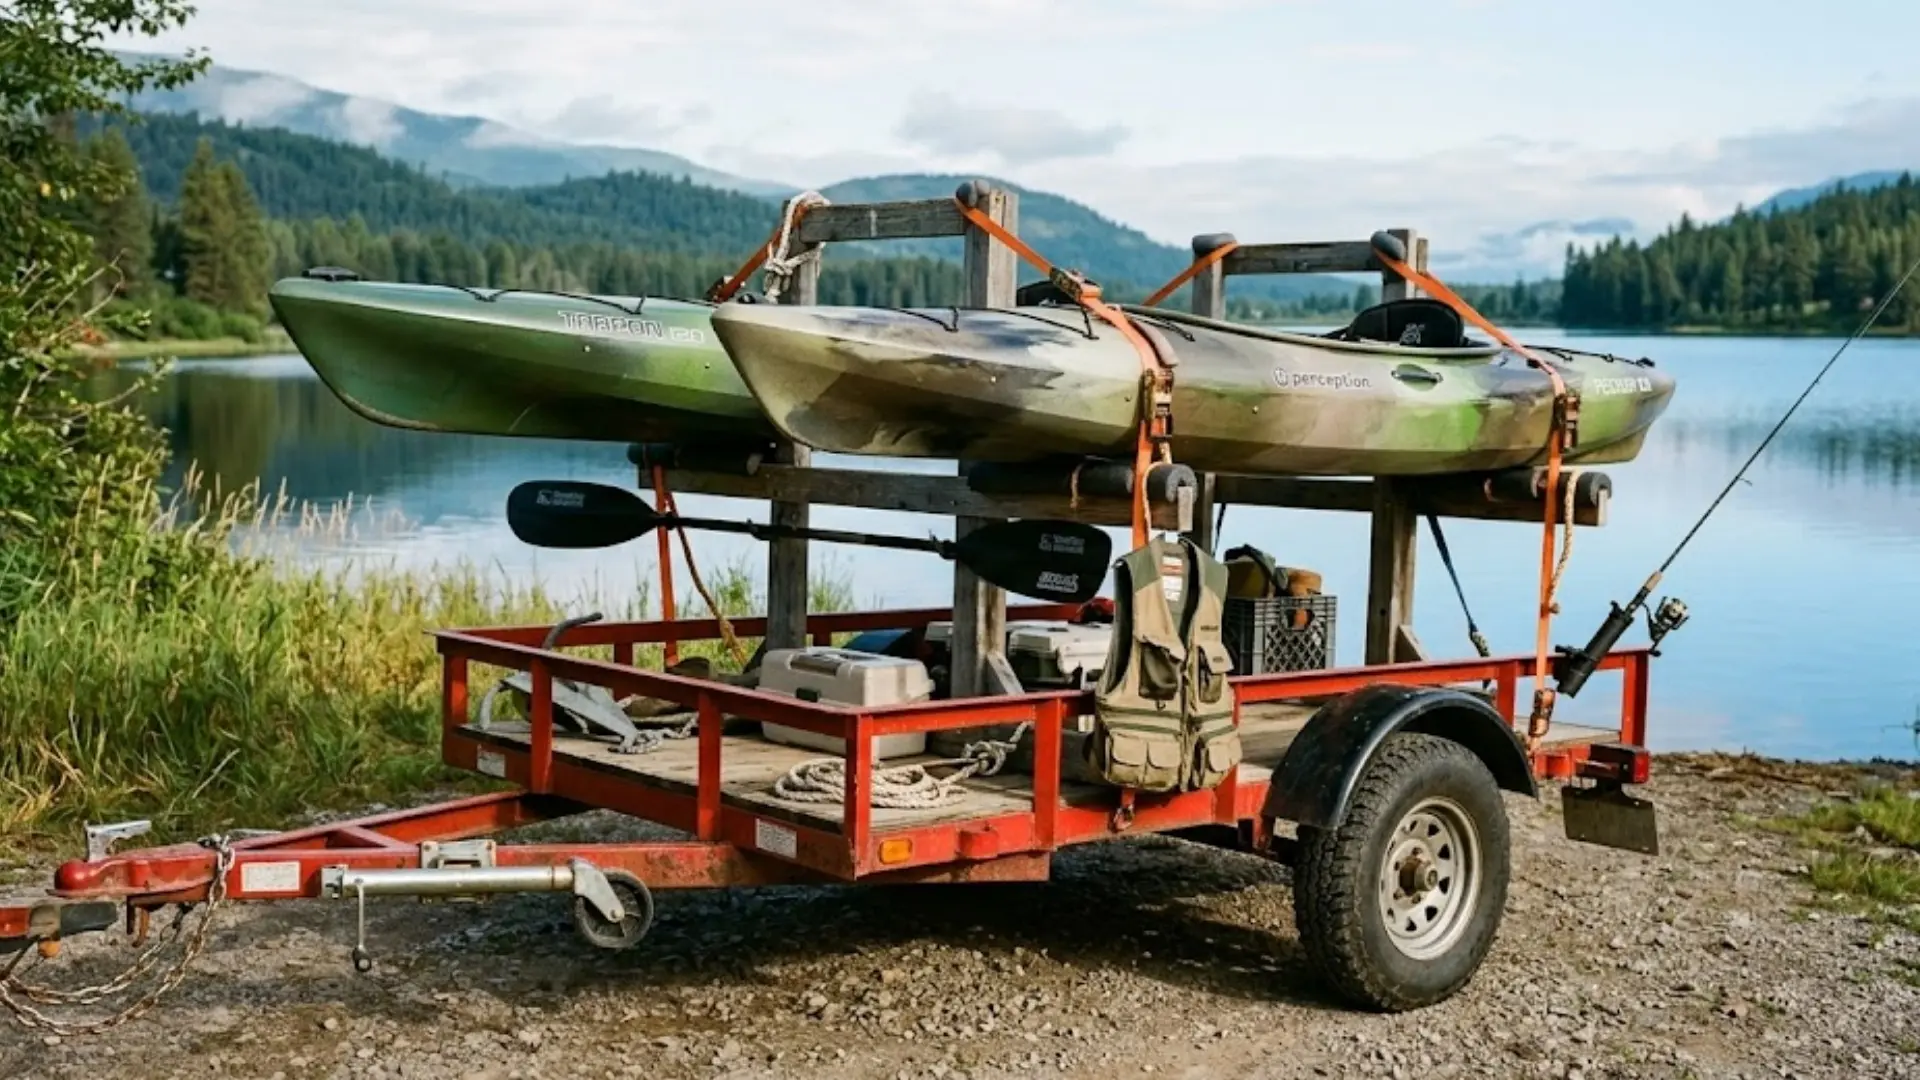
A Harbor Freight kayak trailer can work well for carrying one kayak or even four with the right rack system.
Which Harbor Freight Trailer to Buy
Two Harbor Freight models are commonly used as kayak trailer bases:
-
Model #42708 (4×8 ft, 1195 lb capacity): The most popular starting point. Lightweight, folds flat for storage, and widely available. Usually priced around $289 to $329.
-
Model #94564 (4×8 ft, 1720 lb capacity): Better choice if you plan to haul three or more kayaks with gear, or if you want a more stable highway setup. Typically priced around $349 to $379.
Both use a 1-7/8 inch ball hitch. Check your vehicle’s hitch class before ordering; Class I or II works for most kayak setups.
Check harborfreight.com for current pricing before buying, as they run frequent coupons and prices may vary.
Choosing the Right Harbor Freight Trailer for Your Build
Choosing the right Harbor Freight trailer depends on how many kayaks you carry and how often you tow. A Harbor Freight folding trailer is a good choice for solo paddlers because it is lightweight, compact, and easy to store.
A 4×8 utility trailer for kayaks offers more space for fishing kayaks, tandem kayaks, and extra gear.
Larger trailers also provide better weight capacity and support for longer highway trips.
If you plan to carry multiple kayaks or add storage later, a wider kayak-hauling trailer offers more room for upgrades and helps keep the load stable during transport.
See which kayaks fit best: Best Recreational Kayaks
Everything You Need Before Starting the Conversion
Before starting the Harbor Freight kayak trailer conversion, gather the basic materials and tools first. Most DIY builds require only a few common parts and simple hand tools to get the trailer ready to haul kayaks safely.
| Materials & Tools | Purpose |
|---|---|
| PVC pipes or metal crossbars | Support kayaks |
| Roof rack bars | Build a rack system |
| Treated lumber | Add frame support |
| U-bolts | Secure racks |
| Trailer lights | Road visibility |
| Marine-grade hardware | Prevent rust |
| Drill | Install hardware |
| Socket set | Tighten bolts |
| Torque wrench | Proper bolt tension |
| Measuring tape | Accurate spacing |
| Saw | Cut wood or PVC |
Having these items ready before assembly can make the conversion process faster and more organized.
Step-by-Step Harbor Freight Kayak Trailer Conversion Guide
Building a Harbor Freight kayak trailer becomes much easier when you follow a clear step-by-step process.
Taking time with each stage can help improve safety, stability, and overall trailer performance before your first trip, especially when aiming for a trailer built around your needs rather than a one-size-fits-all design.
Step 1: Assemble the Harbor Freight Trailer Frame
Start by reading the Harbor Freight trailer manual carefully before installing any parts. Lay out all hardware and frame pieces first so nothing gets missed during assembly.
Tighten bolts evenly and recheck them after the frame is fully built. One common mistake is leaving bolts loose or assembling parts in the wrong order, which can affect trailer stability later. Take your time and keep the trailer level while working.
Pro Tip: Tighten all bolts again after your first short towing trip since new trailers can loosen slightly after use.
Step 2: Reinforce the Trailer for Highway Travel
Basic Harbor Freight trailers often need extra support for highway towing. Many builders reinforce the frame with steel brackets or treated lumber to reduce flex while driving.
Upgrading the tires or wheel bearings can also improve towing stability on longer trips. To help prevent trailer wobble, keep the weight balanced evenly from front to back and avoid overloading one side of the trailer.
Warning: Do not skip checking wheel bearings before long trips.
Pro Tip: Grease wheel bearings every 2,000 miles or at least once per year, whichever comes first, to reduce heat buildup during highway travel.
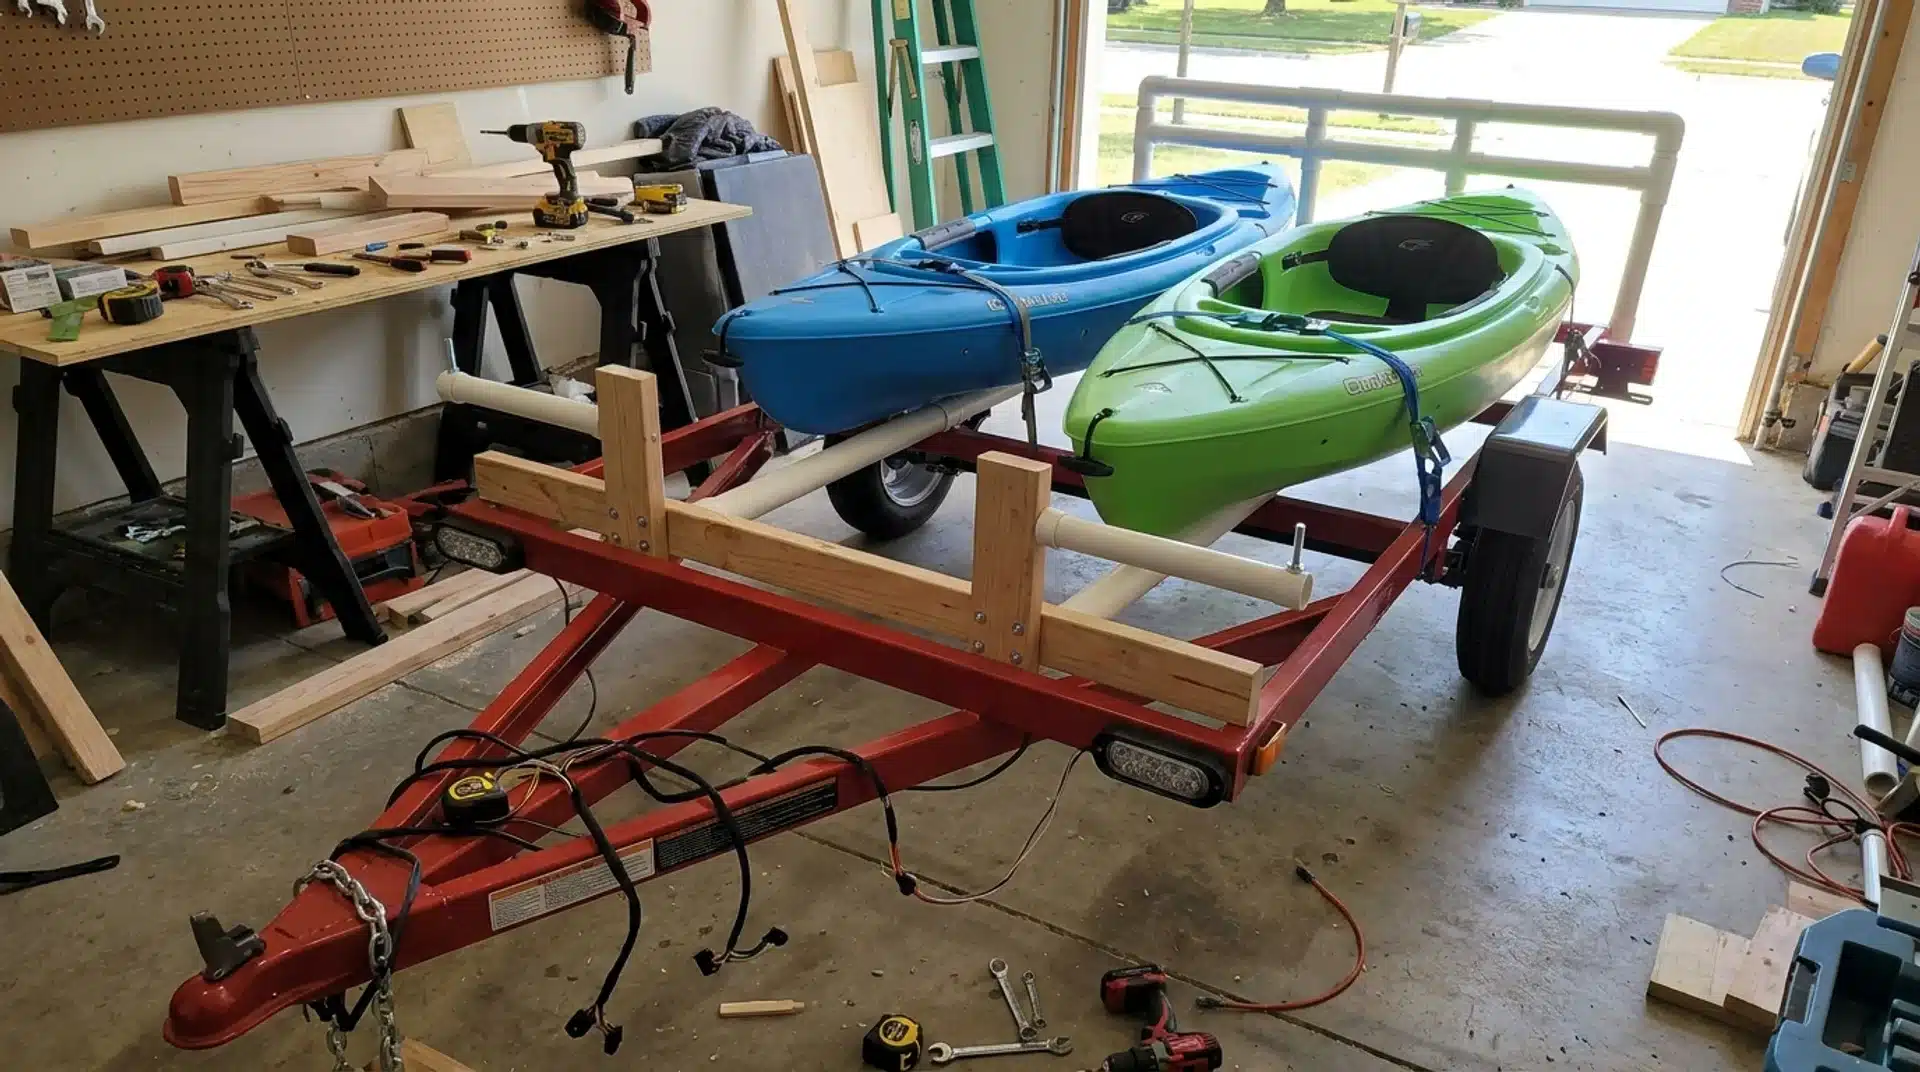
Step 3: Build the Kayak Rack System
The kayak rack trailer setup depends on your budget and the number of kayaks you carry. A PVC kayak trailer rack is affordable and simple to build, while steel racks provide more strength for heavier kayaks.
Wood racks are another DIY kayak rack option, but they usually require sealing to prevent water damage. Keep the rack height high enough to load kayaks comfortably without making the trailer too tall for towing.
| Rack Material | Pros | Cons |
|---|---|---|
| PVC | Cheap and simple | Less durable |
| Steel | Very strong | Heavier |
| Wood | Easy DIY option | Needs sealing |
Pro Tip: Test rack spacing with your kayak before drilling permanent mounting holes.
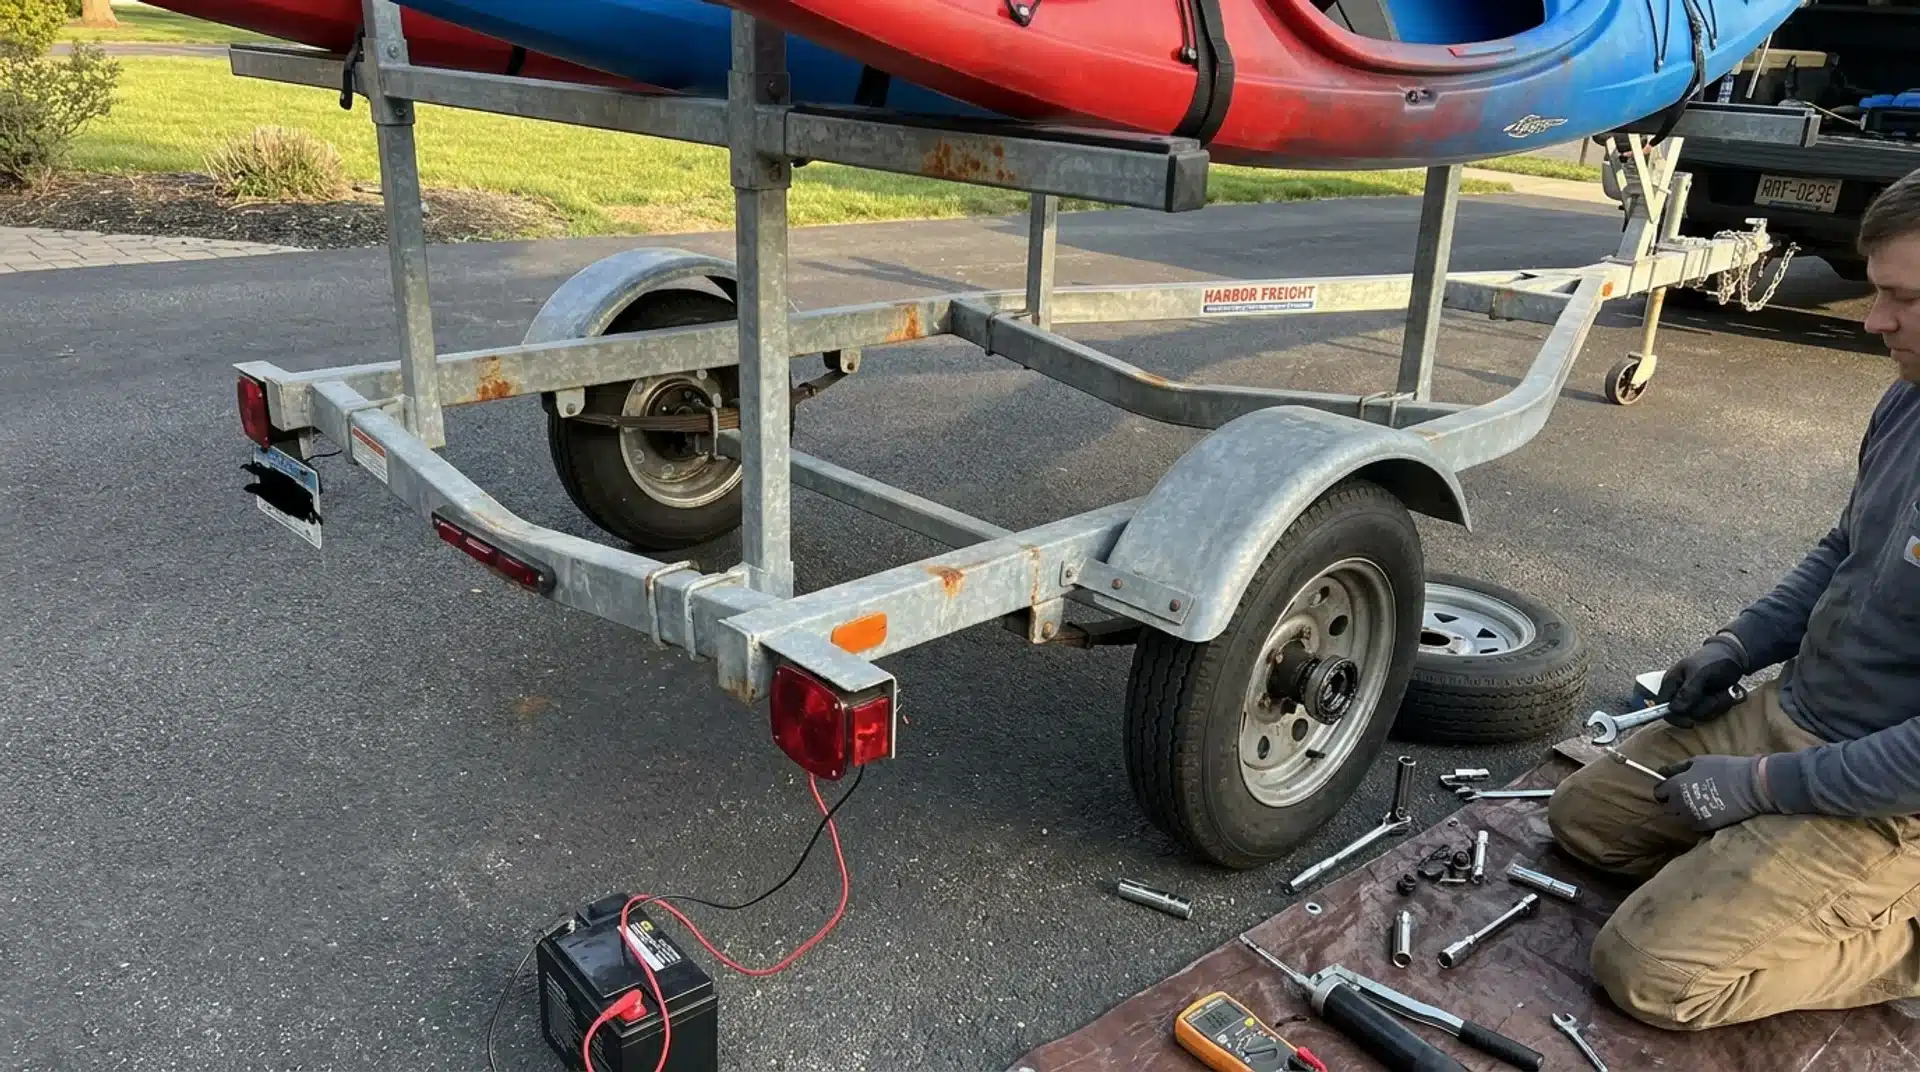
Step 4: Install Trailer Lights and Wiring
Safe trailer wiring for kayak trailer setups should include brake lights, turn signals, and running lights. Route wires along the trailer frame and secure them with clips or zip ties to prevent damage during towing.
Waterproof connectors help protect wiring from rain and road spray. Harbor Freight trailer lights are simple to install, but checking all connections before driving can prevent lighting problems later.
Quick Troubleshooting:
- Check ground wire connections
- Replace damaged connectors
- Test lights before every trip
Pro Tip: Use heat-shrink connectors to help keep trailer wiring protected from moisture.
Step 5: Mount and Secure Your Kayaks
After the rack system is complete, place the kayaks evenly on the trailer to improve balance during towing.
Cam straps reduce the risk of over-tightening, and the same principles behind properly securing a kayak for the road apply whether you are using a trailer or a roof rack.
Use bow and stern tie-downs for extra stability, especially during highway travel. Keep heavier kayaks closer to the trailer center and avoid placing too much weight near the rear.
Pro Tip: Stop after the first few miles of towing and recheck all straps and tie-down points.
How Much Does a DIY Harbor Freight Kayak Trailer Cost?
Building a Harbor Freight kayak trailer usually costs much less than buying a ready-made trailer. Your final price depends on the trailer model, rack materials, and any upgrades you add for storage or highway towing.
| Item | Budget Build | Premium Build |
|---|---|---|
| Harbor Freight trailer kit | $250–$380 | $250–$380 |
| Rack materials (PVC, wood, or steel) | $50–$120 | $150–$350 |
| Trailer lights & wiring | $20–$50 | $60–$120 |
| Tires & bearings | Basic (included with kit) | $100–$200 (highway-rated upgrades) |
| Extra upgrades (storage box, spare tire, rod holders) | Minimal ($0–$50) | $150–$400 |
| Estimated total | $320–$600 | $710–$1,450 |
Note: The base trailer kit costs the same for any build. The “budget” vs. “premium” difference comes entirely from upgrades and accessories.
A cheap kayak trailer build can stay closer to the lower end if you use simple materials and basic racks. Adding stronger hardware and storage upgrades will raise the cost, but can improve durability and towing performance.
Common Harbor Freight Kayak Trailer Problems and Easy Fixes
Most Harbor Freight trailer problems are easy to fix when caught early. Regular checks can help improve safety and reduce damage during towing.
These simple kayak trailer troubleshooting tips cover some of the most common issues owners face.
- Trailer Bouncing: This usually happens due to uneven weight or a stiff suspension. Balance the load evenly and keep heavier kayaks closer to the center.
- Rust Issues: Water and road salt can cause rust over time. Use rust-resistant paint and rinse the trailer after wet trips.
- Loose Bolts: Trailer vibrations can loosen hardware during towing. Check and tighten bolts regularly with a socket set.
- Lighting Failures: Damaged wiring or weak ground connections often cause lights to stop working. Test all trailer lights before driving.
- Bearing Overheating: Dry or worn wheel bearings can heat up quickly on highways. Grease bearings often and replace damaged parts when needed.
Simple maintenance checks before each trip can help your kayak trailer last longer and tow more safely.
Summing It Up
A Harbor Freight kayak trailer can be one of the most useful upgrades for kayak transport, especially if you want a setup that costs less and still handles regular towing.
From choosing the right trailer frame to building racks and adding lights, each step helps create a setup that works for your kayaks and gear.
Simple upgrades like better tires, stronger hardware, and extra storage can also improve long-term use. Taking time to build the trailer correctly can make loading, towing, and unloading much easier on future trips.
If you have built your own Harbor Freight kayak trailer, share your setup ideas or tips in the comments below.
Frequently Asked Questions
Is It Safe to Tow a Harbor Freight Kayak Trailer on the Highway?
Yes, but only with key upgrades and strict adherence to the manufacturer’s 45 mph speed limit. You must repack the wheel bearings with high-quality grease and upgrade to highway-rated tires. Exceeding 45 mph is unsafe regardless of upgrades.
How Do I Legally Register a Homemade Kayak Trailer in My State?
You need the Certificate of Origin from Harbor Freight. Some states register it as homemade; others require a VIN inspection and classify it as commercial. Check your local DMV.
Will Small 12-Inch Tires Handle Long Road Trips without Overheating?
They can, but they spin faster and generate more heat than larger tires. To prevent overheating, keep them inflated to the maximum PSI (usually 60 psi) and do not exceed 45 mph per the owner’s manual.