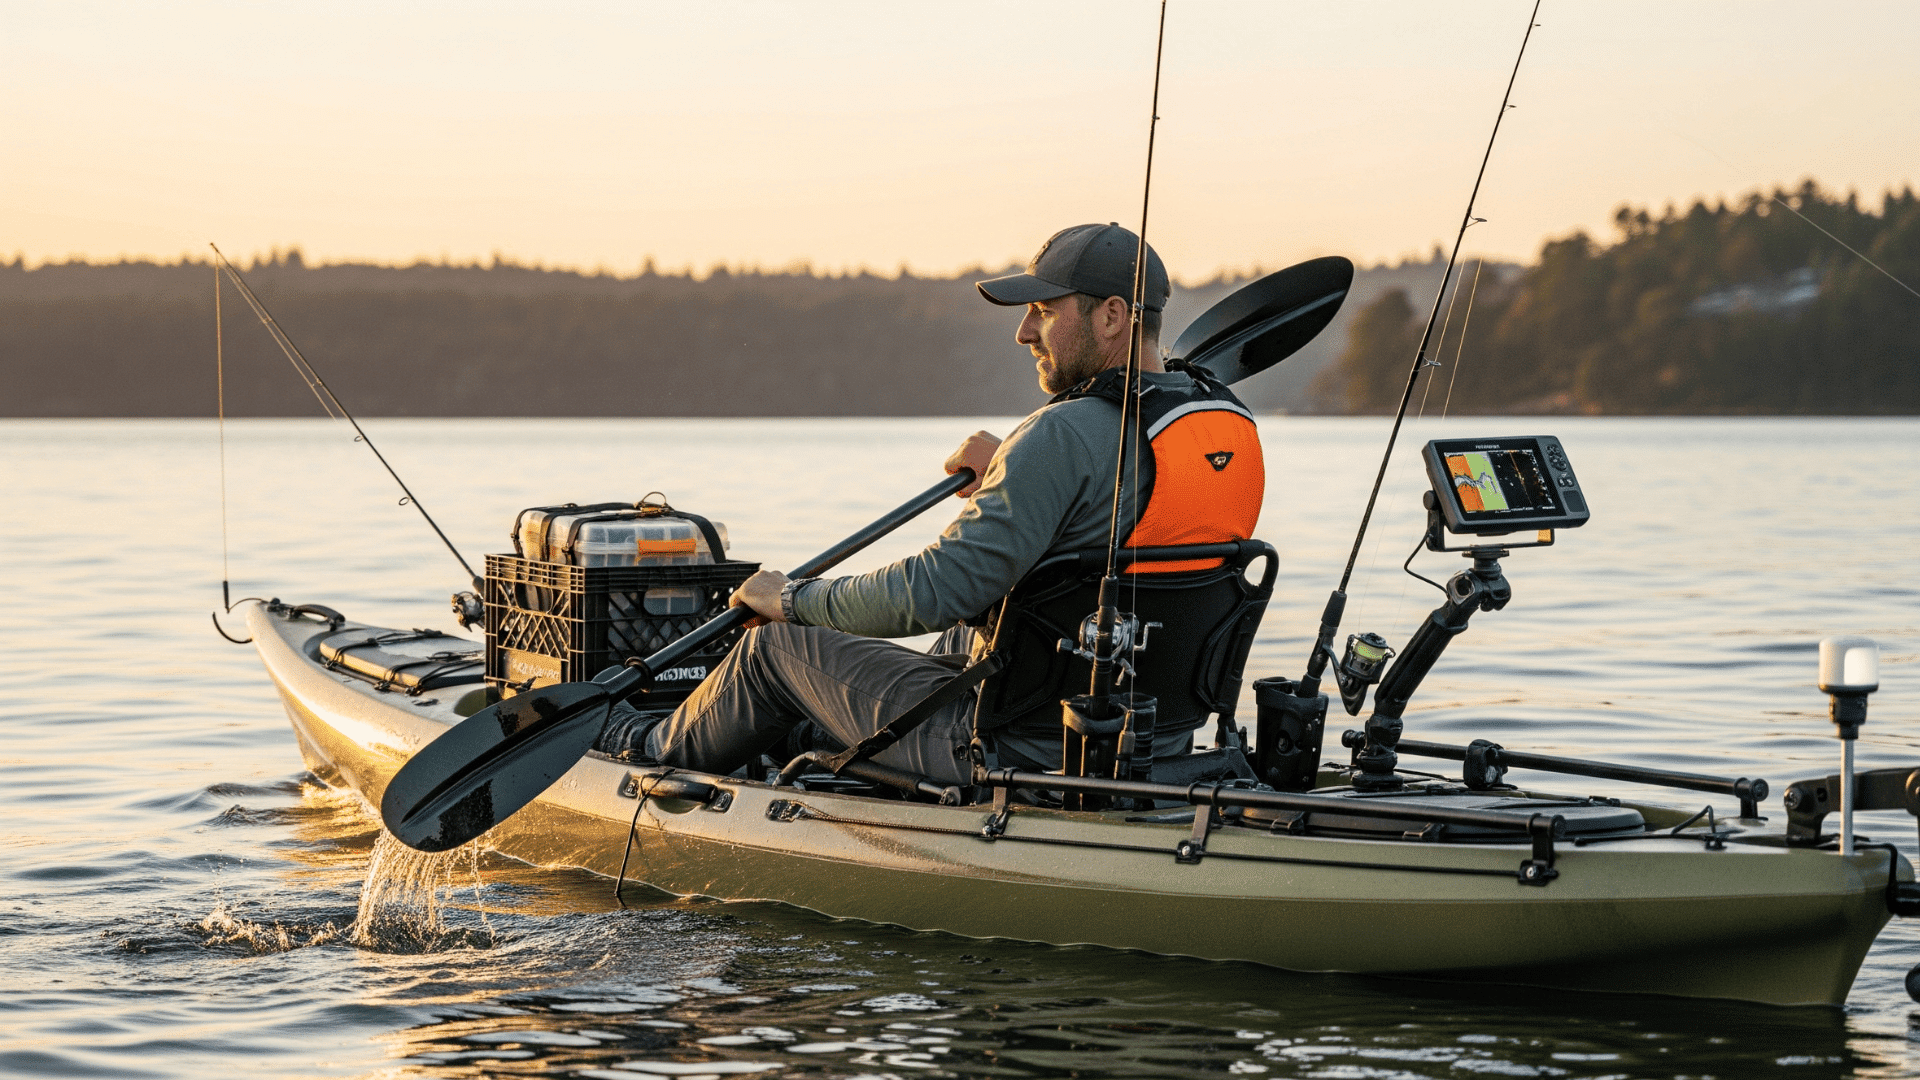
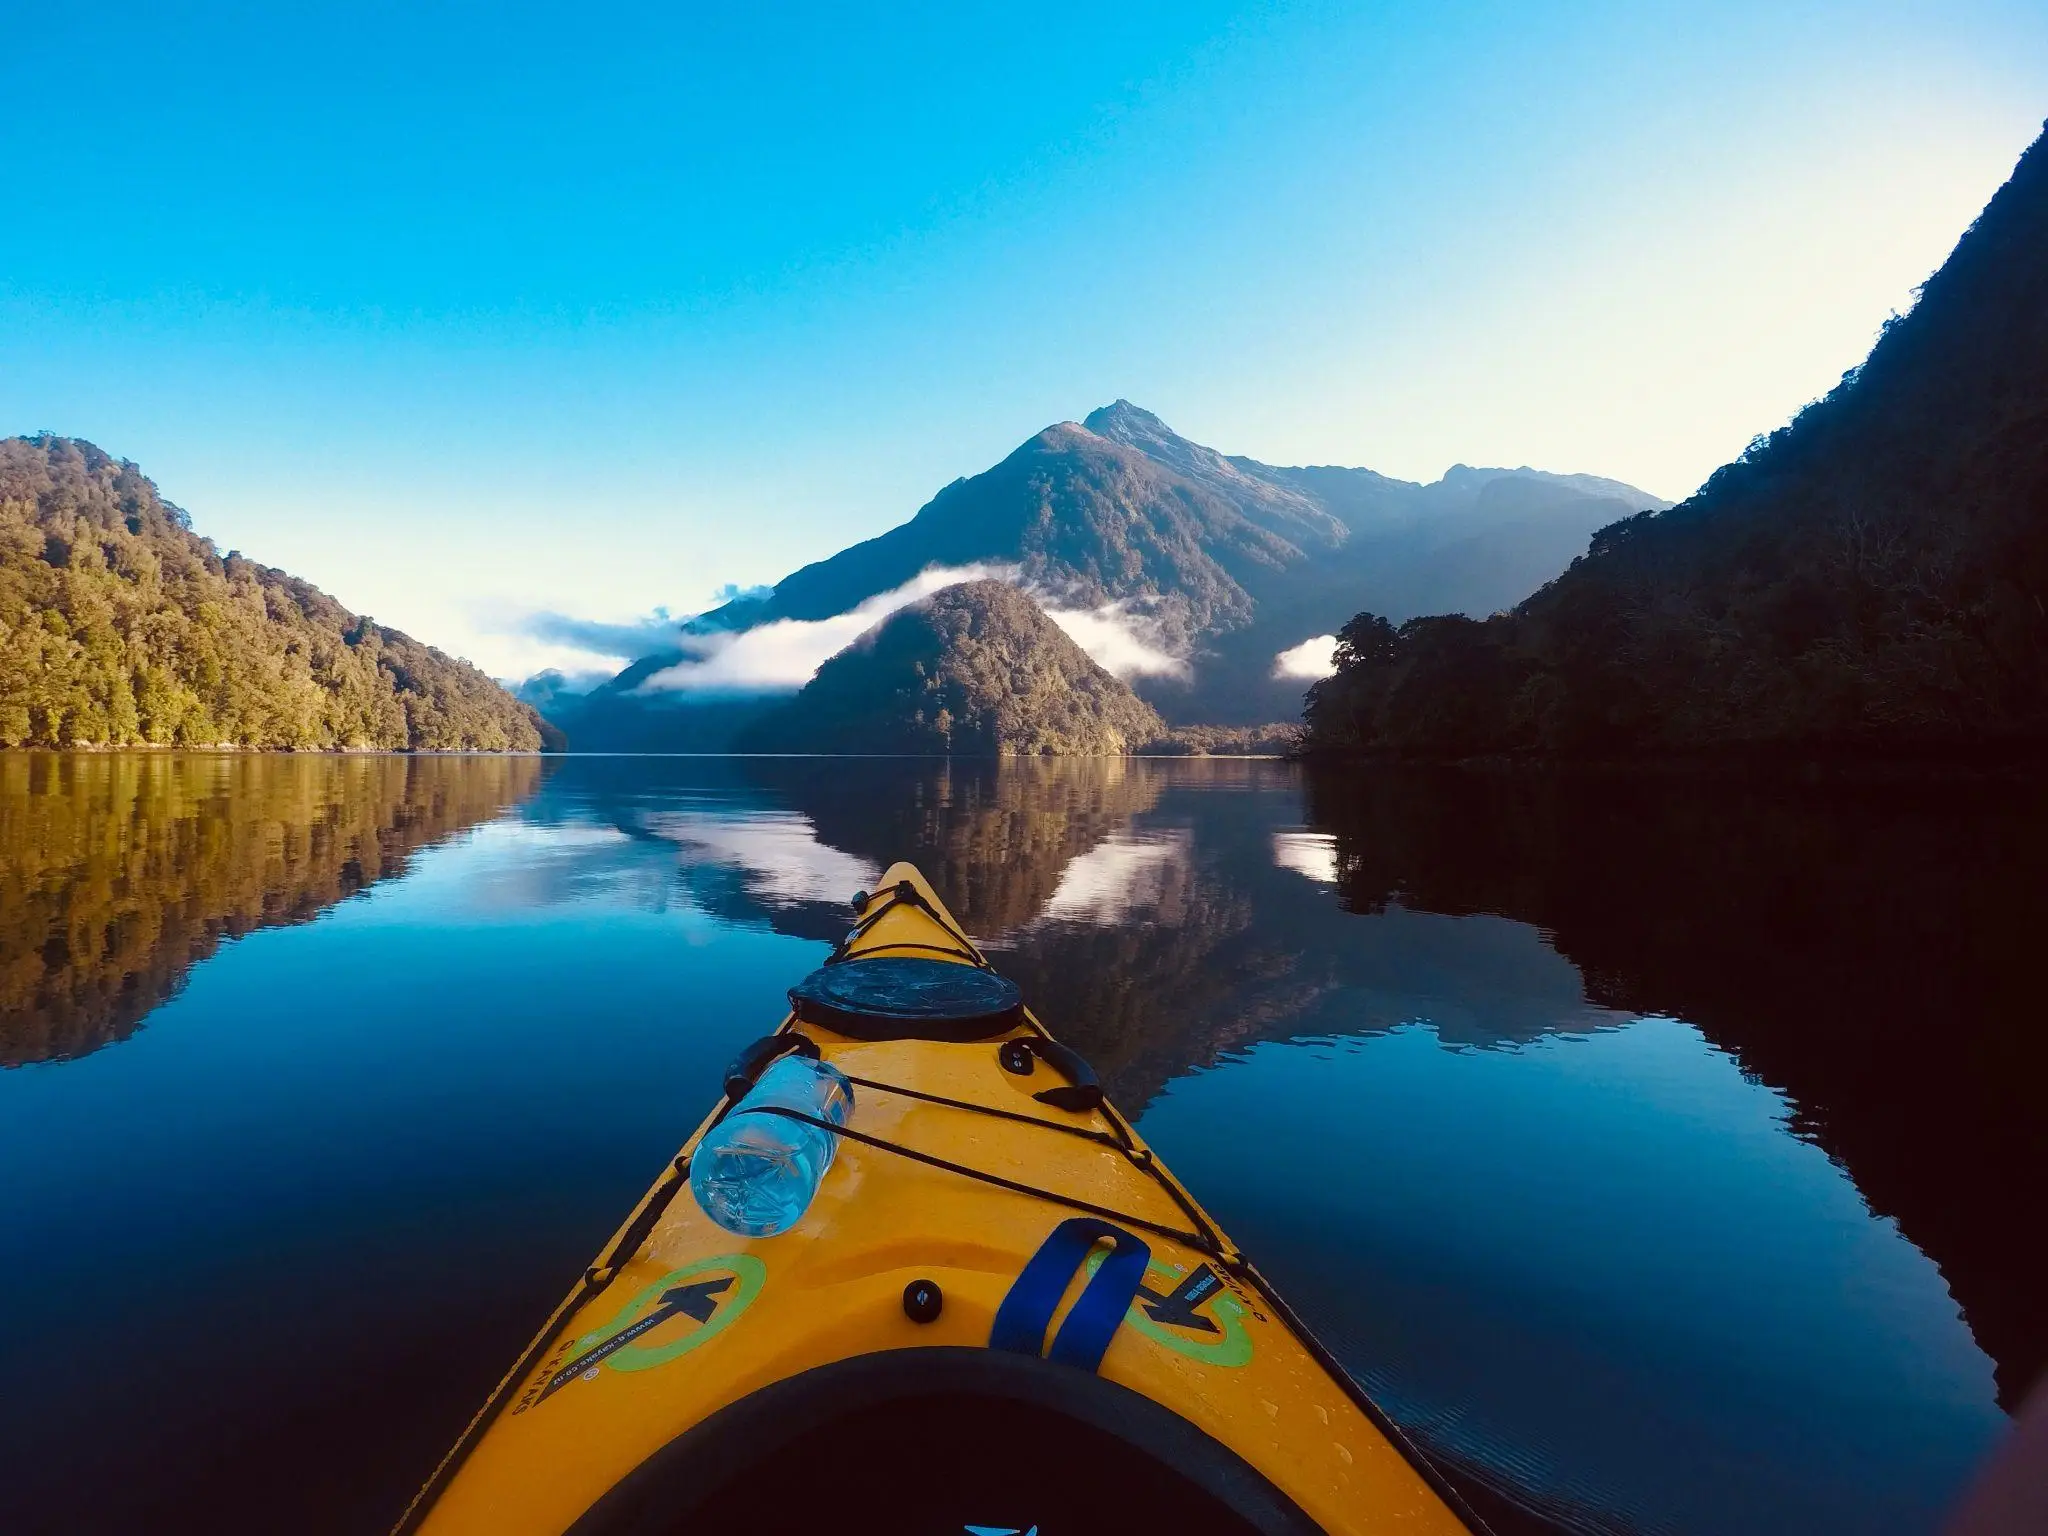
A kayak tour rewards light packing, but safety essentials should never be optional. Check the route, forecast and experience required before you go. Tell someone where you are paddling and when you expect to return. Personal electronics such as a Nicotine Free Refillable Vape must stay protected from water and never replace safety gear. These twelve items support a prepared day on the water.
1. A Properly Fitted Lifejacket
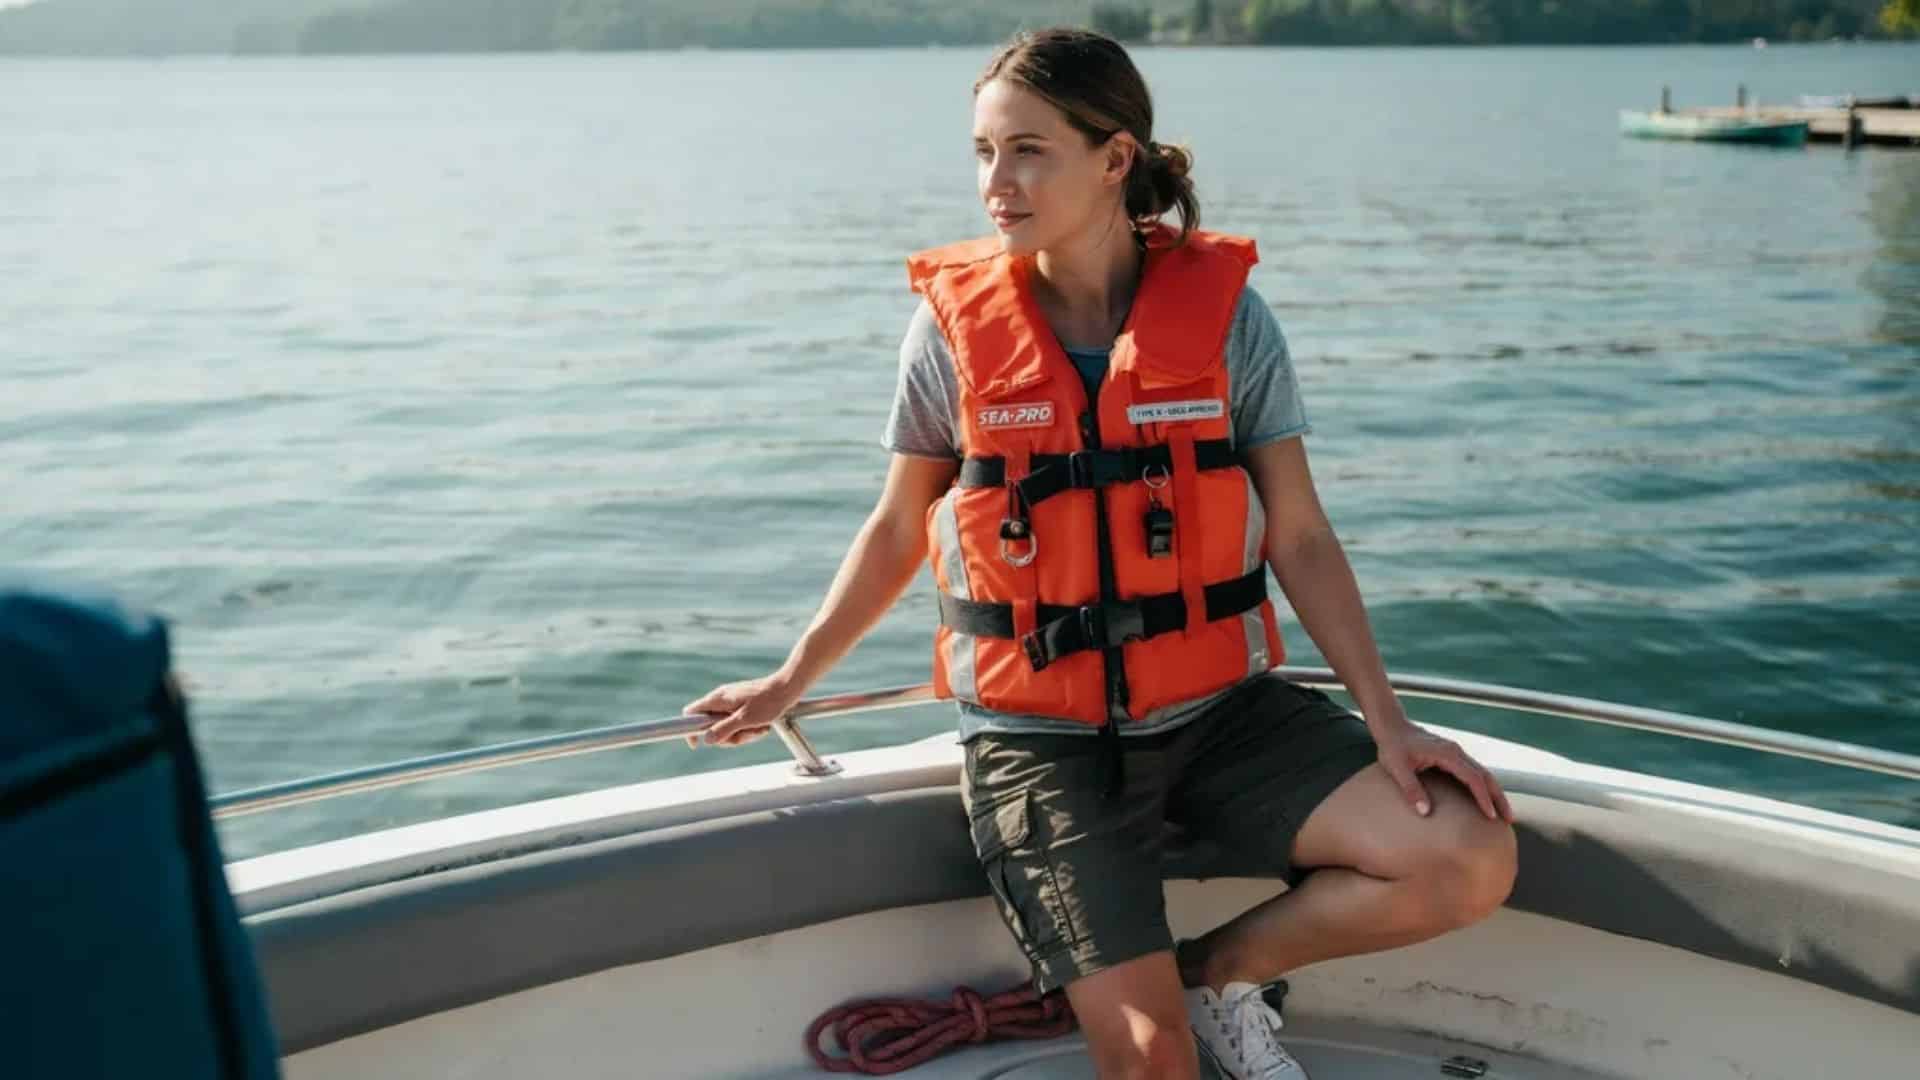
Wear a lifejacket that fits you, is in good condition, and suits the activity. Do not pack it at the bottom of a dry bag and assume you can reach it later. Check straps and closures before launch, and make sure children have correctly sized equipment. Water Safety New Zealand explains why lifejackets save lives and how to think about fit. Local rules can vary by craft and conditions, so check the current requirements for the area where you will paddle.
2. A Paddle and A Spare Plan
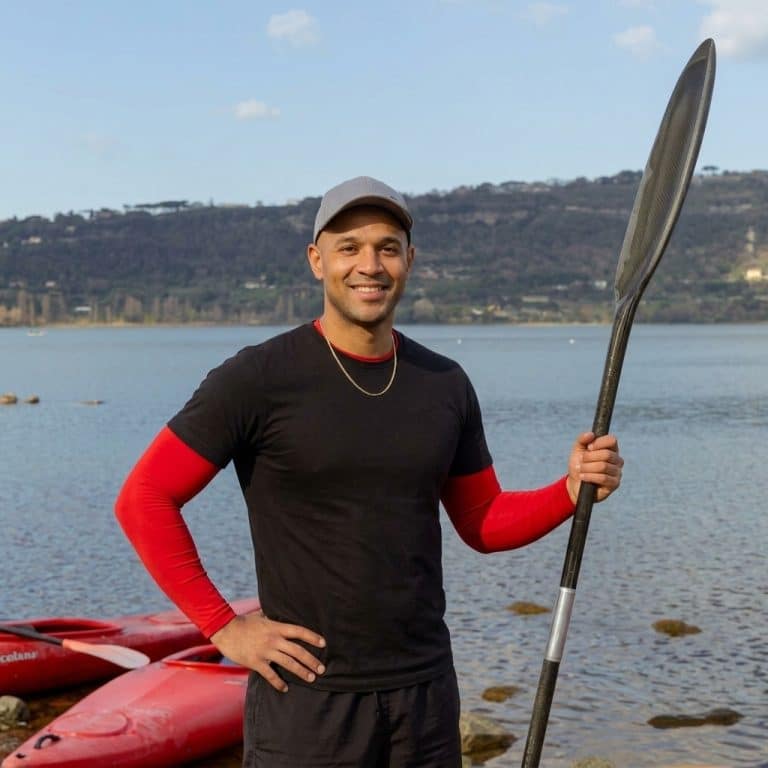
Bring a paddle suited to your kayak and route, and check that it is secure. For remote trips, consider a spare or a way to recover one, based on local guidance and your group’s skills. Practise handling before setting out. A leash may help in some conditions, but must not create an entanglement hazard. Ask a guide what suits the waterway.
3. A Communication Device
Take a charged phone in a waterproof case, but do not assume it will have coverage. For remote routes, carry a suitable emergency beacon or other recommended device and know how to use it. Store it within reach if separated from your kayak. Tell your contact what to do if you are late, and check batteries before leaving.
4. A Route Plan and Navigation
Bring a readable map or route plan, with a compass or offline navigation option when appropriate. Mark launch and exit points, hazards, rest stops and alternatives if weather changes. Download information before losing phone service. Choose a route for the least experienced paddler, and check local notices because access can change.
5. Weather Protection
Dress for the water temperature and changing weather, not only for the air temperature at launch. A windproof outer layer, sun covering and warm spare layer can make a major difference if the trip takes longer than expected. Avoid cotton if it will leave you cold when wet. Pack spare clothing in a sealed dry bag and choose footwear that stays secure when wet. A hat with a chin strap can help in wind.
6. Sun Protection
Paddlers can spend hours exposed to reflected sunlight. Apply broad spectrum sunscreen before launch and bring enough to reapply as directed on the label. Wear sunglasses with a secure strap, a brimmed hat and clothing that covers exposed skin. Put sunscreen in a small dry pouch so it does not leak over food or electronics. Shade may be limited on open water, so plan your protection before you leave shore.
7. Drinking Water
Carry more water than you expect to need, particularly in warm or windy weather. Use a bottle or hydration system that stays accessible while paddling and is secured so it cannot fall overboard. Take regular small drinks rather than waiting until you feel very thirsty. For a longer journey, plan how you will carry enough water for everyone and what you will do if a bottle is lost.
8. Food and Quick Energy
Pack compact food that is easy to eat during a safe stop. Choose snacks that hold up in a dry bag and suit the group’s dietary needs. Keep wrappers secured so nothing blows into the water. For longer tours, carry a little more than the exact amount you expect to use in case the route is delayed. Do not eat while you need both hands for navigation or control.
9. A First Aid Kit
Bring a compact kit appropriate to the trip and your training. Useful basics may include dressings, blister care, antiseptic wipes and any personal medicines. Store the kit in a waterproof pouch and make sure at least one person knows where it is. Check expiry dates and replace anything used. For remote or challenging journeys, take a first aid course and tailor supplies to the location and group.
10. A Dry Bag and Waterproof Protection
Use a dry bag for spare clothing, food, a phone and other items that must stay dry. Test the closure before launch and secure the bag to the kayak so it cannot drift away if the boat capsizes. Smaller waterproof pouches make important items easier to find. Do not rely on a regular backpack to protect electronics or medicines from water.
11. A Whistle and Visibility Aid
A whistle attached to your lifejacket can help you signal without using your voice. Bright clothing, reflective details or a visible deck bag can help other water users see you, especially in changing light. Keep the whistle accessible and practise the signal your group will use if separated. Visibility does not replace choosing a safe route or staying alert to boats and changing weather.
12. A Simple Repair and Comfort Kit
Depending on your kayak and route, pack a small repair item, spare straps, a multitool and a light for delays. Secure each item and use tools only when conditions are safe. A towel, spare socks and a warm layer can make the return more comfortable. Keep the kayak balanced and essentials reachable.
Before launch, review the forecast again, check every lifejacket and confirm the group knows the route and return plan. Hawkes Bay Regional Council’s Hawkes Bay water safety advice and Water Safety New Zealand’s Water Safety New Zealand lifejacket guidance are useful starting points for local precautions and lifejacket advice. Good packing is not about carrying everything; it is about choosing the right equipment, keeping it accessible and being ready to turn back when conditions change.