You cannot truly breathe underwater without equipment like scuba gear. That is not a scare tactic. It is simply the truth, and it deserves to be stated clearly from the start.
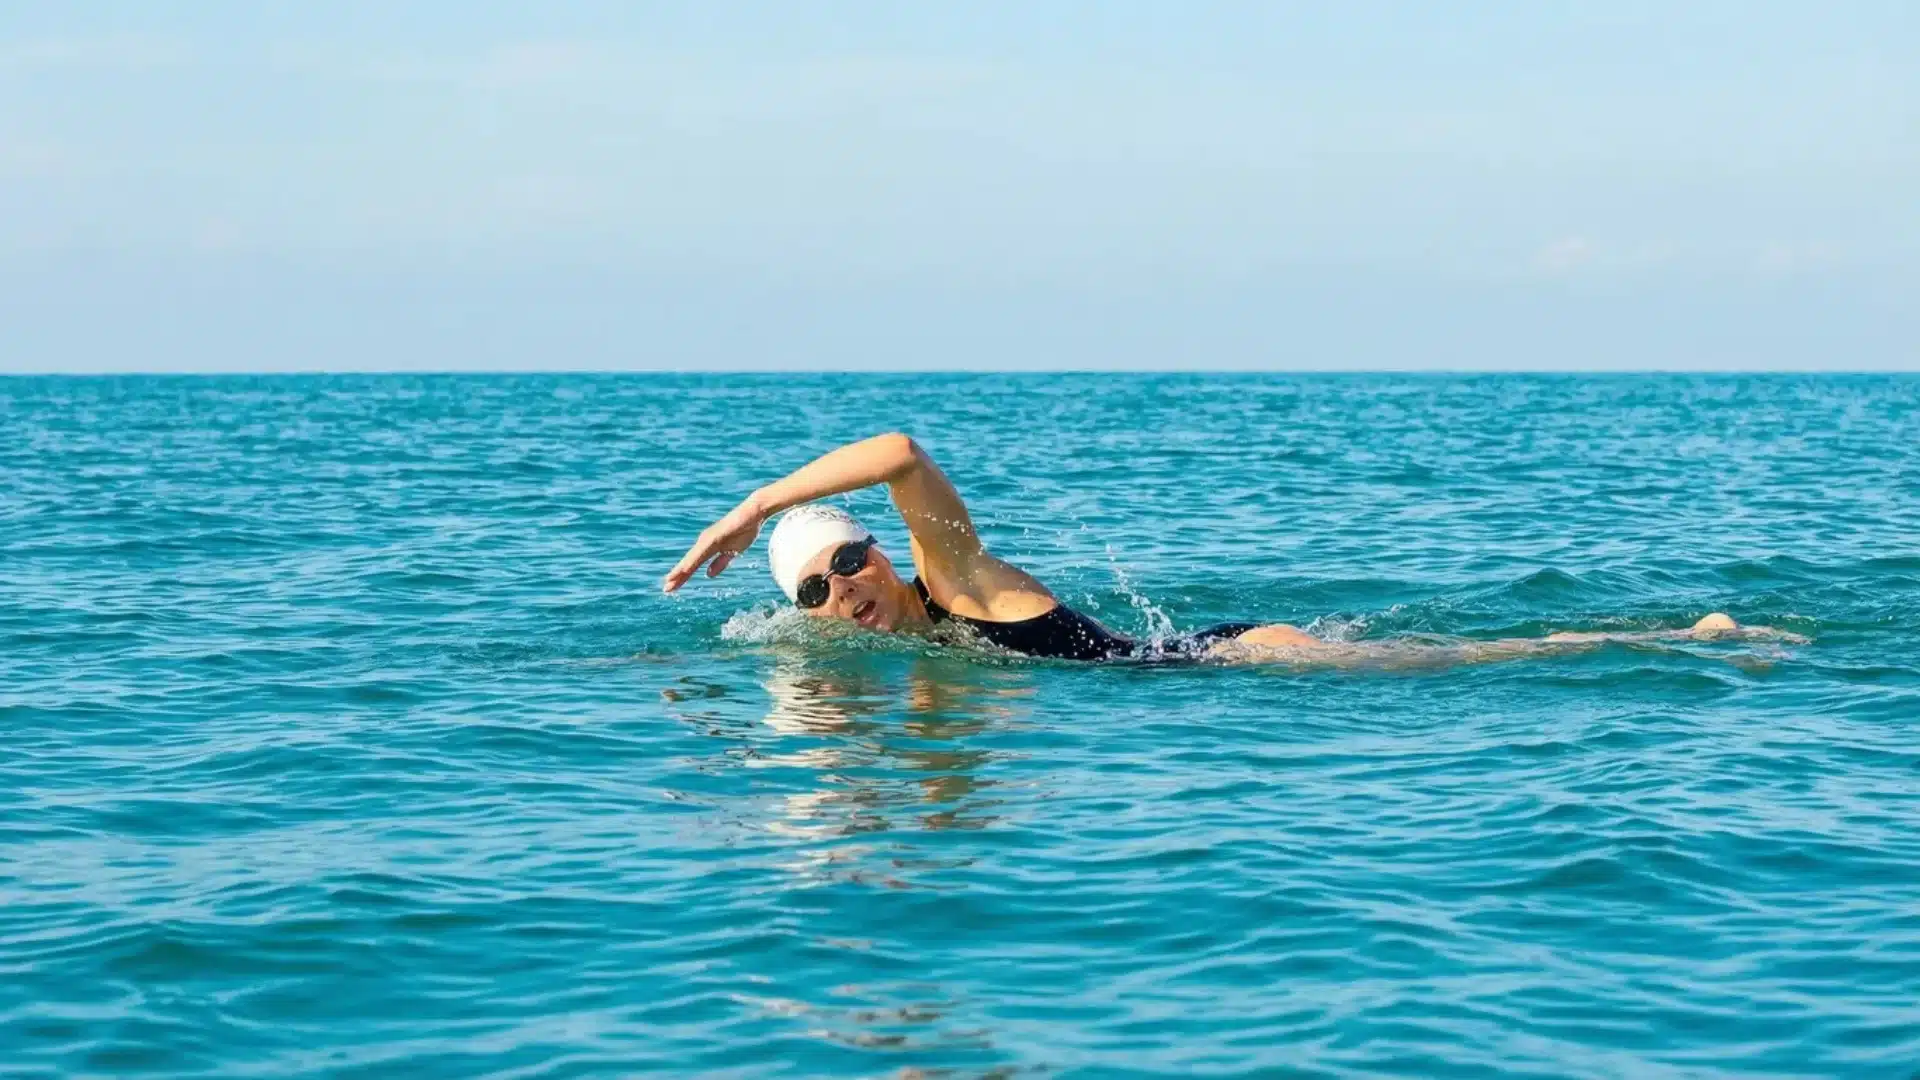
What this will help with is learning how to breathe underwater in a safe, realistic sense, meaning how to hold your breath underwater safely, feel more at ease below the surface, and stay in control when going under.
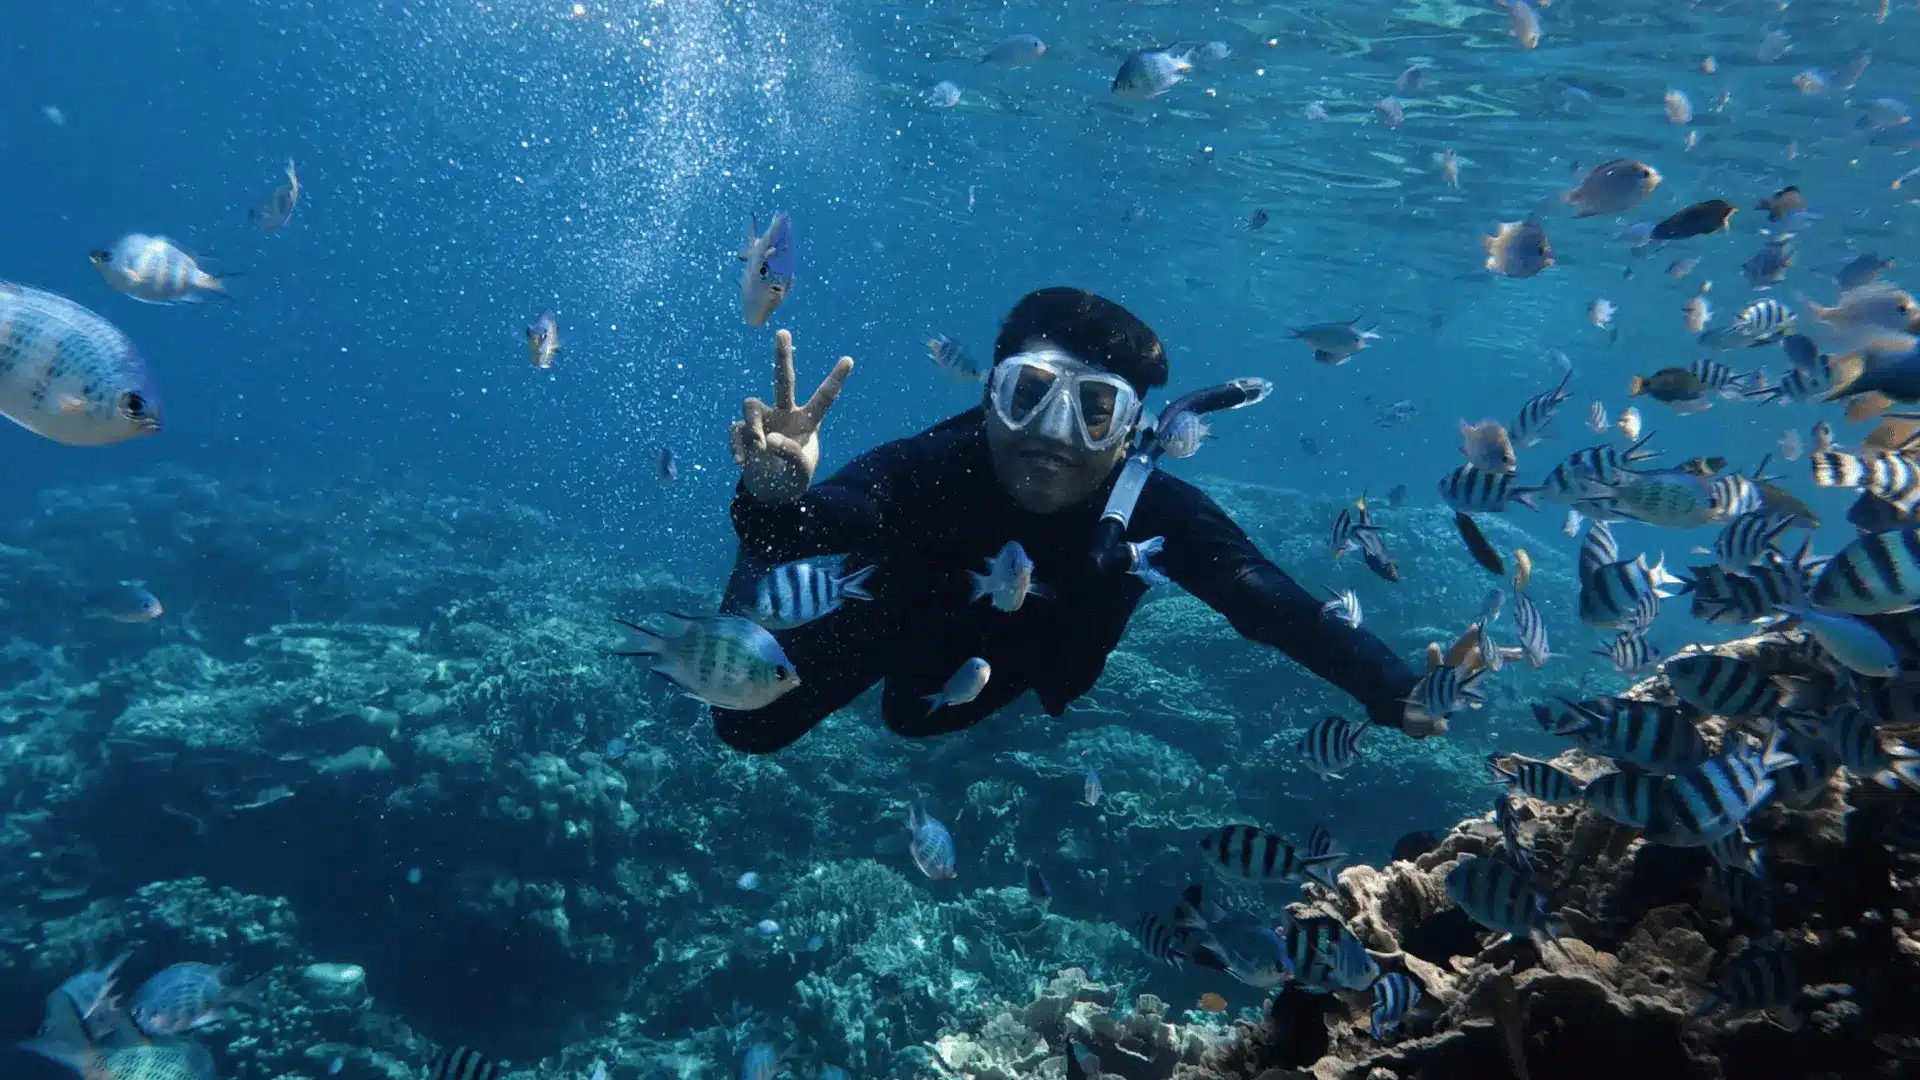
This is meant for swimmers who want to glide a little farther, snorkelers who want short dips without panic, and anyone curious about freediving basics. It includes simple steps, safety rules, practical tips, and common mistakes to avoid.
Is It Hard To Hold Your Breath Underwater?
Yes, it can feel very hard at first, and there are good reasons for that. The moment your face goes underwater, your body can treat it like a threat.
Your heart rate rises, your muscles tighten, and the urge to breathe shows up fast. What surprised me is that this urge is mostly triggered by rising carbon dioxide, not simply by running out of oxygen.
Poor technique also burns through your air quickly. Rushing, kicking hard, and tensing up are big culprits. The encouraging part is that it gets easier with practice.
Calm preparation, slower movement, and short sessions build comfort. It is about control, not records.
What Is The Safest Option For Beginners?
If you want the safest way to build underwater confidence, start simple and stay supervised. Beginners do best when they choose the right method for their goal, practice in shallow water, and avoid pushing limits.
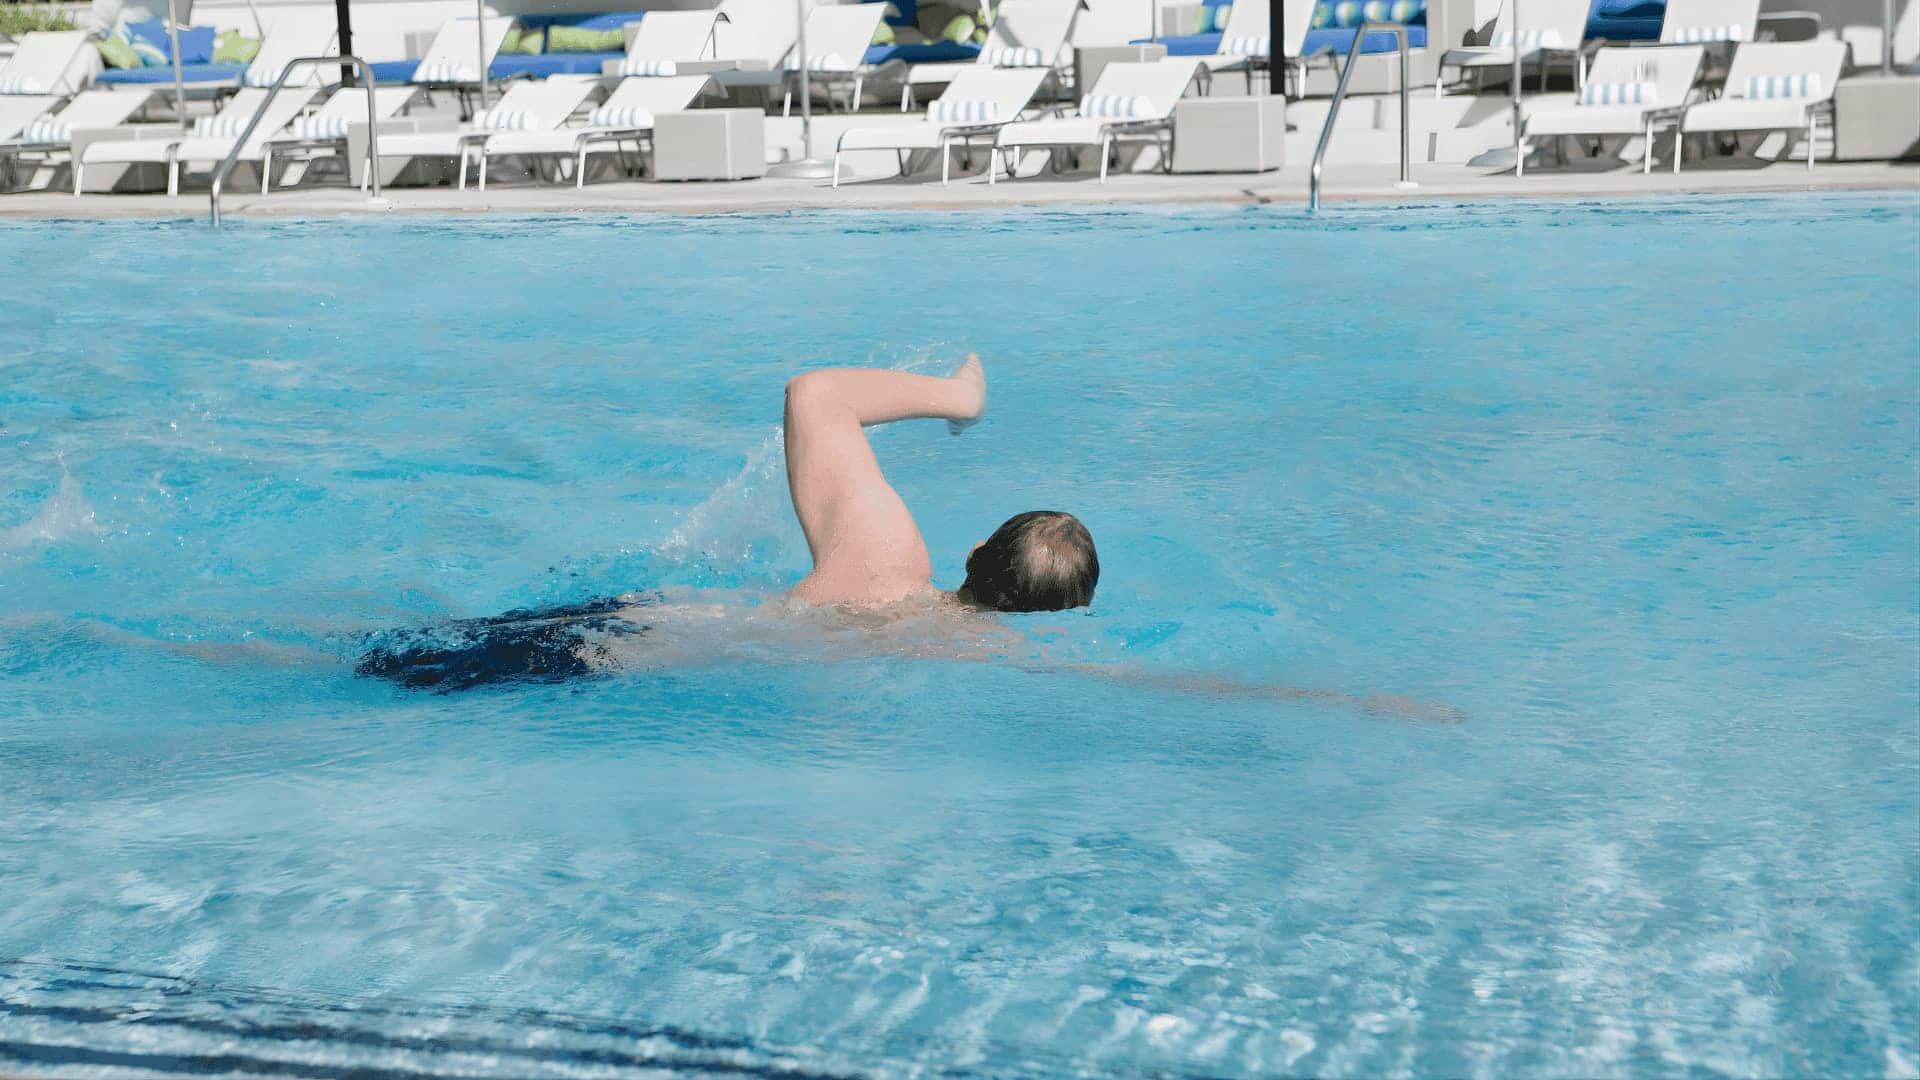
Swimming Underwater For Fun
Keep it short and low-pressure. Practice in shallow water where you can stand up, and have a buddy watch you the entire time.
Do one short underwater glide, then rest until your breathing returns to normal. Smooth, slow movement matters more than speed. If you feel tense, dizzy, or rushed, stop for the day.
Snorkeling
Snorkeling is mostly surface breathing, not underwater breath-holding. If you’re new and unsure how snorkeling works, it helps to understand the basics before practicing short dips.
If you do a quick dip, keep it short, come up early, and recover with relaxed breaths. If water gets in your snorkel or you feel anxious, stop, float, and reset.
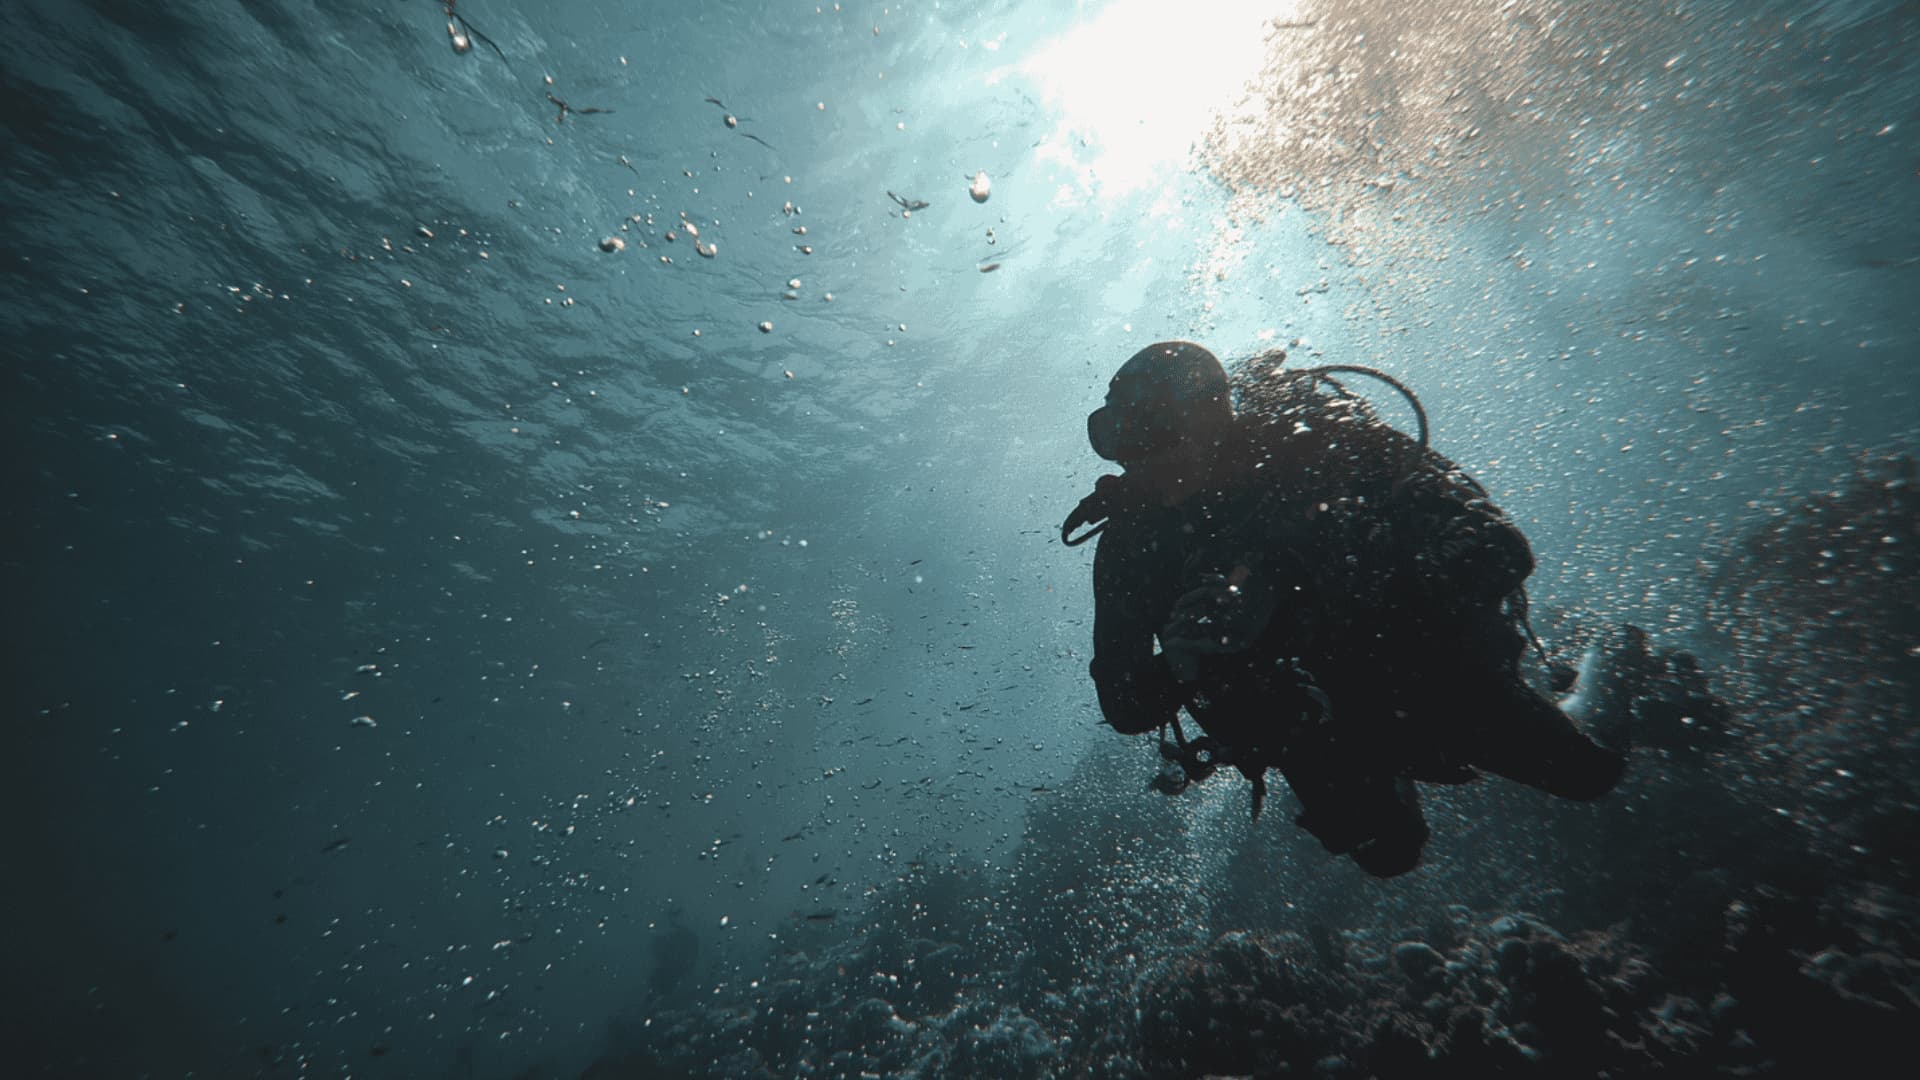
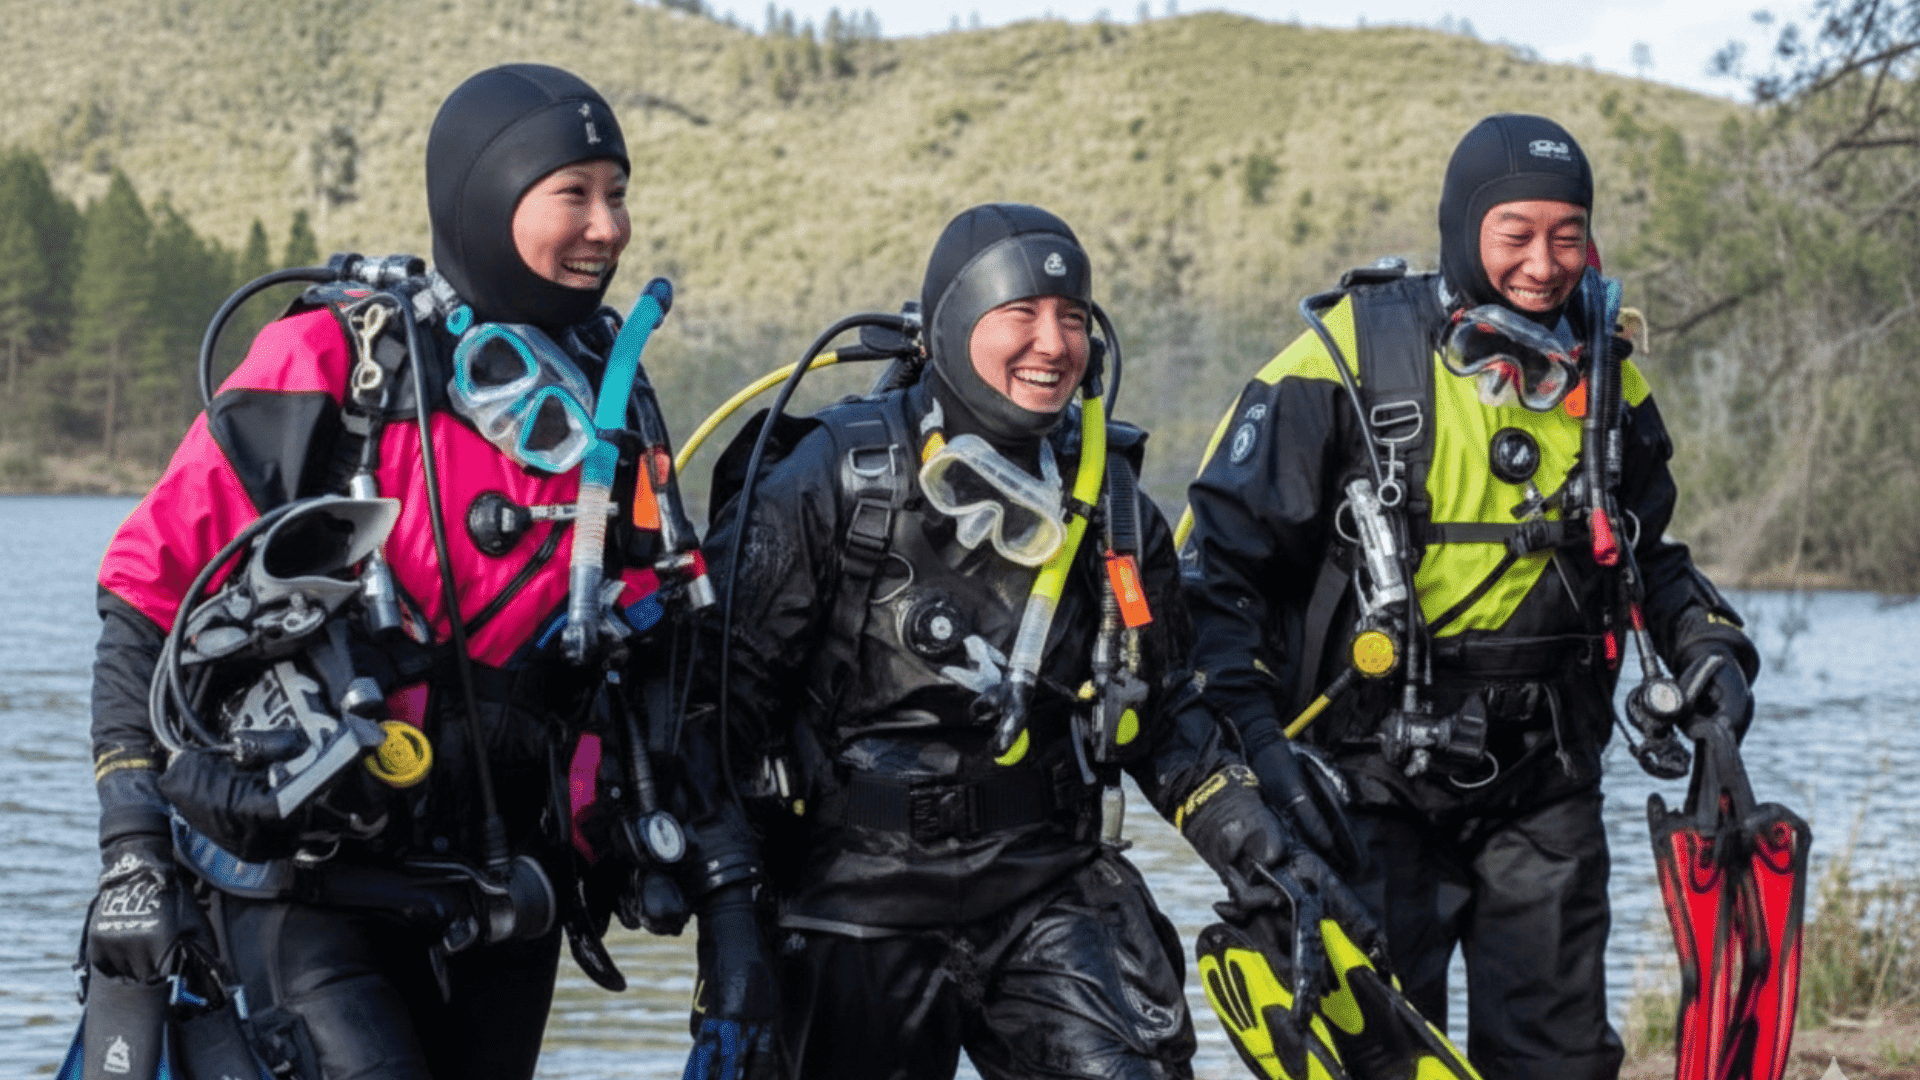
Freediving Interest
Freediving needs stricter safety than casual pool practice. Start by learning the risks, the buddy role, and what warning signs feel like.
Do not train for long breath holds alone or try depth without guidance. A freediving course teaches technique, equalisation, and rescue skills, which is the real safety net for longer dives.
What Makes Breath Holding Risky In Water?
Breathing-holding in water is risky because if something goes wrong, it can turn serious fast. Keep these five points in mind every time you practice.
- A blackout underwater can lead to drowning within seconds. There is little time to react once consciousness is lost.
- A shallow-water blackout can occur with subtle warning signs. You may feel fine, then suddenly pass out.
- Fast, deep breathing before going under raises the risk. It can hide your urge to breathe and remove your early warning signals.
- Practicing without someone watching is dangerous. If you struggle or black out, you need immediate help.
- Repeated laps or competition pushes you past safe limits. Short rest and “one more try” decisions increase risk fast.
Please take these seriously. Safe breath holding is calm, supervised, and stopped early, every time.
Safety Rules Before Doing Underwater Breath Holding
These five rules are not optional. Follow them every time, even for short underwater swims in a pool.
| Safety Rule | What To Do | Why It Matters |
|---|---|---|
| Always Use The Buddy Rule | One person watches you only. | Immediate help if anything goes wrong. |
| Never Hyperventilate | No rapid deep breaths before going under. | Can hide warning signs and raise blackout risk. |
| Stay Shallow | Practice where you can stand up. | Safer and easier to exit fast. |
| Surface Early | Come up while you still feel okay. | Avoids last-second panic. |
| Rest And Stop If Off | Rest until normal. Stop if dizzy, tingly, or confused. | Prevents repeat-risk and mistakes. |
Stick to these, and your practice stays safer, calmer, and much more repeatable over time.
Steps For How To Hold Your Breath Underwater
These steps keep things simple, calm, and repeatable. Focus on control over distance or time, and always practise with safety first.
Step 1: Set Up A Safe Spot
Choose shallow, calm water where standing up is easy and the exit is close. A buddy must stay within arm’s reach and watch you only, without looking at a phone or talking to others.
Agree on a simple signal for “I’m okay” before you start. If visibility is poor, currents are strong, or supervision is not solid, skip the session.
Step 2: Calm Your Body First
Pause for 30 to 60 seconds before going under. Let your shoulders drop, soften your jaw, and loosen your hands so your whole body feels quiet.
Slow down any fidgeting or fast movements, because tension burns oxygen quickly. If anxiety is present, extend the pause and focus on gentle exhales until your breathing feels settled and your mind feels steady.
Step 3: Take Normal Easy Breaths
Take 5 to 8 relaxed breaths that feel natural, not forced. Keep the rhythm slow and steady, with smooth inhales and longer, easy exhales.
Avoid rapid deep breathing, because it can make you lightheaded and increase the risk. The goal is a calm heart rate and stable breathing. If you feel dizzy, stop, breathe normally, and restart later.
Step 4: Take One Controlled Final Breath
Take one comfortable deep breath in, filling the belly and chest without straining. Do not gulp air or take repeated, deep breaths, because that can cause dizziness and false confidence.
The final breath should feel steady, not tight. If your chest feels tense, your throat feels stressed, or your head feels floaty, reset and return to normal breathing.
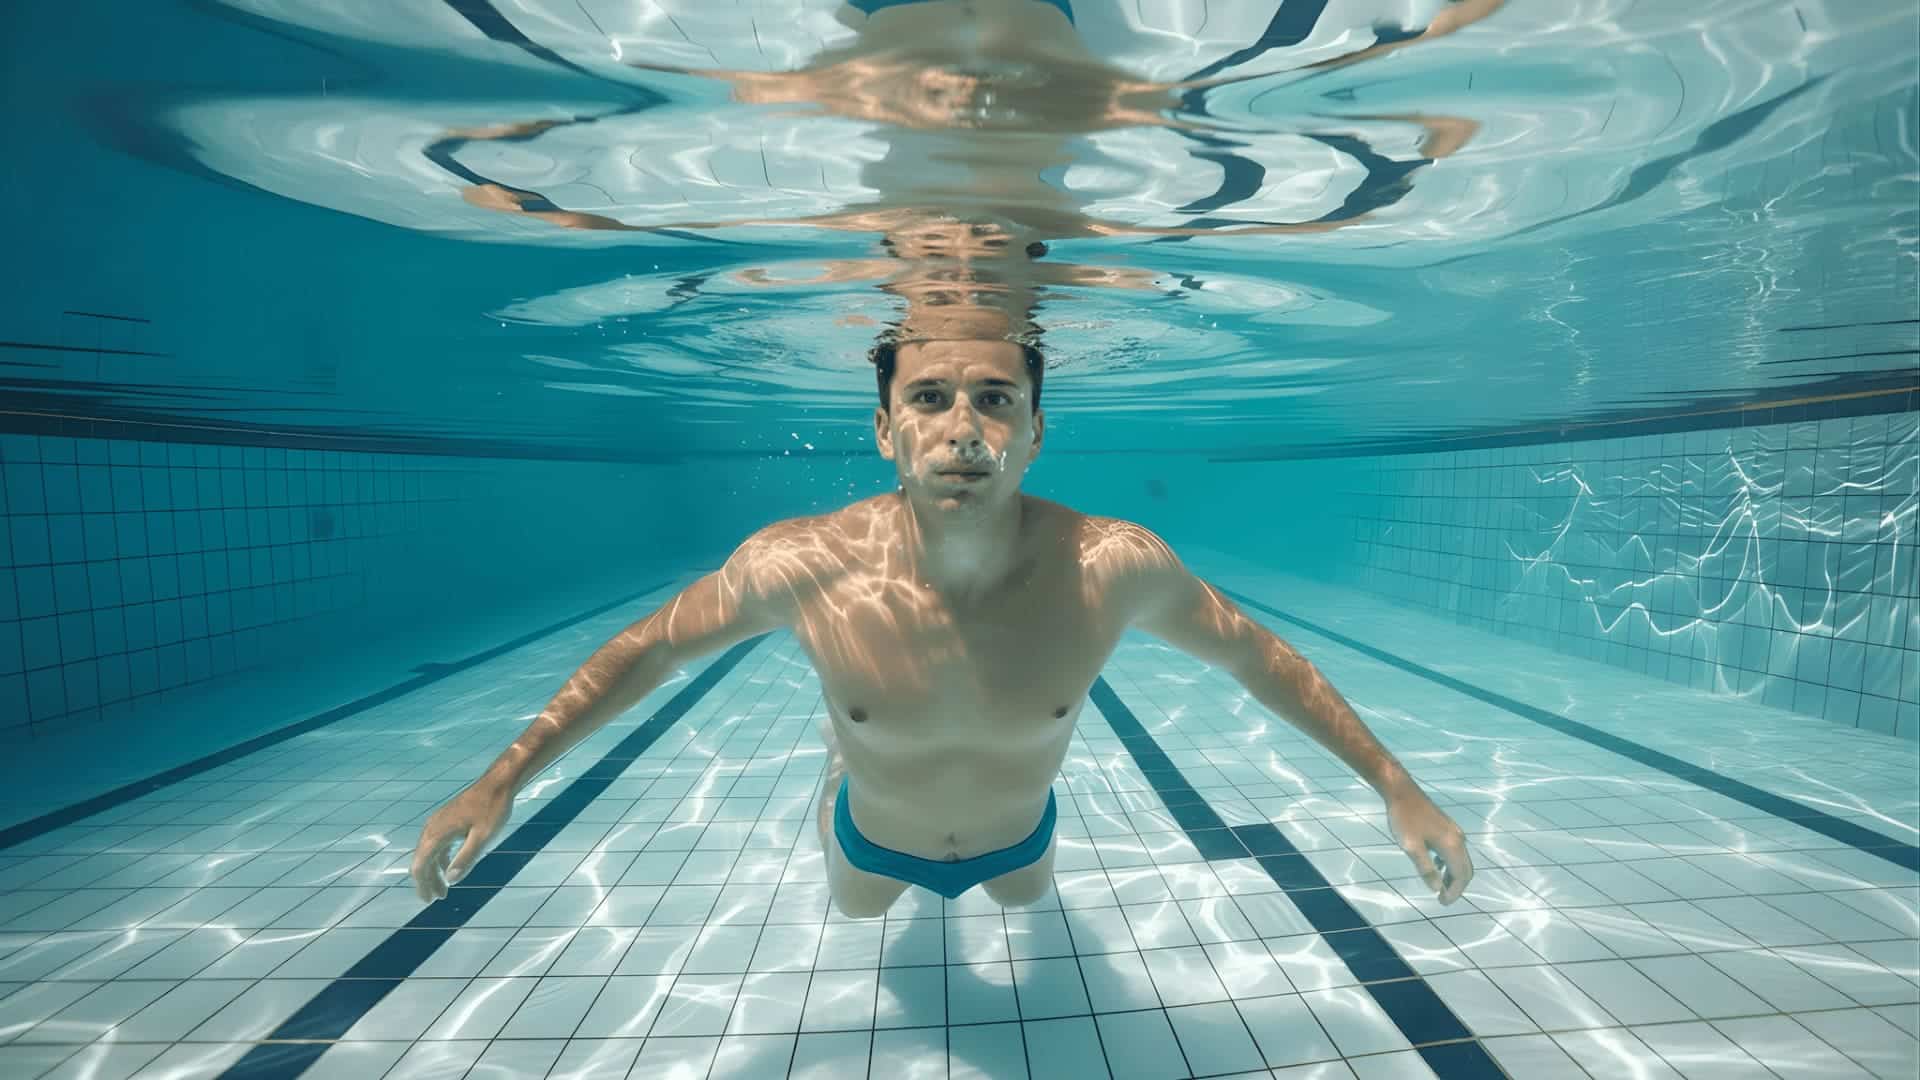
Step 5: Submerge Smoothly And Move Efficiently
Go under slowly with minimal splash, keeping your face and neck relaxed. A smooth submerge helps prevent a panic spike and saves oxygen.
Once underwater, stay streamlined and move gently, using slow kicks and quiet arms. Fast effort burns oxygen quickly and shortens your time. If you feel stress rise, stop moving, surface calmly, and recover.
Step 6: Surface Early And Recover Fully
Come up while you still feel comfortable, not when you are struggling. Surfacing early builds smart habits and keeps practice repeatable.
Once you are up, take slow, steady breaths for at least 30 to 60 seconds until your breathing is fully normalized. Keep your buddy watching during recovery, too. If you feel shaky, confused, or unwell, end the session.
For more, you can take help from this helpful video on breath-holding training byGert Leroy Underwater
Tips And Tricks That Actually Help
These tips are simple, but they make a real difference. Use them to stay calm, save oxygen, and practise safely.
- Use the same calm routine each time. A familiar pre-dive pattern helps your body relax faster and reduces anxiety.
- Make your exhale a little longer while resting. Try 4 counts in, 6 counts out to settle your breathing.
- Smooth beats fast, always. Slow kicks and a streamlined glide usually help you last longer than hard effort.
- Practice in short sets. Do one calm attempt, rest fully, then repeat only if you still feel good.
- Start with distance goals, not time goals. Aim for a lane marker or wall instead of counting seconds.
Keep it steady and repeatable. If you feel rushed, tense, or off, stop and call it a win for today.
What Not To Do While Practicing Breath Holding
When you are practising breath holding, do not breathe rapidly and deeply before going under, and do not ever practise alone, even in a pool with lifeguards.
Avoid repeated underwater laps with short breaks, and do not compete with anyone for time or distance, as that pressure can make people stay under too long.
Never push through warning signs, even if they seem small. And if you are thinking about freediving deeper than casual shallow practice, do not attempt it without proper training and a safety-ready buddy setup.
What Changes For Freediving?
If casual pool practice starts feeling like a real interest, a few things shift in a big way. Freediving demands stricter safety protocols, greater technique, and a more structured approach.
- Safety Gets Stricter – Your buddy is not just “nearby.” They need proper surface positioning, full attention, and basic rescue awareness. Freediving needs real supervision, not casual watching.
- Technique Adds More Skills – You now need equalization to handle pressure. You also learn controlled descent, safe ascent habits, and how to stay relaxed under depth changes.
- Training Becomes Structured – Progression usually goes: dry practice, pool sessions, then supervised open water. Each step builds safety and control. Skipping steps is where problems start.
- When A Class Makes Sense – If you want meaningful depth, longer dives, or regular freediving, take a certified course. It teaches safety checks, buddy skills, and techniques that are hard to learn on your own.
Freediving can be amazing, but it’s not something to wing. If you’re new to the sport, start by learning what freediving involves before attempting depth.
Common Myths I Want To Clear Up
These myths can sound convincing, but they often lead people into risky habits. Use this quick table as a reality check.
| Myth | Reality |
|---|---|
| Fast, deep breaths before going under make it safer. | Rapid breathing lowers carbon dioxide levels and can mask your urge to breathe, increasing your risk of blackout. |
| You will always feel it coming before you pass out. | Loss of consciousness can occur suddenly with little warning, so waiting for “danger feelings” is not safe. |
| Fit, strong swimmers are not at risk. | Fitness does not prevent blackout. Even experienced swimmers can be affected, especially when engaging in risky habits or solo practice. |
| Pushing your limit is the fastest way to improve. | Pushing limits increases risk. Calm, short, repeatable practice with full recovery is safer and allows steady progress. |
Keep your focus on calm control, strong safety habits, and steady practice. That is how you get better without gambling.
Conclusion
Here is where I want to leave you. You cannot truly breathe underwater without equipment, but you absolutely can learn how to breathe underwater in the safest, most realistic sense by building calm, controlled breath holds for short swims, quick snorkeling dips, and steady pool practice.
For breath-holding, the rules stay the same every time: no rapid breathing before you go under, never practice alone, surface early, and recover fully before repeating.
Comfort and efficiency grow through small, consistent sessions, not by chasing records.
And for longer holds, deeper water, or regular freediving, a proper course is the safest next step for buddy skills, safety checks, and solid technique.
Frequently Asked Questions
Can Breath Holding Affect People With Asthma Or Heart Conditions?
Yes. Breath-holding can be riskier with respiratory or heart issues. It is best to ask a clinician first, even for shallow pool practice.
Should Breath Holding Be Practised After Eating Or Drinking Caffeine?
Avoid practising right after a heavy meal. Many people also feel jittery with caffeine, which can raise heart rate and anxiety. A light, settled stomach is safer.
How Long Should A Beginner Hold Their Breath Underwater?
There is no universal “safe time.” Start with very short, comfortable dips in shallow water, surface early, and repeat only after full recovery. Comfort matters more than seconds.
What Simple Gear Helps With Safer Practice?
A well-fitting mask reduces the stress on the eyes from water. A snorkel helps with calm surface breathing between attempts. Fins can reduce effort, but only if used slowly and under supervision.