
Every year, thousands of kayaks fall off vehicles on highways across America. Most of these accidents happen because people don’t know how to tie down their kayaks properly.
A loose kayak can damage other cars, hurt people, and cost the owner hundreds of dollars.
Loading a kayak safely onto a vehicle protects both the watercraft and ensures road safety. The right technique takes just minutes to learn but prevents costly mistakes.
This guide shows the exact method outdoor professionals use to transport kayaks without problems.
Readers will learn what materials they need, step-by-step instructions, and pro tips that prevent common errors. The process works for any kayak size and any vehicle with roof racks.
Materials Required
Before starting, gather these essential items. Having everything ready makes the job faster and easier. Missing one item could mean an unsafe trip to the water.
| Item | Quantity | Length/Size | Purpose |
|---|---|---|---|
| Tie-down straps | 2 | Minimum 10 feet each | Secure the kayak to the roof rack |
| Roof rack system | 1 set | Fits vehicle | Provides mounting points |
| Kayak | 1 | Any size | The watercraft being transported |
| Protective padding | Optional | Various sizes | Prevents scratches on the kayak and vehicle |
Step-by-Step Instructions
These eight steps will secure any kayak to a roof rack safely and quickly. Follow each step in order to ensure the kayak stays in place during transport.
Step 1: Position the Kayak

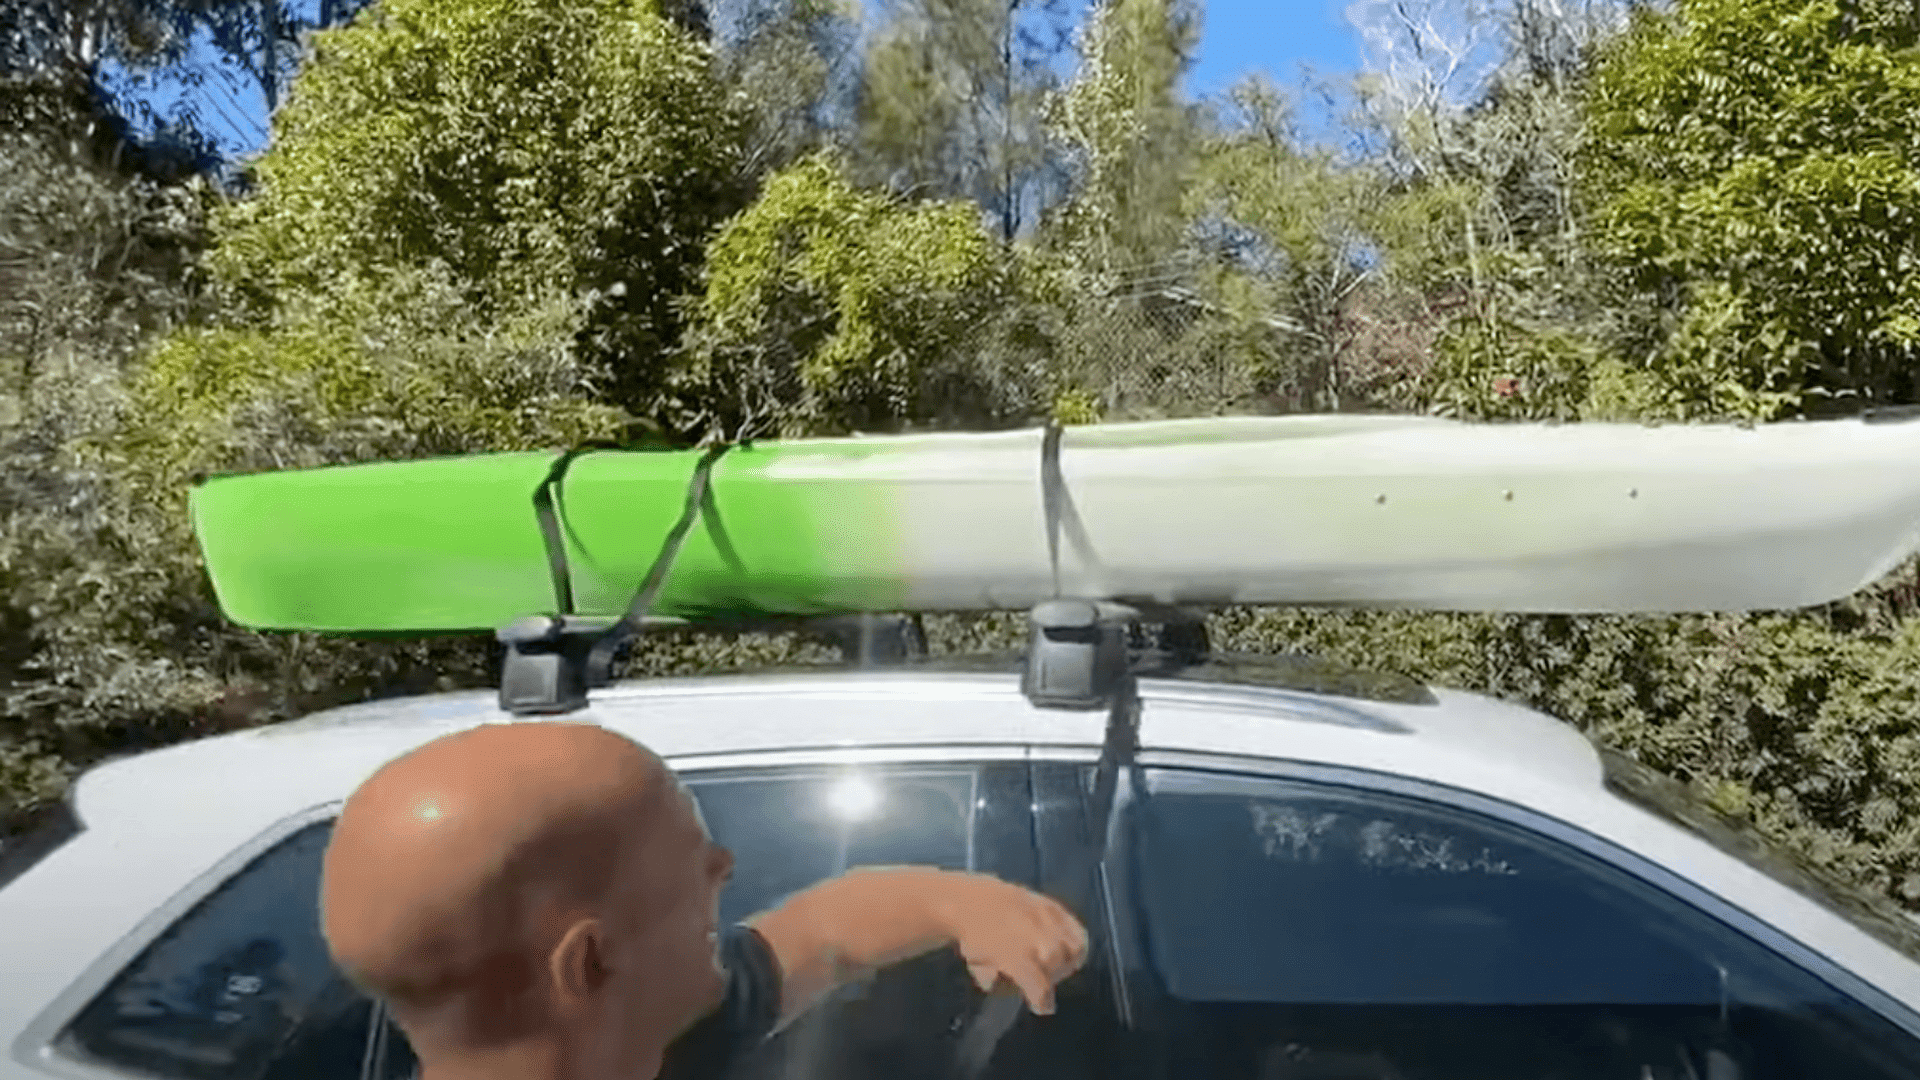
Center the kayak over both front and rear roof rack crossbars. The kayak should sit balanced with equal overhang on both ends of the vehicle. This prevents the kayak from shifting during transport.
Check that the kayak sits flat on both crossbars. An uneven position puts stress on one side and could cause the kayak to slip. Take time to get this right from the start.
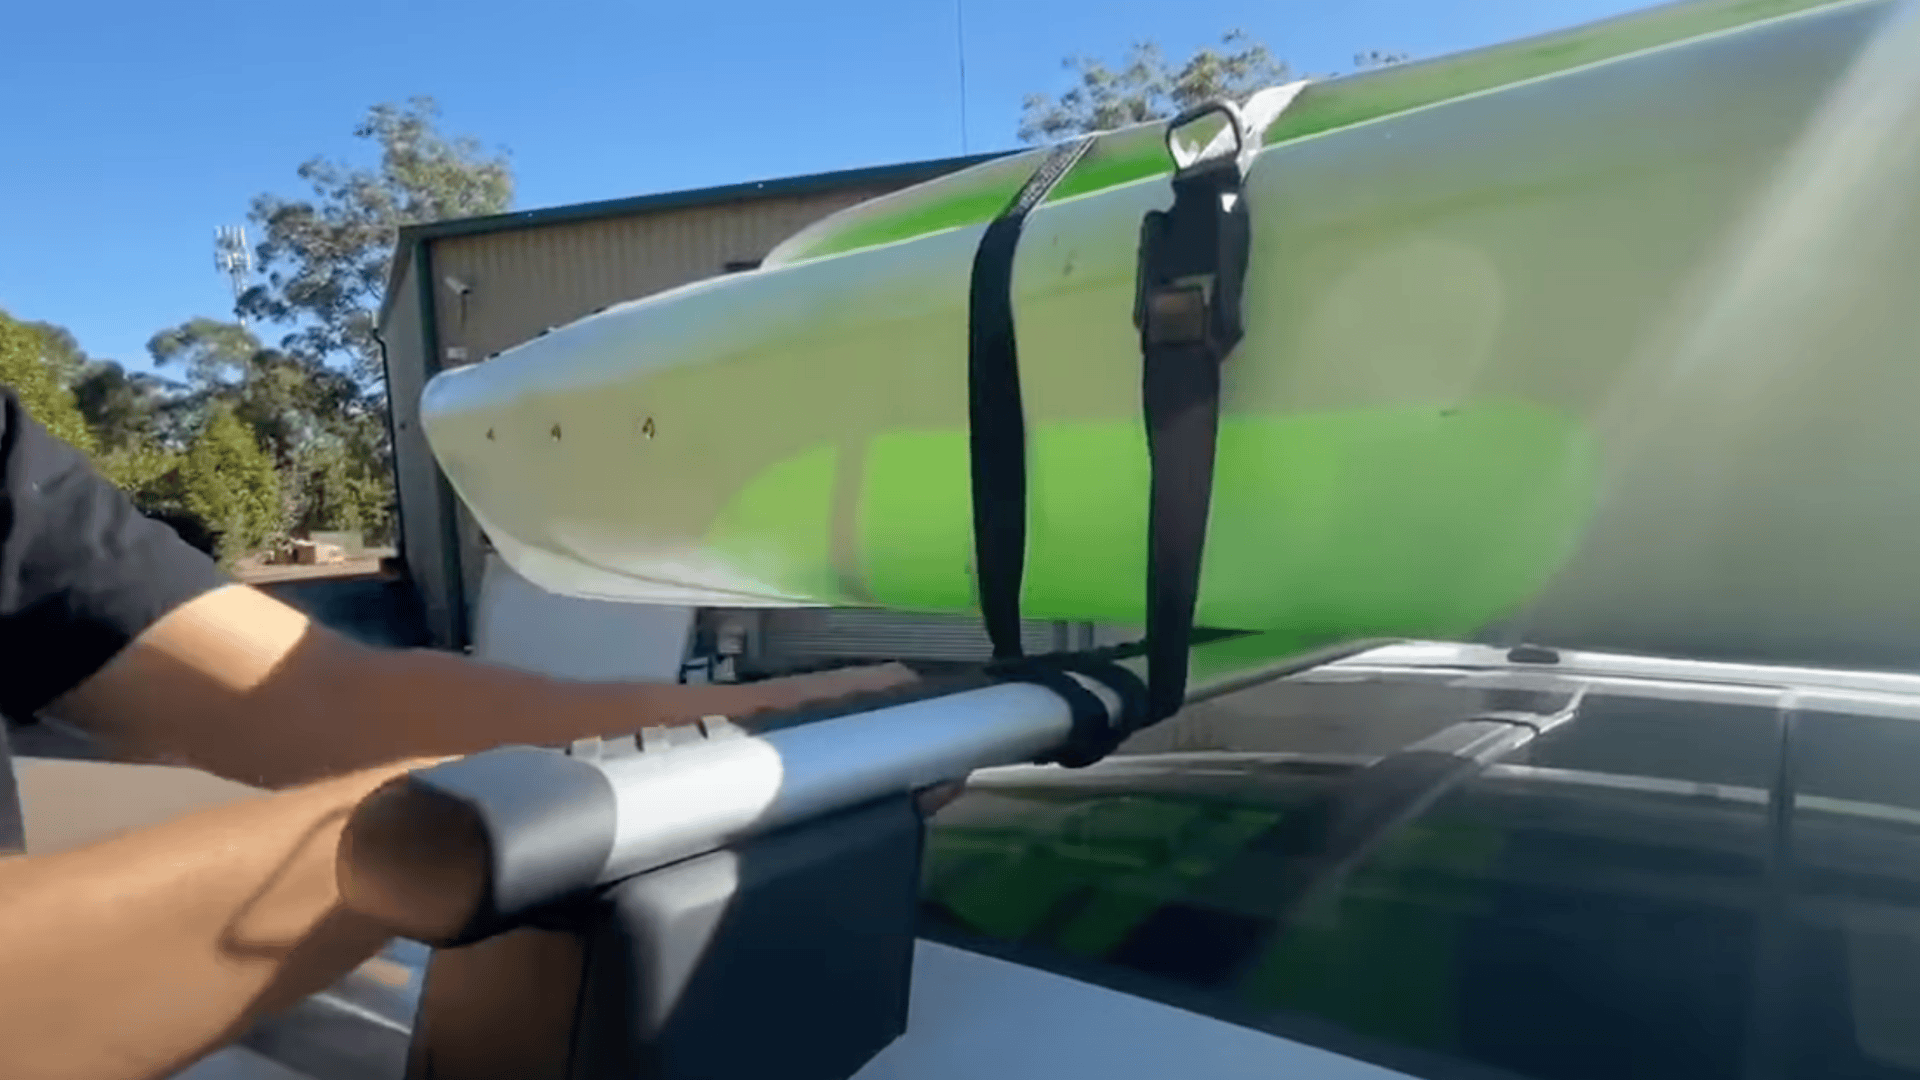
Step 2: Prepare the First Strap

Take the first tie-down strap and feed it underneath the front roof rack crossbar. Pull both ends of the strap up and over the kayak to the opposite side. Make sure the strap lies flat against the kayak’s hull.
Keep the strap straight without any twists at this point. Twisted straps don’t hold as well and can damage the kayak’s surface. The strap should follow the natural curve of the kayak.
Step 3: Add the Second Strap
Grab the second tie-down strap and repeat the same process with the rear roof rack crossbar. Feed it underneath the crossbar, then pull both ends up and over the kayak. This creates two secure points that will hold the kayak in place.
Space the straps as far apart as possible on the kayak. The wider the spacing, the more stable the kayak will be during transport. This prevents rocking or shifting on the road.
Step 4: Position the Buckles
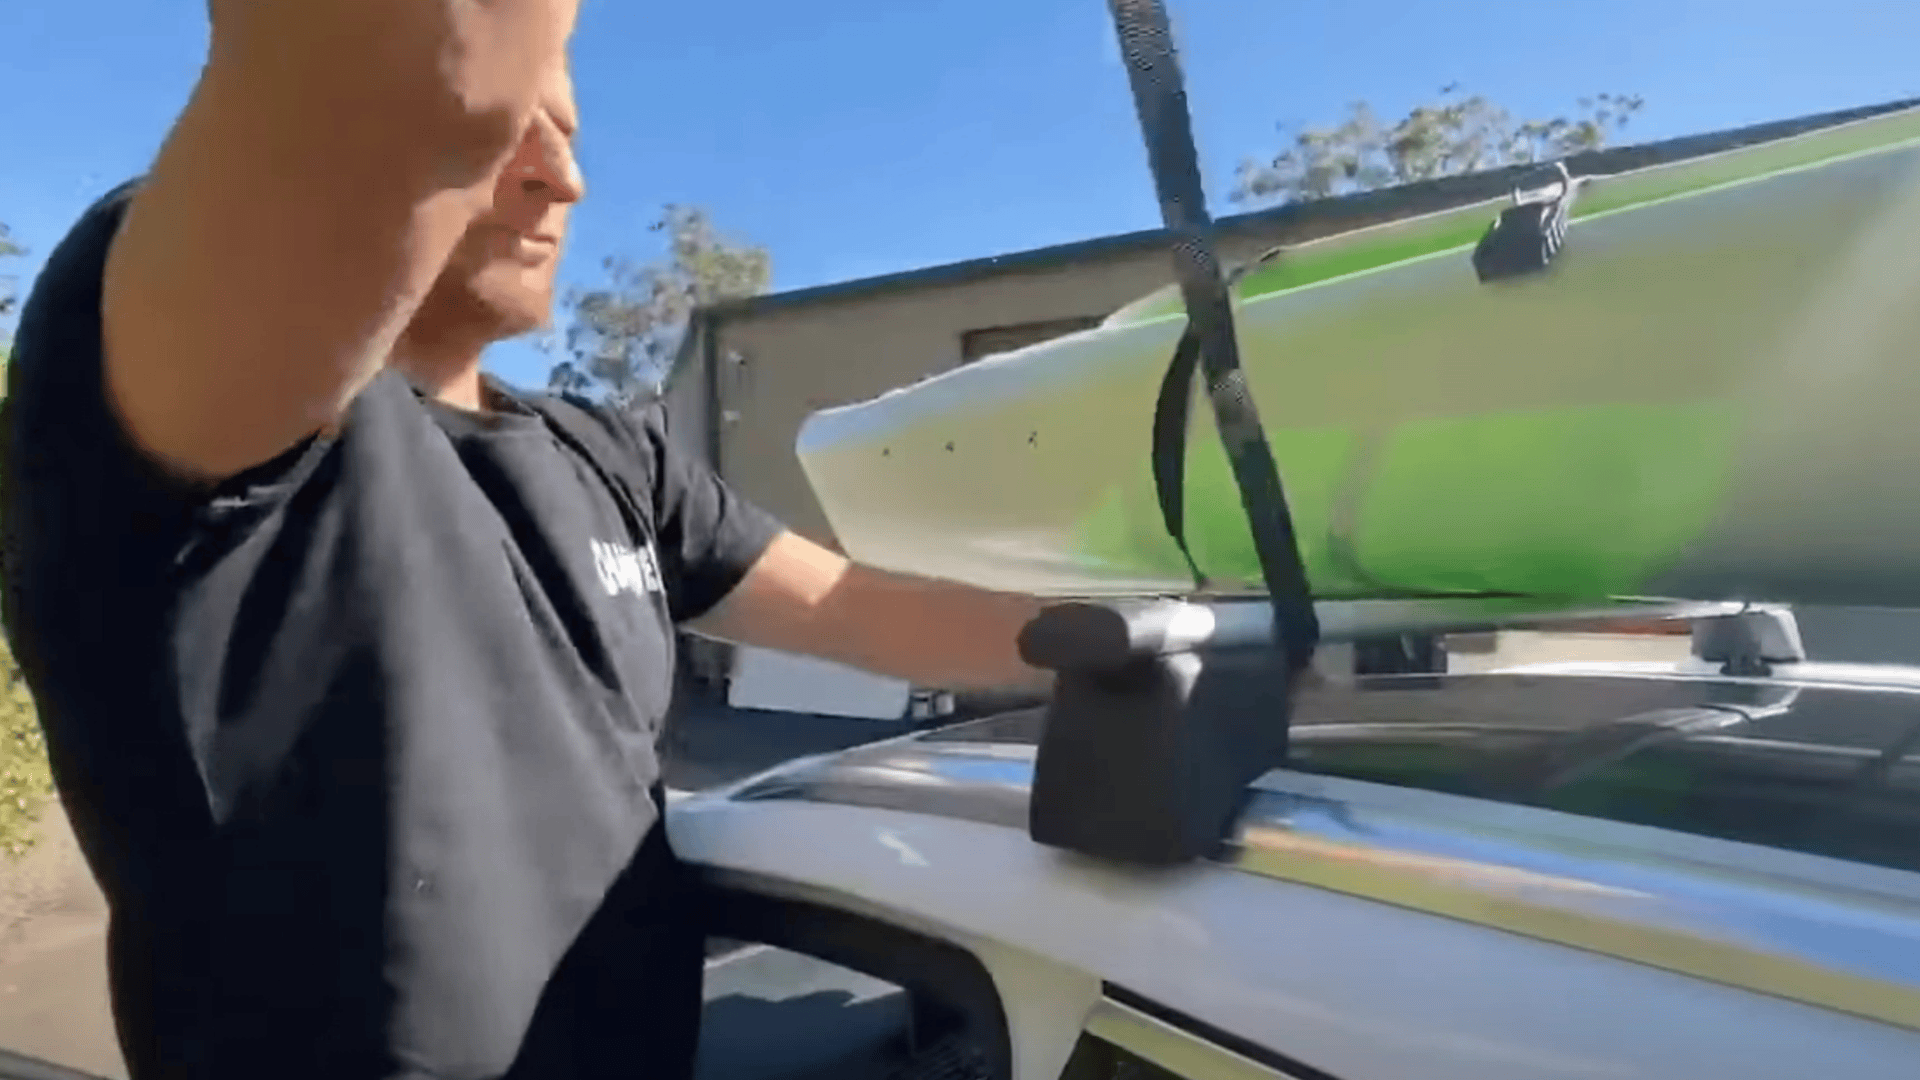
Slide each strap so the buckle mechanism sits on top of the kayak. This prevents the metal buckles from scratching the vehicle’s roof paint. It also makes the buckles easier to reach when tightening.
Make sure both buckles face the same direction for consistency. Some people prefer buckles facing toward the back of the vehicle. This keeps them out of the driver’s line of sight.
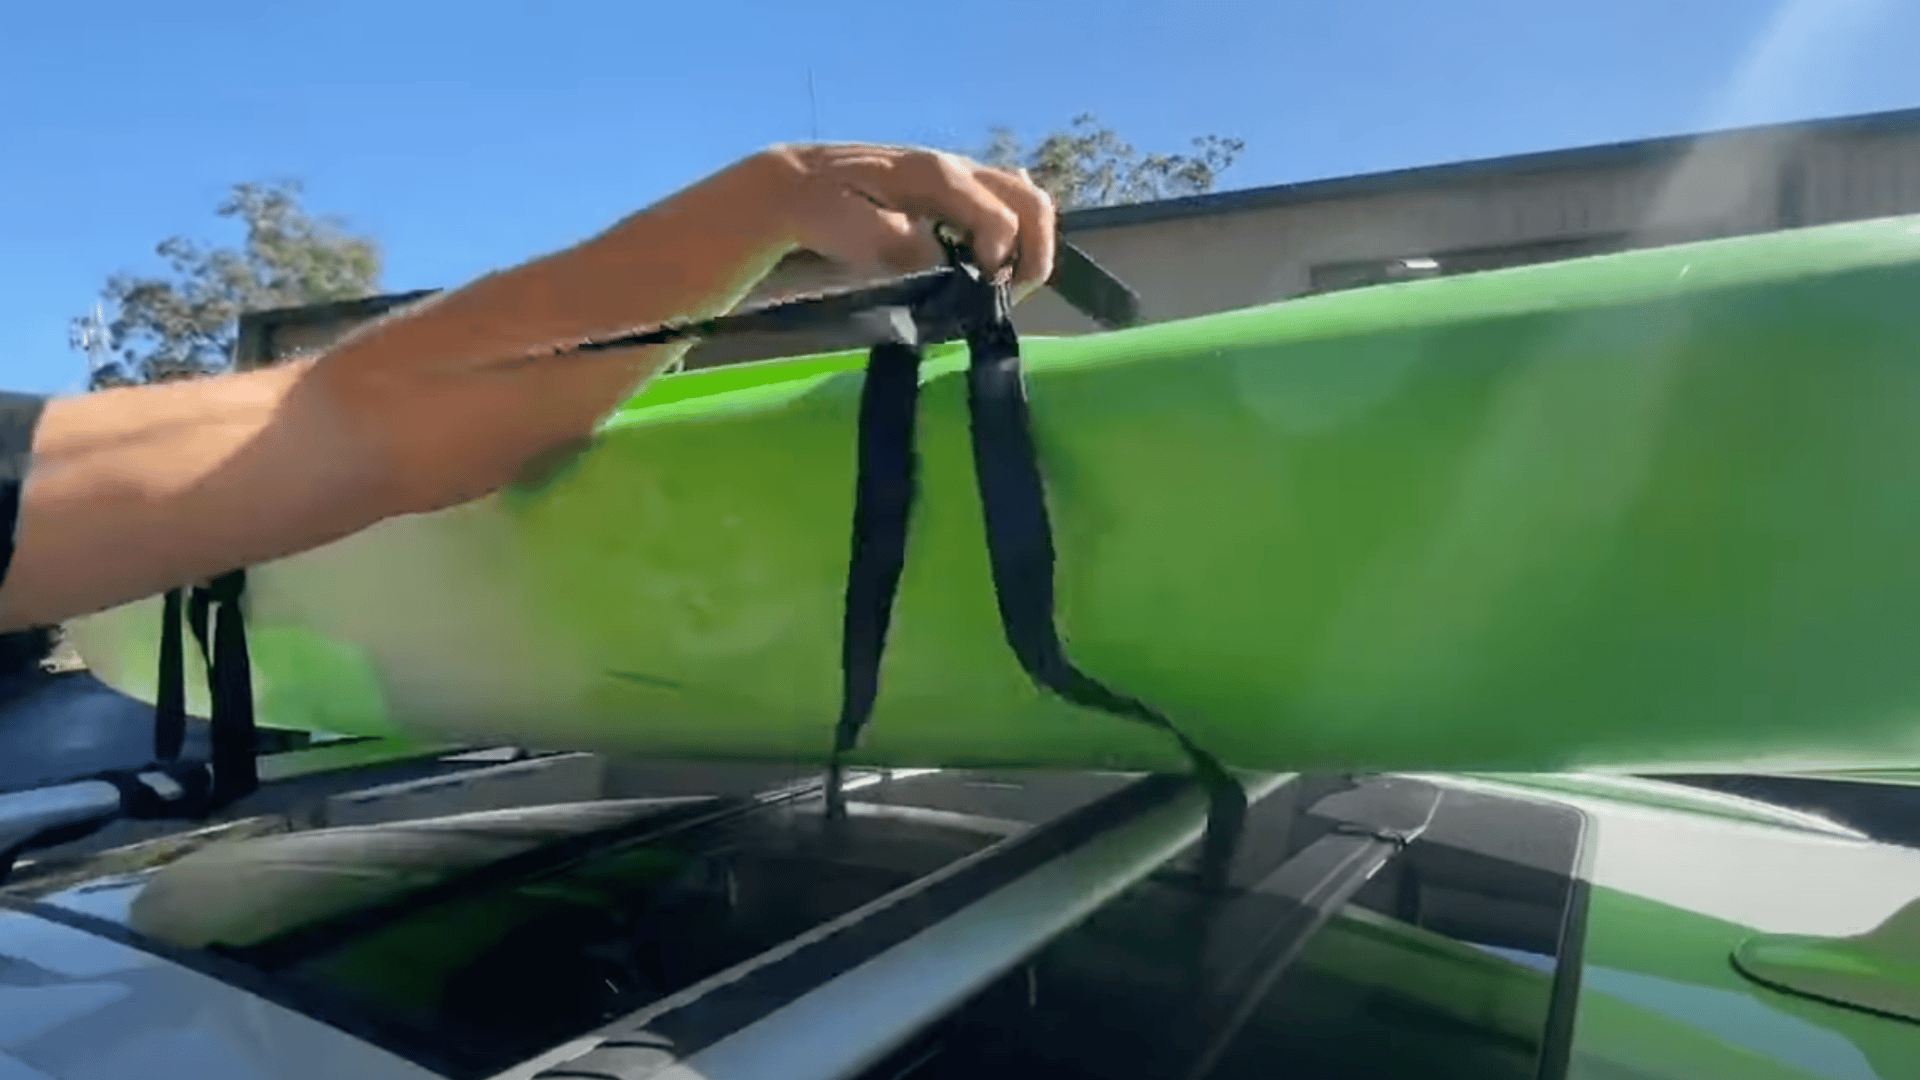
Step 5: Secure the First Strap
Take the loose end of the first strap and thread it underneath the roof rack. Feed it back up into the buckle mechanism and pull down firmly to tighten. The strap should be snug but not over-tightened.
Wrap any excess strap around the roof rack to prevent flapping. Create a half-hitch knot to lock the excess material in place. This stops the strap from coming loose during the drive.
Step 6: Secure the Second Strap
Repeat the securing process with the second strap at the rear crossbar. Apply the same amount of tension as the first strap. Both straps should feel equally tight when properly secured.
Check that both straps run parallel to each other. Uneven strap angles can create pressure points that damage the kayak. Adjust as needed before the final tightening.
Step 7: Final Safety Check

Give the kayak a firm shake to test how secure it is. The kayak should not move side to side or front to back when properly secured. Any movement means the straps need more tension.
Check that both straps remain tight and the buckles stay positioned away from the vehicle’s roof. Verify that excess strap material is wrapped and secured properly. Confirm the kayak still sits centered on both crossbars.
Video Tutorial
Special thanks to Weekend Warrior Outdoor for providing valuable insights in their video, which I referenced while creating this guide.
Pro Tips for Safe Transport
These professional techniques help prevent damage and improve security during transport. Smart kayakers use these methods to avoid common mistakes that cost time and money.
- Use protective padding: Place foam blocks or towels between the kayak and roof racks to prevent scratches and improve grip.
- Choose quality straps: Look for tie-down straps with protective buckle covers that won’t damage the kayak or vehicle.
- Check tension early: Stop after the first few miles to re-check strap tightness as new straps often settle and loosen.
- Add bow and stern lines: Attach extra tie-downs from kayak ends to vehicle tow points for long trips or highway speeds.
- Consider wind resistance: Longer kayaks catch more wind, so reduce highway speeds and avoid sudden lane changes.
These simple additions to the basic technique make transport safer and protect expensive gear from damage.
Safety Reminders
These critical safety checks prevent accidents and protect both the kayak and other drivers. Review each point before hitting the road with a loaded kayak.
| Safety Check | What to Verify | Why It Matters |
|---|---|---|
| Weight limits | Don’t exceed roof rack capacity | Prevents rack failure and vehicle damage |
| Visibility | Straps don’t block windows or lights | Other drivers need to see signals clearly |
| Loose items | Remove the gear from inside the kayak | Prevents objects from flying out at speed |
| Driving style | Use gentle movements and reduced speed | Extra weight changes vehicle handling |
Note: Always double-check the entire setup before driving to the launch site, as even small oversights can lead to serious problems on the road.
Conclusion
Securing a kayak properly takes just minutes but prevents serious accidents and expensive damage.
Following these steps keeps the watercraft safe during transport and protects other drivers on the road. The key is having the right materials and taking time to do each step correctly.
Most kayak transport problems come from rushing the tie-down process or using poor-quality straps.
Good preparation and attention to detail make all the difference. Always double-check the setup before driving to the next paddling spot.
Ready to hit the water safely? Bookmark this guide for reference before each kayak trip. Share it with fellow paddlers who want to transport their gear without worry.