The first time I loaded a kayak onto a roof rack, I had no idea what I was doing. I looped the straps over, gave them a tug, and called it good. Spoiler: it was not good.
The kayak shifted halfway down the highway, and I spent the rest of the drive white-knuckling the steering wheel.
Learning how to strap a kayak to a roof rack the right way isn’t complicated, but it does require knowing a few key steps.
Get it right, and you can drive confidently at highway speeds without worrying about your kayak, your car, or the drivers around you.
Why Proper Kayak Strapping Matters?
Strapping a kayak to a roof rack seems simple, but a lot can go wrong if it is not done correctly. The goal is to get your kayak to the water safely, without putting other drivers at risk or damaging your gear.
A poorly secured kayak can shift at highway speeds, slide off the roof, or even fly into oncoming traffic.
Loose straps also let the hull bounce against the roof rack, which can crack or warp the kayak over time. On top of that, constant friction from loose tie-downs can scratch or dent your car’s roof.
Taking a few extra minutes to strap things down the right way makes a big difference.
What Gear You Need Before You Start (Straps, Pads, and More)
Before you load your kayak onto your vehicle, having the right gear is key to safe, secure transport and to protecting both your kayak and your car from scratches or damage.
| GEAR | PURPOSE |
|---|---|
| Cam Buckle Straps | Secure the kayak safely; avoid overtightening. |
| Protective Padding | Foam blocks or cradle pads prevent scratches. |
| Bow & Stern Lines | Anchor kayak ends for extra stability. |
| Stacker Bars/J-Cradles (Optional) | Angle kayak for easier loading/multiple boats. |
| Towel/Helpers | Extra cushioning; easier lifting and positioning. |
Having all these essentials ready ensures your kayak is well-protected and easier to handle when loading and securing it on your roof rack.
Once your gear is gathered, you’re fully prepared to position your kayak safely and start the strapping process.
How to Strap Your Kayak to a Roof Rack
Securing a kayak correctly keeps it safe during transport and protects your car from scratches or damage. Following the right steps ensures the kayak won’t shift, fall, or get damaged while driving.
Step 1: Gather Gear and Prepare the Vehicle
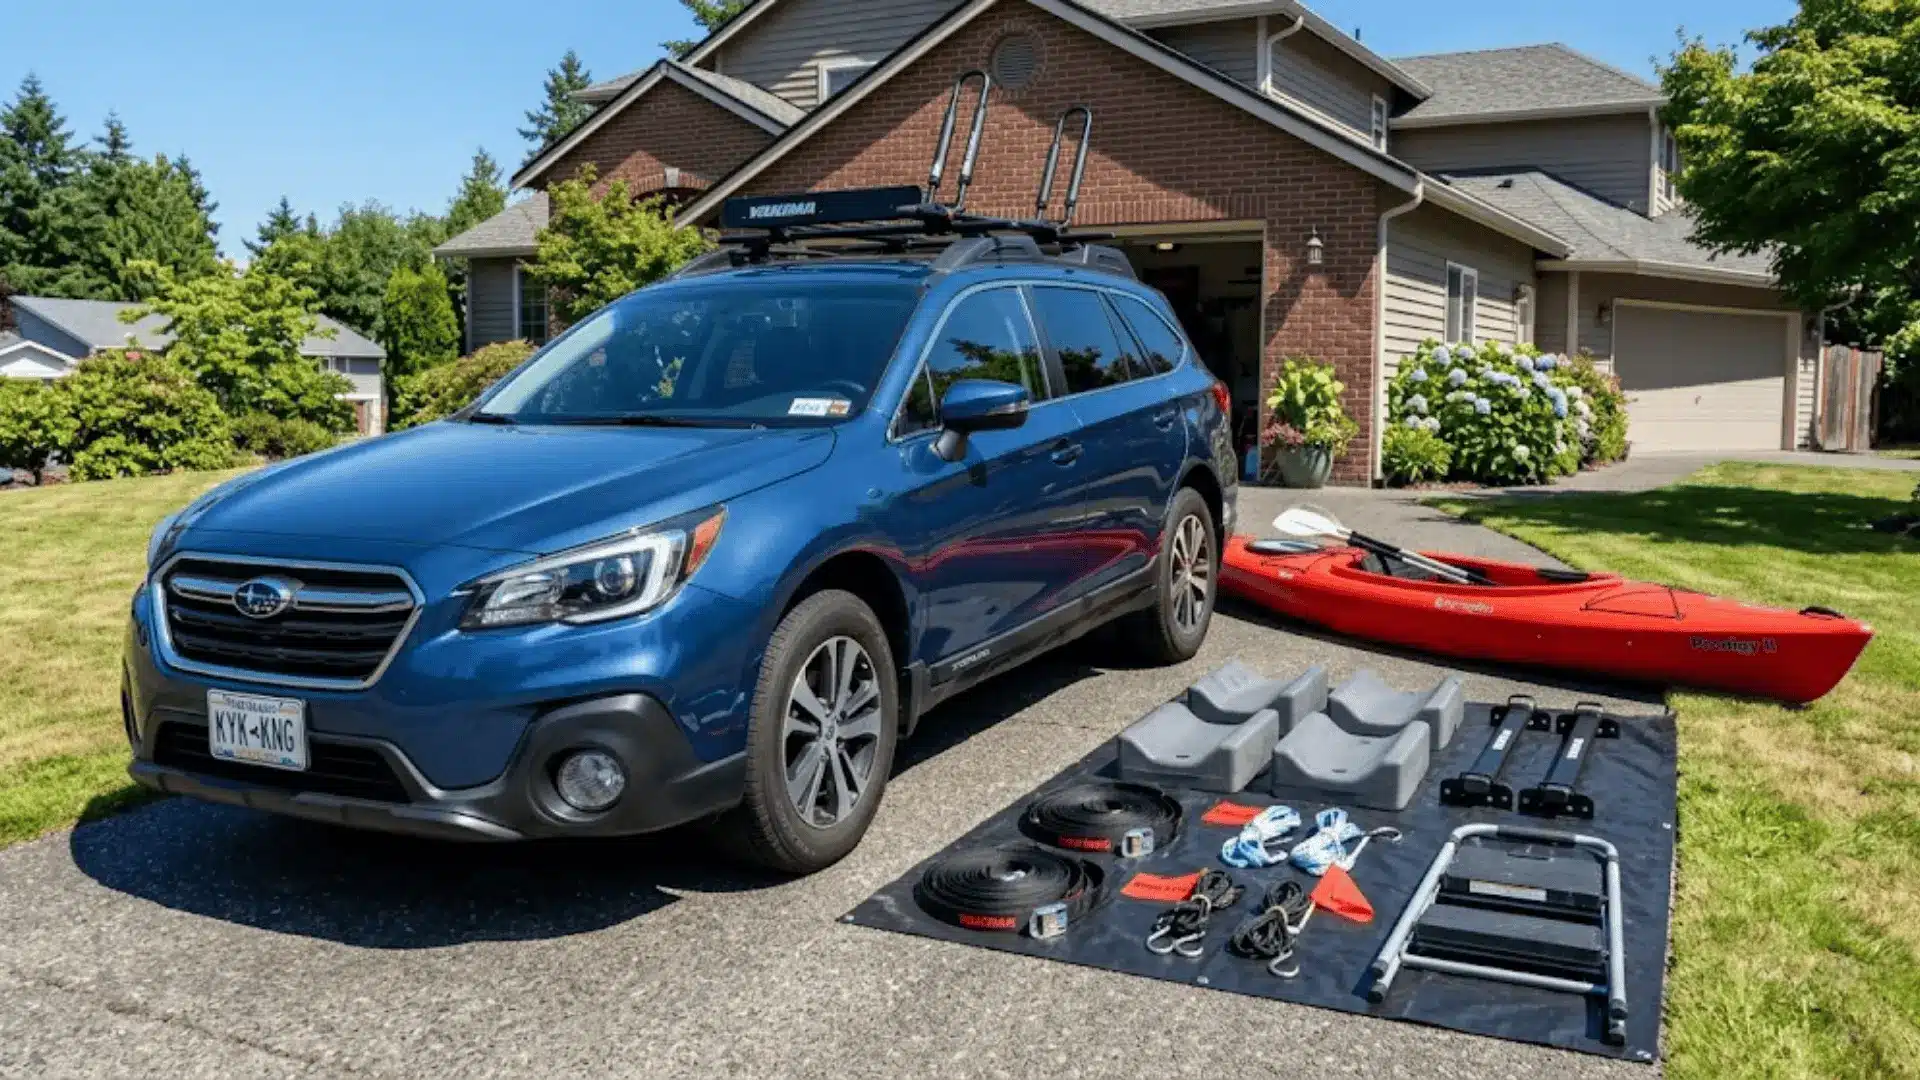
Before loading the kayak, gather all the necessary gear. Cam buckle straps will hold the kayak securely in place, while protective padding prevents scratches on both the kayak and the roof.
Bow and stern lines add extra security, and optional stacker bars can help hold multiple kayaks. Make sure the roof rack crossbars are tight and stable. Using a helper or step stool can make lifting the kayak easier and safer.
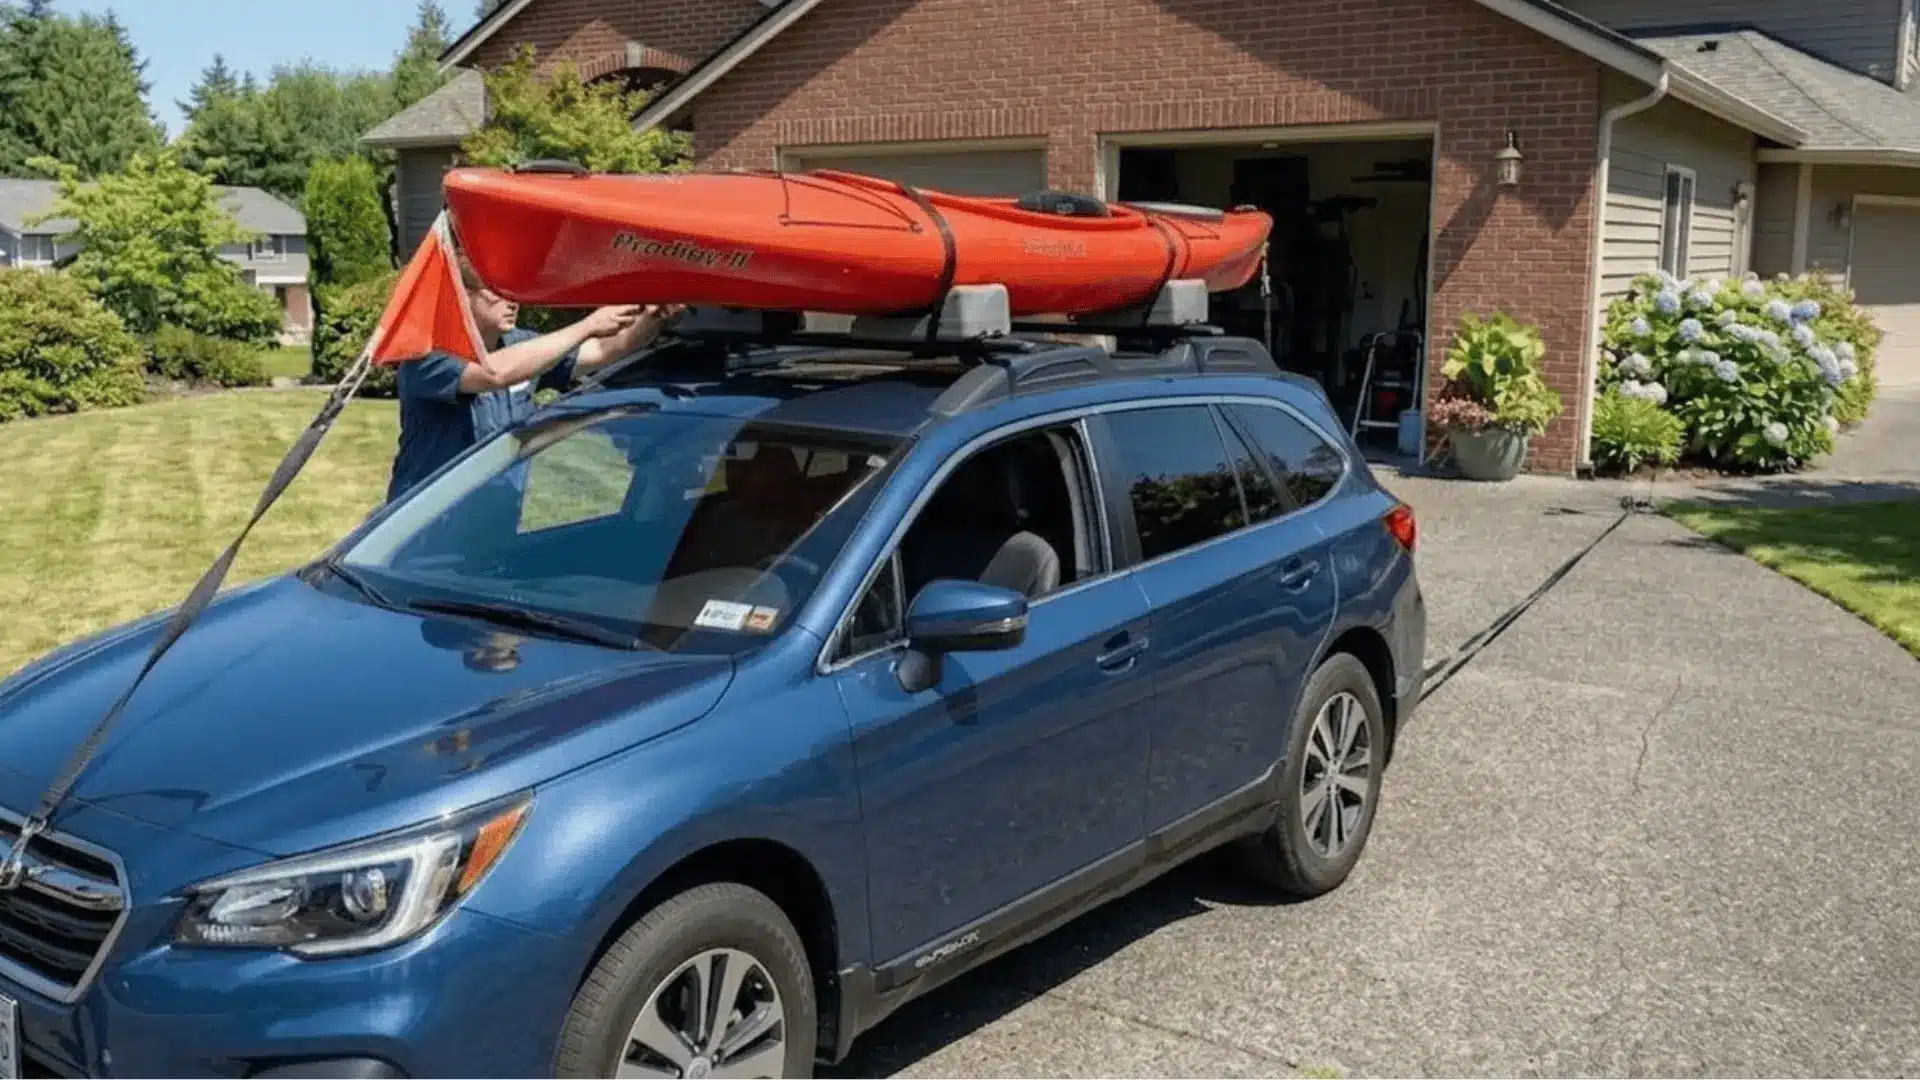
Step 2: Position the Kayak on the Roof Rack
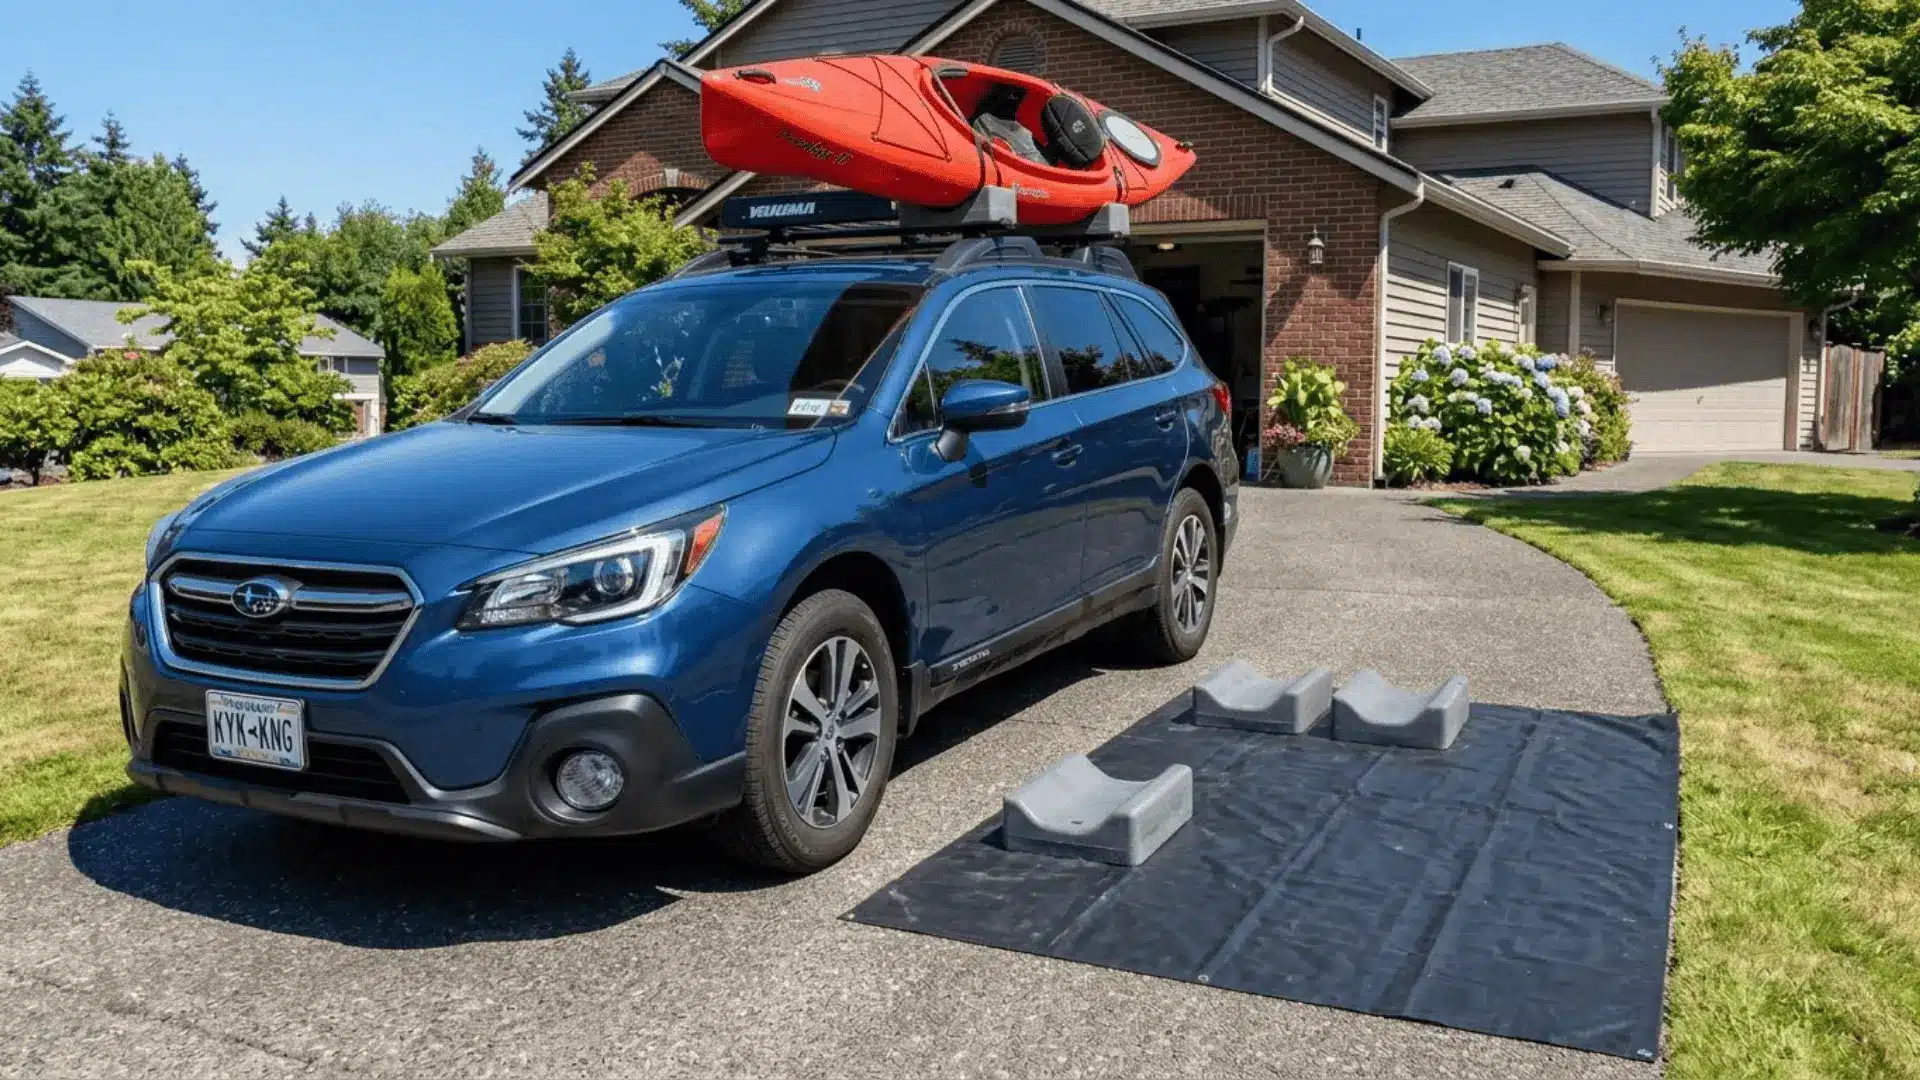
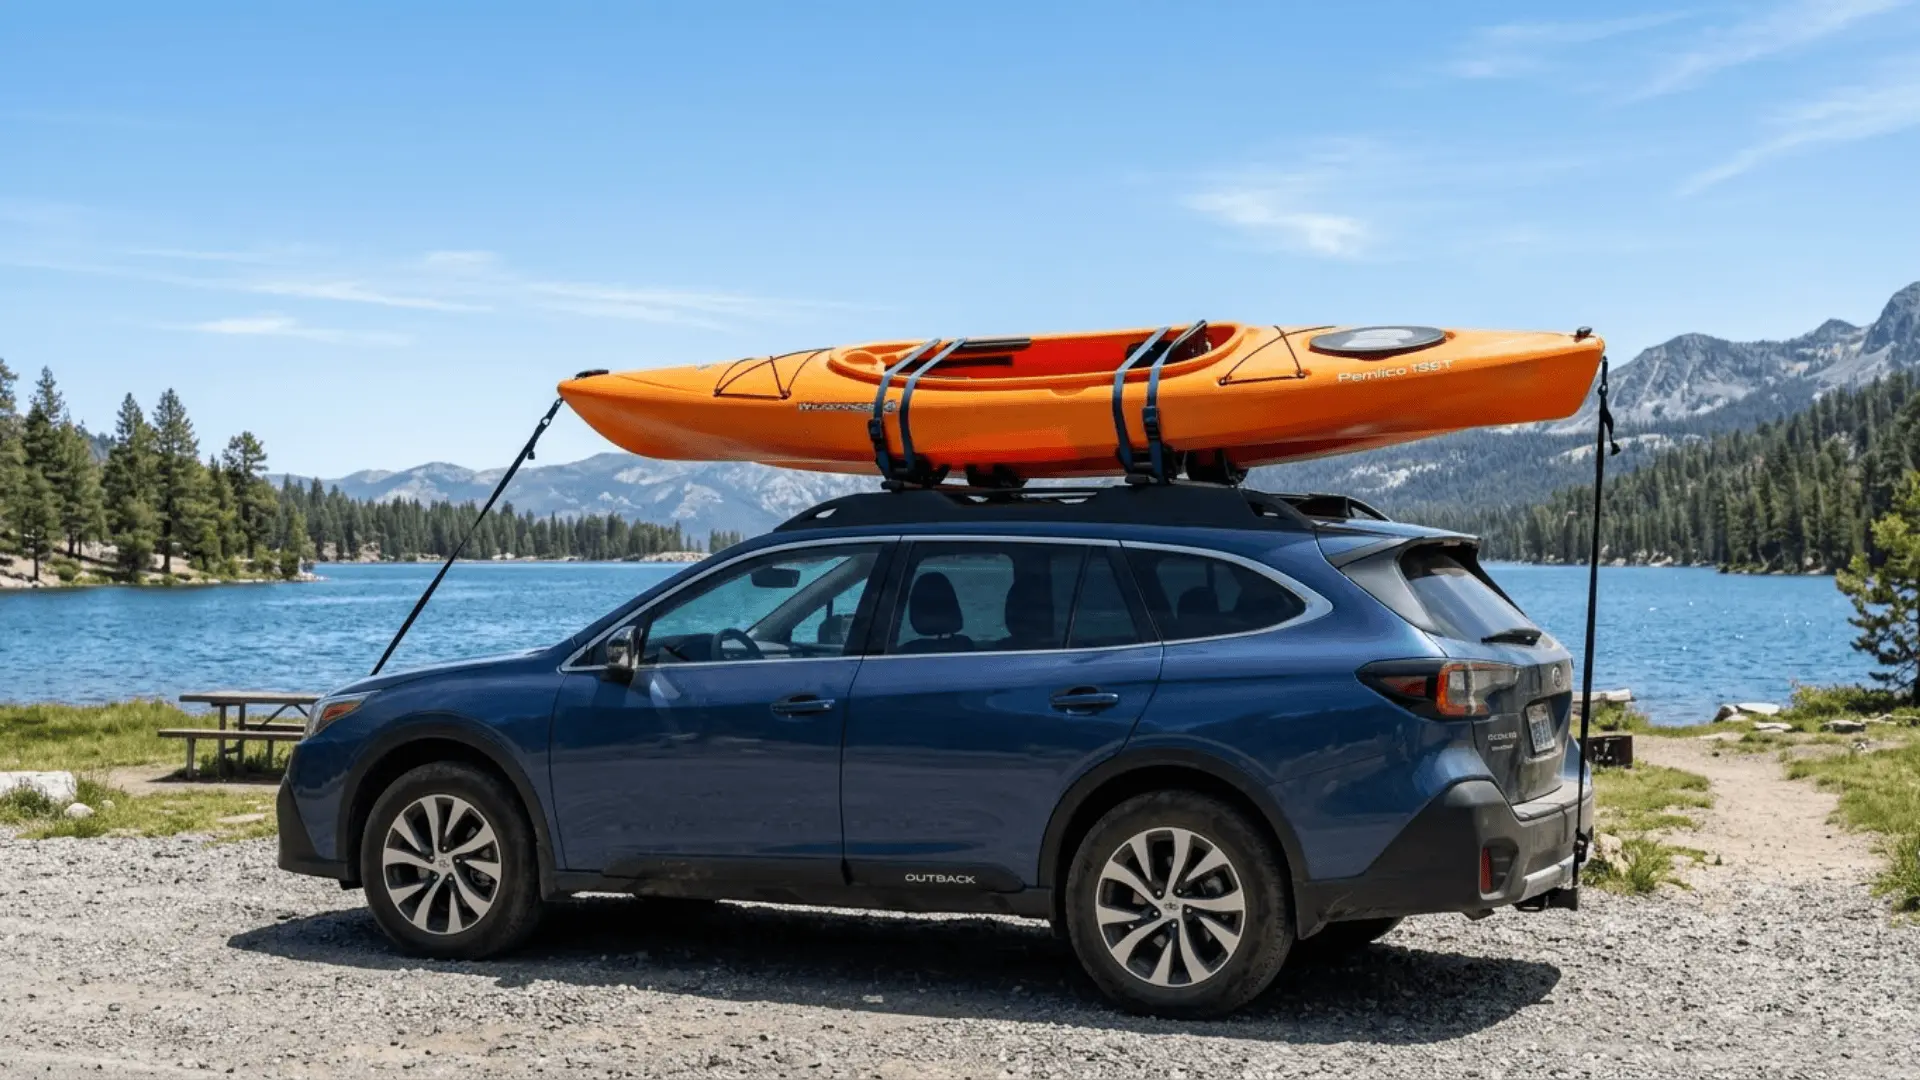
Carefully place the kayak on the roof rack, making sure it is centered from side to side and front to back. Choose whether to set it hull up or hull down; hull down usually protects the kayak better.
Add padding under all contact points to prevent scratches. Check that the kayak is evenly balanced, with no end hanging too far over the front or back. Correct placement makes strapping easier and safer.
Step 3: Secure the Kayak With Cam Buckle Straps
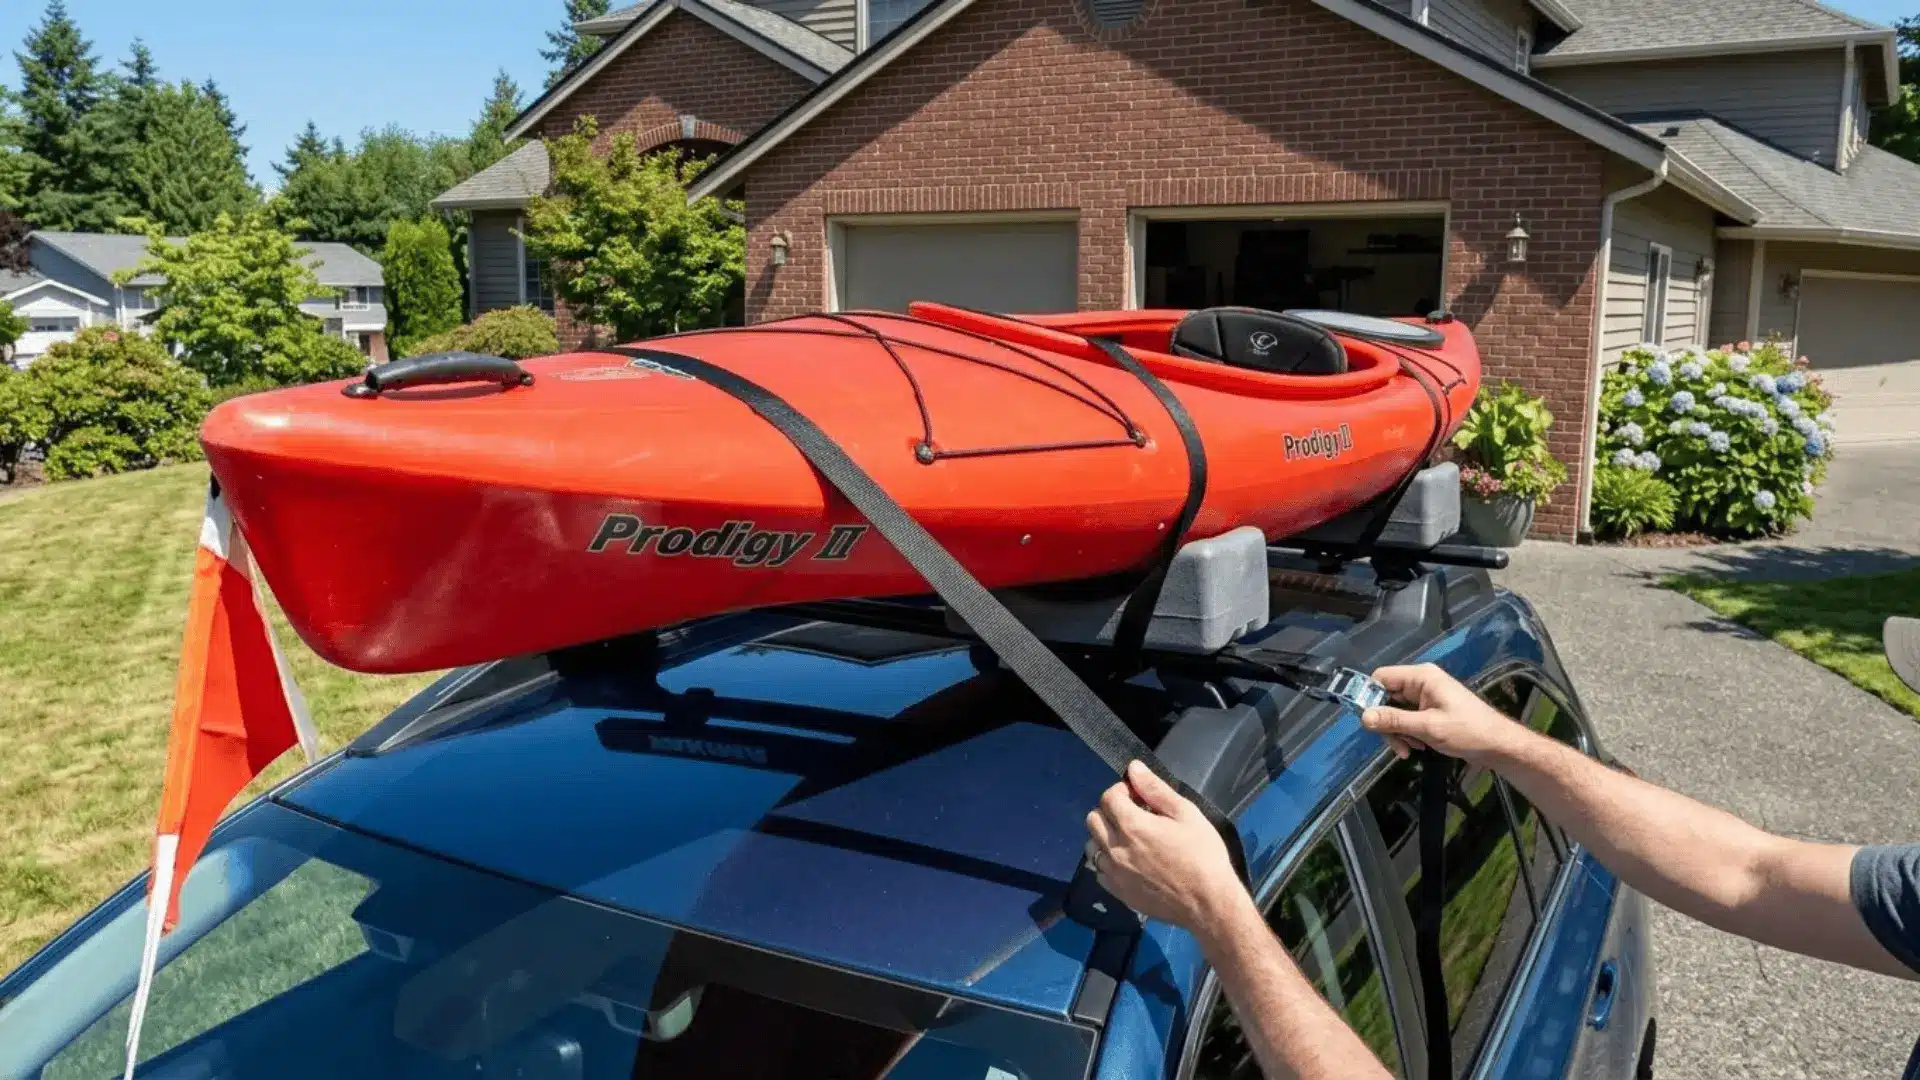
Take the cam buckle straps and thread them under the roof rack crossbars and over the kayak. Keep the straps flat and avoid twists, positioning the buckles slightly forward of the center.
Pull the straps tight enough to hold the kayak firmly, but not so tight that the hull is crushed or deformed. Securely tie off any extra strap length to prevent it from flapping in the wind while driving.
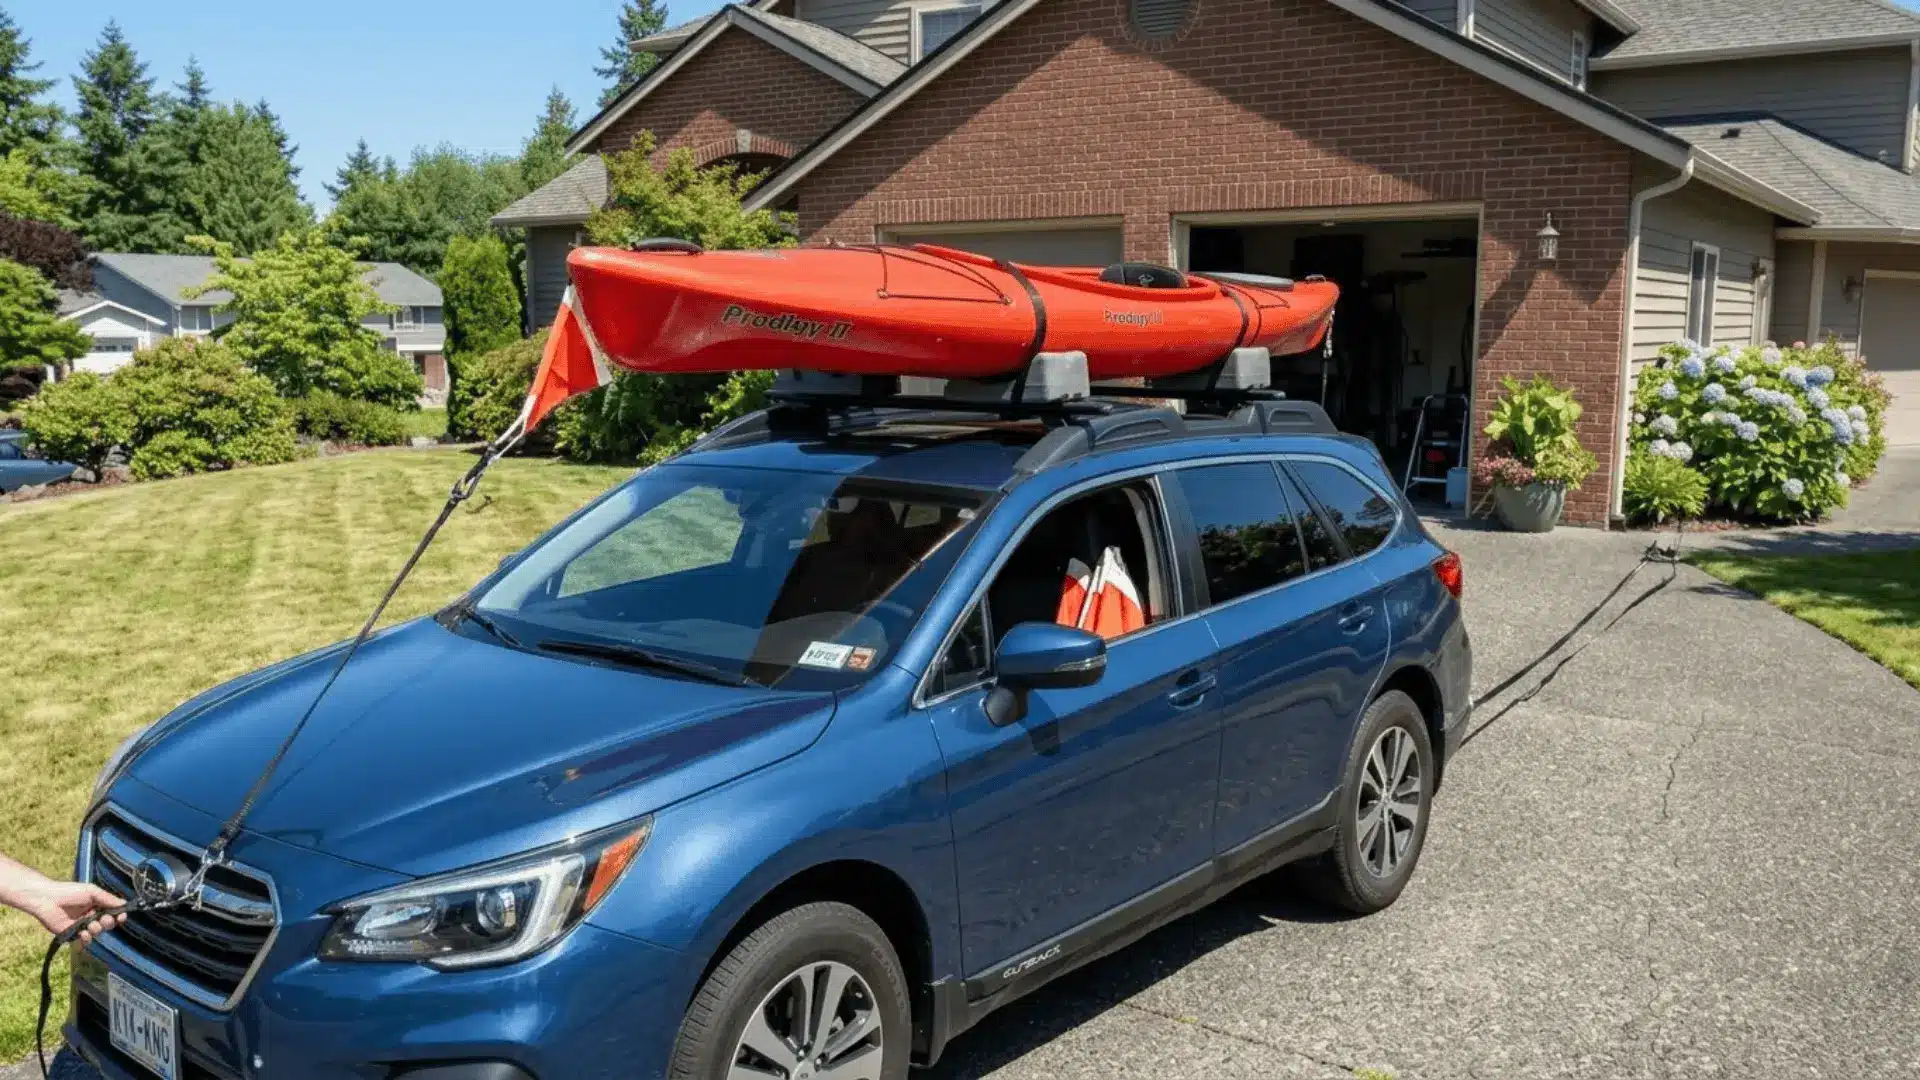
Step 4: Attach Bow and Stern Lines for Extra Security
Attach a bow line to the front tow hook and a stern line to a secure point at the back of the car. These lines keep the kayak from sliding forward or backward, especially during high-speed or long drives.
The lines should be tight enough to hold the kayak steady but not stretched so much that they bend or damage the kayak. Using bow and stern lines adds an extra layer of safety.
Step 5: Conduct a Final Safety Check
Before hitting the road, gently shake the kayak to make sure it does not move more than an inch. Double-check all straps, padding, and bow and stern lines to confirm they are tight and properly positioned.
Make sure the kayak is balanced on the roof and that the load does not exceed the roof rack limits. A final inspection ensures the kayak is secure and reduces the risk of accidents while driving.
Alternative Kayak Transport Methods
If you don’t want to use the standard roof rack method, there are other safe ways to transport your kayak. These alternatives can protect your kayak, your vehicle, and make loading easier, depending on your setup.
Using J-Cradles or A-Frame Roof Racks

J-Cradles and A-frame racks hold your kayak at an angle, making it more stable on the roof and reducing contact with the car. This method works well if you need to carry multiple kayaks at the same time.
- Place the J-cradle or A-frame rack securely on the crossbars.
- Lift the kayak onto the angled rack and carefully rest it in the cradle.
- Center the kayak left-to-right and front-to-back for balance.
- Run cam buckle straps over the kayak and through the cradle to secure it.
- Attach bow and stern lines for extra stability on highways or long drives.
Using J-cradles or A-frame racks makes roof transport safer and easier, especially for multiple kayaks. This setup keeps the kayak stable while reducing pressure on the hull.
Truck Bed Transport (For Pickup Owners)
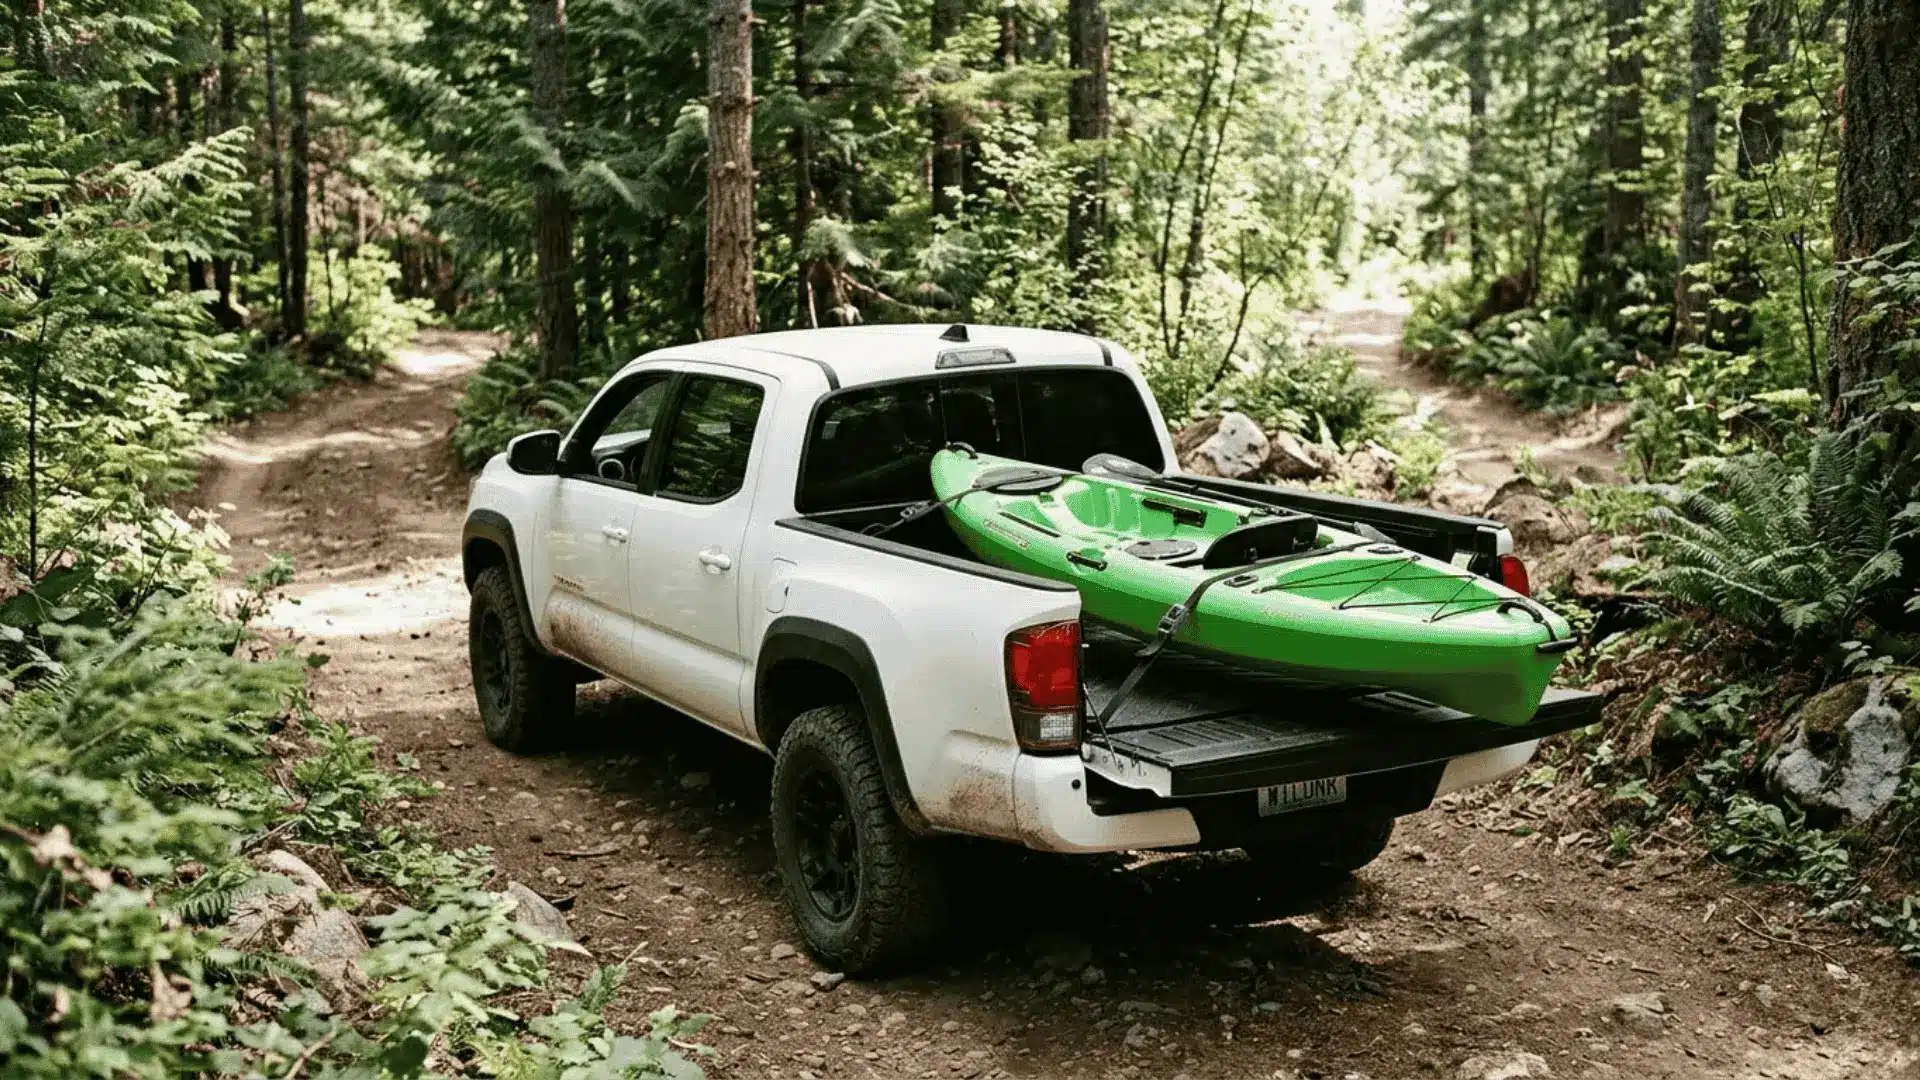
If you own a pickup, transporting your kayak in the truck bed is a safe alternative to roof racks. This avoids lifting the kayak high and can handle longer or heavier boats easily.
- Place padding or a blanket in the truck bed to protect the kayak and truck.
- Lay the kayak flat in the bed, ensuring it is centered and stable.
- Run cam buckle straps over the kayak and attach them to secure points in the bed.
- Tighten the straps snugly without crushing the kayak hull.
- Add bow and stern lines if the kayak extends beyond the bed to prevent shifting.
Transporting a kayak in a truck bed keeps it low, stable, and safe. With proper padding and straps, it reduces the risk of the kayak sliding or falling during transport.
Tips to Avoid Common Mistakes
Even small mistakes when strapping a kayak can cause damage or make it unsafe on the road. Paying attention to the details will help your kayak stay secure and protect both it and your car.
- Don’t Over‑Tighten Straps: Pull the straps just enough to hold the kayak firmly. Over-tightening can crack or warp the hull.
- Keep Straps Flat: Make sure straps are straight and not twisted. Twisted straps can weaken the hold and make noise while driving.
- Secure Loose Ends: Tie off or tuck away extra strap lengths to prevent them from flapping in the wind.
- Check Before Driving: Give the kayak a gentle shake to confirm it is tight and stable before you start your trip.
Following these tips will help keep your kayak secure and reduce stress during transport. Simple precautions like these can make a big difference in keeping your kayak safe and protecting your vehicle.
That’s a Wrap
Knowing how to strap a kayak to a roof rack is one of those skills that sounds basic but makes a real difference once you get it right.
Start with a solid roof rack, use quality cam straps over the hull, and always add bow and stern lines for longer drives.
Avoid over-tightening, twist your straps to cut wind noise, and do a quick shake test before pulling out of the driveway. Once you have a system down, loading up becomes second nature.
I hope this helped you feel more confident about hauling your kayak safely.
Have any tips or questions? Drop them in the comments below!