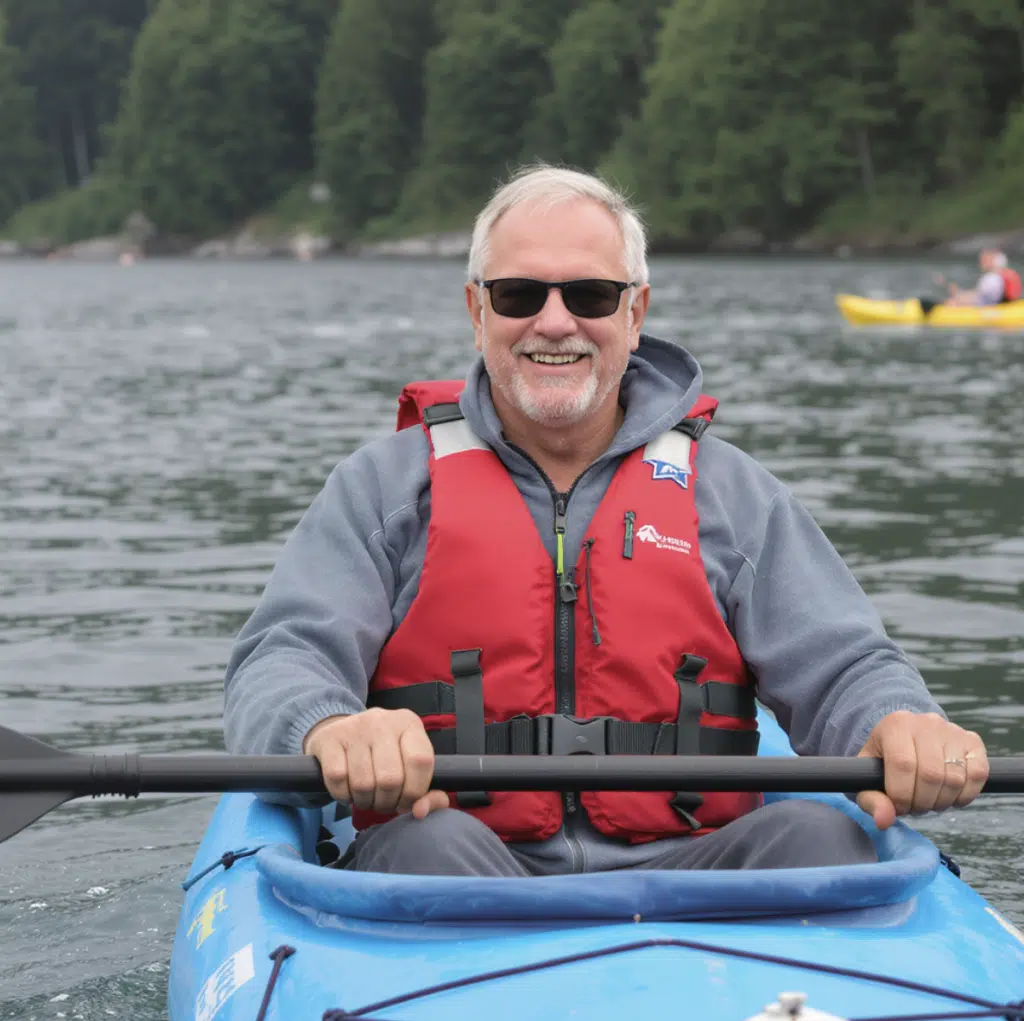

Moving a kayak from your car to the water can be more challenging than it appears. Kayaks are heavy, awkward to carry, and dragging them across the ground can damage the hull.
That’s where a kayak cart comes in handy. A cart is a small set of wheels that supports your kayak, making it easy to roll over sand, gravel, or pavement without straining your back.
The best part is that you don’t have to spend a lot of money on one. With a few basic supplies and some creativity, you can build a cart at home that works just as well as store-bought versions.
By the end, you’ll have a reliable cart that makes your kayak trips much smoother.
Why Build a DIY Kayak Cart?
Buying a kayak cart from a store can get expensive, and many of them aren’t built to fit every kayak style or terrain. Building your own cart gives you the freedom to design one that perfectly matches your needs.
A DIY kayak cart typically costs significantly less, usually under $30–$50, if you use PVC pipes or repurpose wheels from items like strollers or old carts.
You can also adjust the size, add padding where your kayak needs extra support, and choose wheels that work best for sand, gravel, or pavement.
Plus, making one yourself is a fun project that doesn’t require advanced skills, just basic tools and a bit of time.
The result is a custom, reliable cart that saves you money, reduces the hassle of carrying your kayak, and gives you a sense of accomplishment.
Popular DIY Kayak Cart Styles and Materials
When it comes to building a kayak cart, there’s no single “right” design. The best style depends on your budget, available materials, and where you’ll be rolling your kayak.
Below are some of the most popular DIY cart options, along with the materials commonly used to create them.
- PVC Pipe Carts – Lightweight, inexpensive, easy to cut and assemble with common connectors.
- Repurposed / Upcycled Carts – Built from old strollers, golf carts, or garden carts. Eco-friendly and cost-saving.
- Wooden Frame Carts – Strong and customizable, but heavier and less portable.
- Metal Frame Carts – Durable and rugged, ideal for rough terrain, but require more tools and skill.
- Hybrid Designs – Mix of PVC with metal axles or repurposed wheels for added strength.
Each style has its strengths, so the right choice depends on how you’ll use your cart and the tools you have on hand.
If you opt for a simple design with PVC or a creative approach using repurposed items, all these options can help you build a cart that makes transporting your kayak much easier.
Materials You’ll Need
Before you begin building, it helps to gather all the essential parts. Most of these materials are inexpensive and easy to find at hardware stores, while some can even be reused from items you already own.
| Material | Purpose / Use |
|---|---|
| PVC Pipes | From the main frame, lightweight and easy to cut |
| PVC Connectors | Join pipes together securely into your chosen design |
| PVC Glue / Primer | Bond the pipe joints for added strength |
| Threaded Rod or Steel Axle | Serves as the axle for attaching wheels |
| Washers & Nuts | Keep the wheels secured and stable |
| End Caps | Seal pipe ends neatly and prevent water entry |
| Pool Noodles / Foam Padding | Cushion and protect your kayak from scratches |
| Wheels (stroller, lawn cart, or hand-truck) | Provide mobility; pick size and type based on terrain |
With these materials ready, you’ll have everything needed to create a sturdy, reliable base for your kayak cart. The combination of PVC, padding, and the right wheels will make transporting your kayak easier and far less stressful.
Build a PVC Kayak Cart: Step-by-Step Instructions
This simple guide uses one 10-foot length of 3/4″ PVC plus common fittings to make a strong, lightweight cart.
Dry-fit everything before gluing, keep parts square, and work on a flat surface. Measure twice, cut once, and wear eye protection when drilling or cutting.
Step 1 – Cut the 10’ section of 3/4” PVC into the following lengths
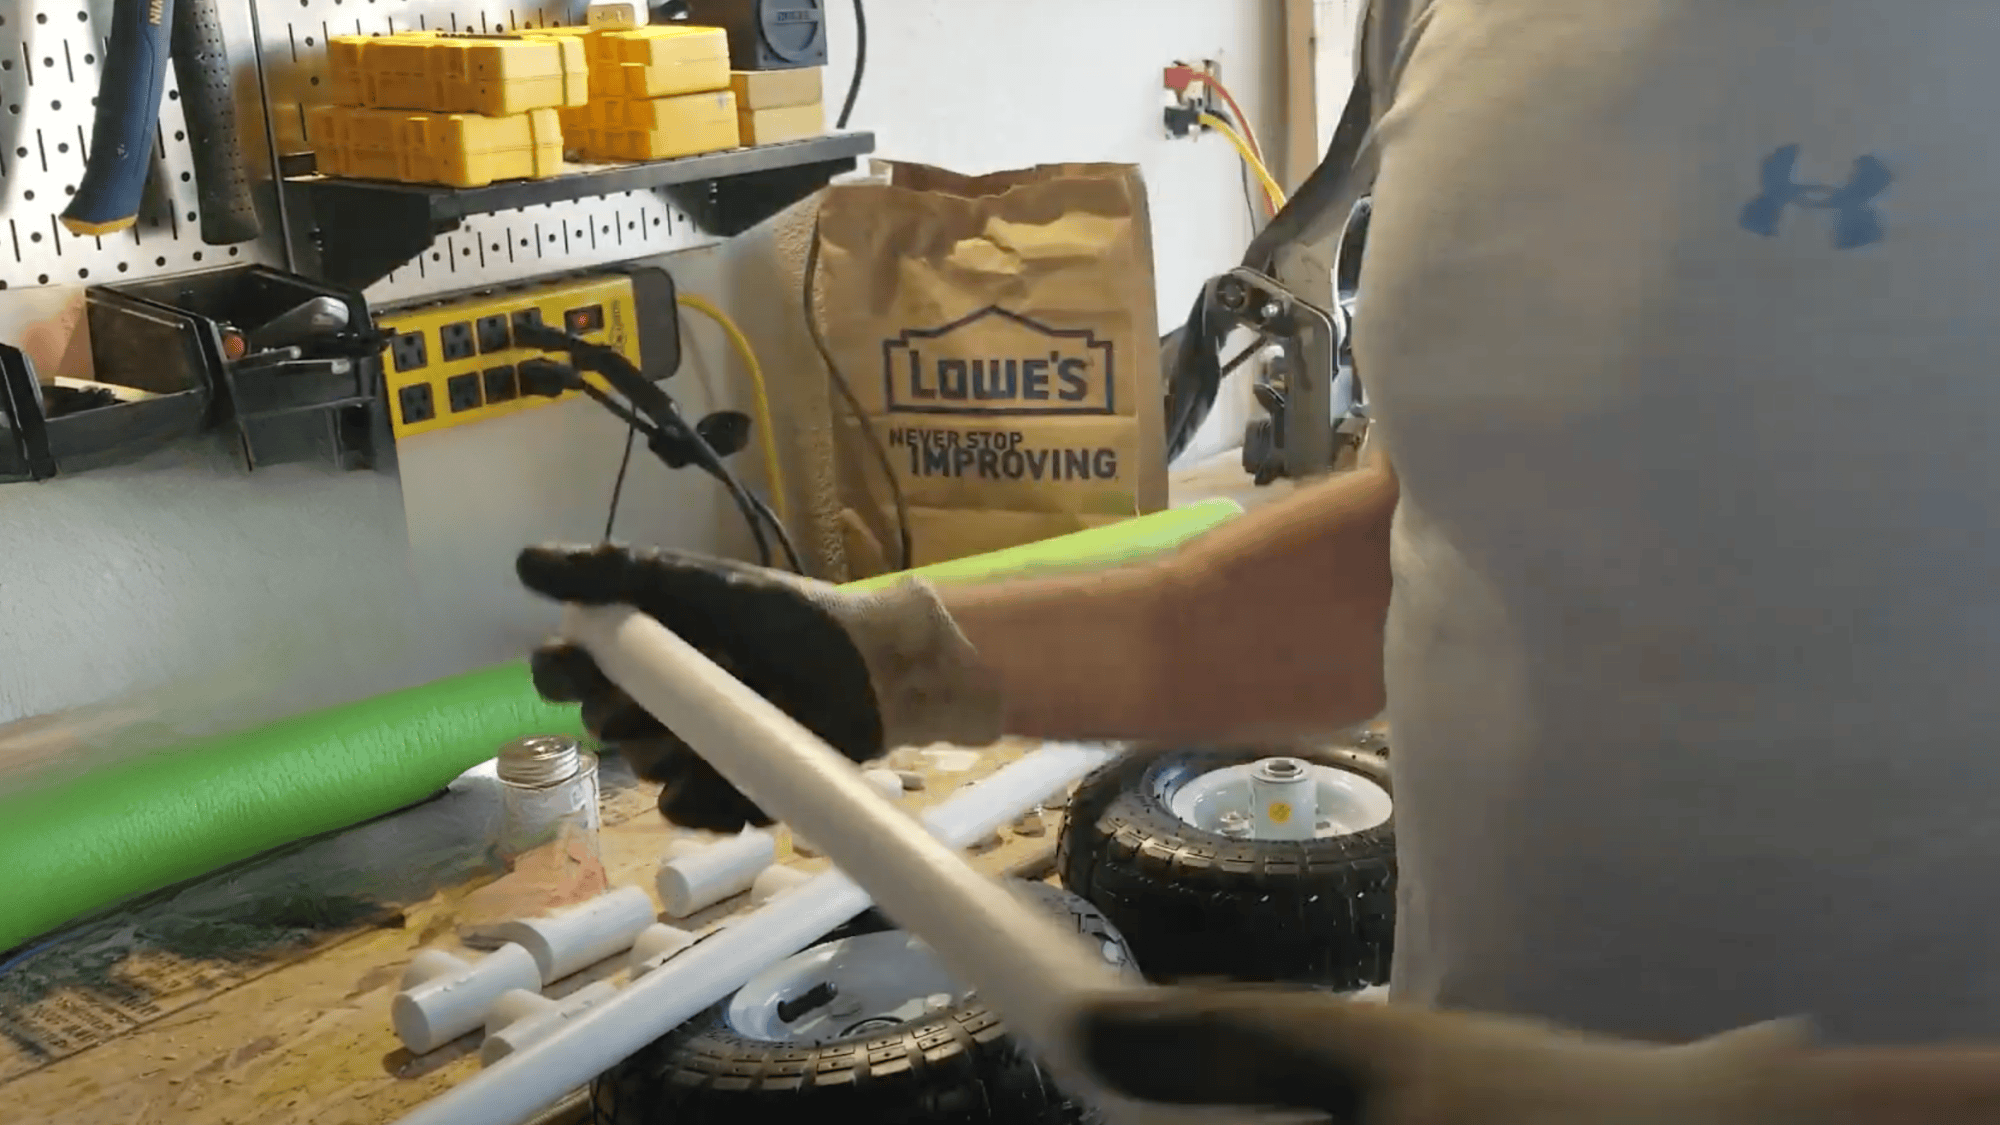
Measure carefully and cut the PVC into the following sizes: (B) one 18”, (C) one 10.5”, (D) four 8”, (E) two 4.5”, (F) two 1¾”, and (G) four 3”.
Sand the ends smooth so all fittings connect tightly and glue bonds well.
Step 2 – Drill a 5/8” hole through two of the PVC end caps
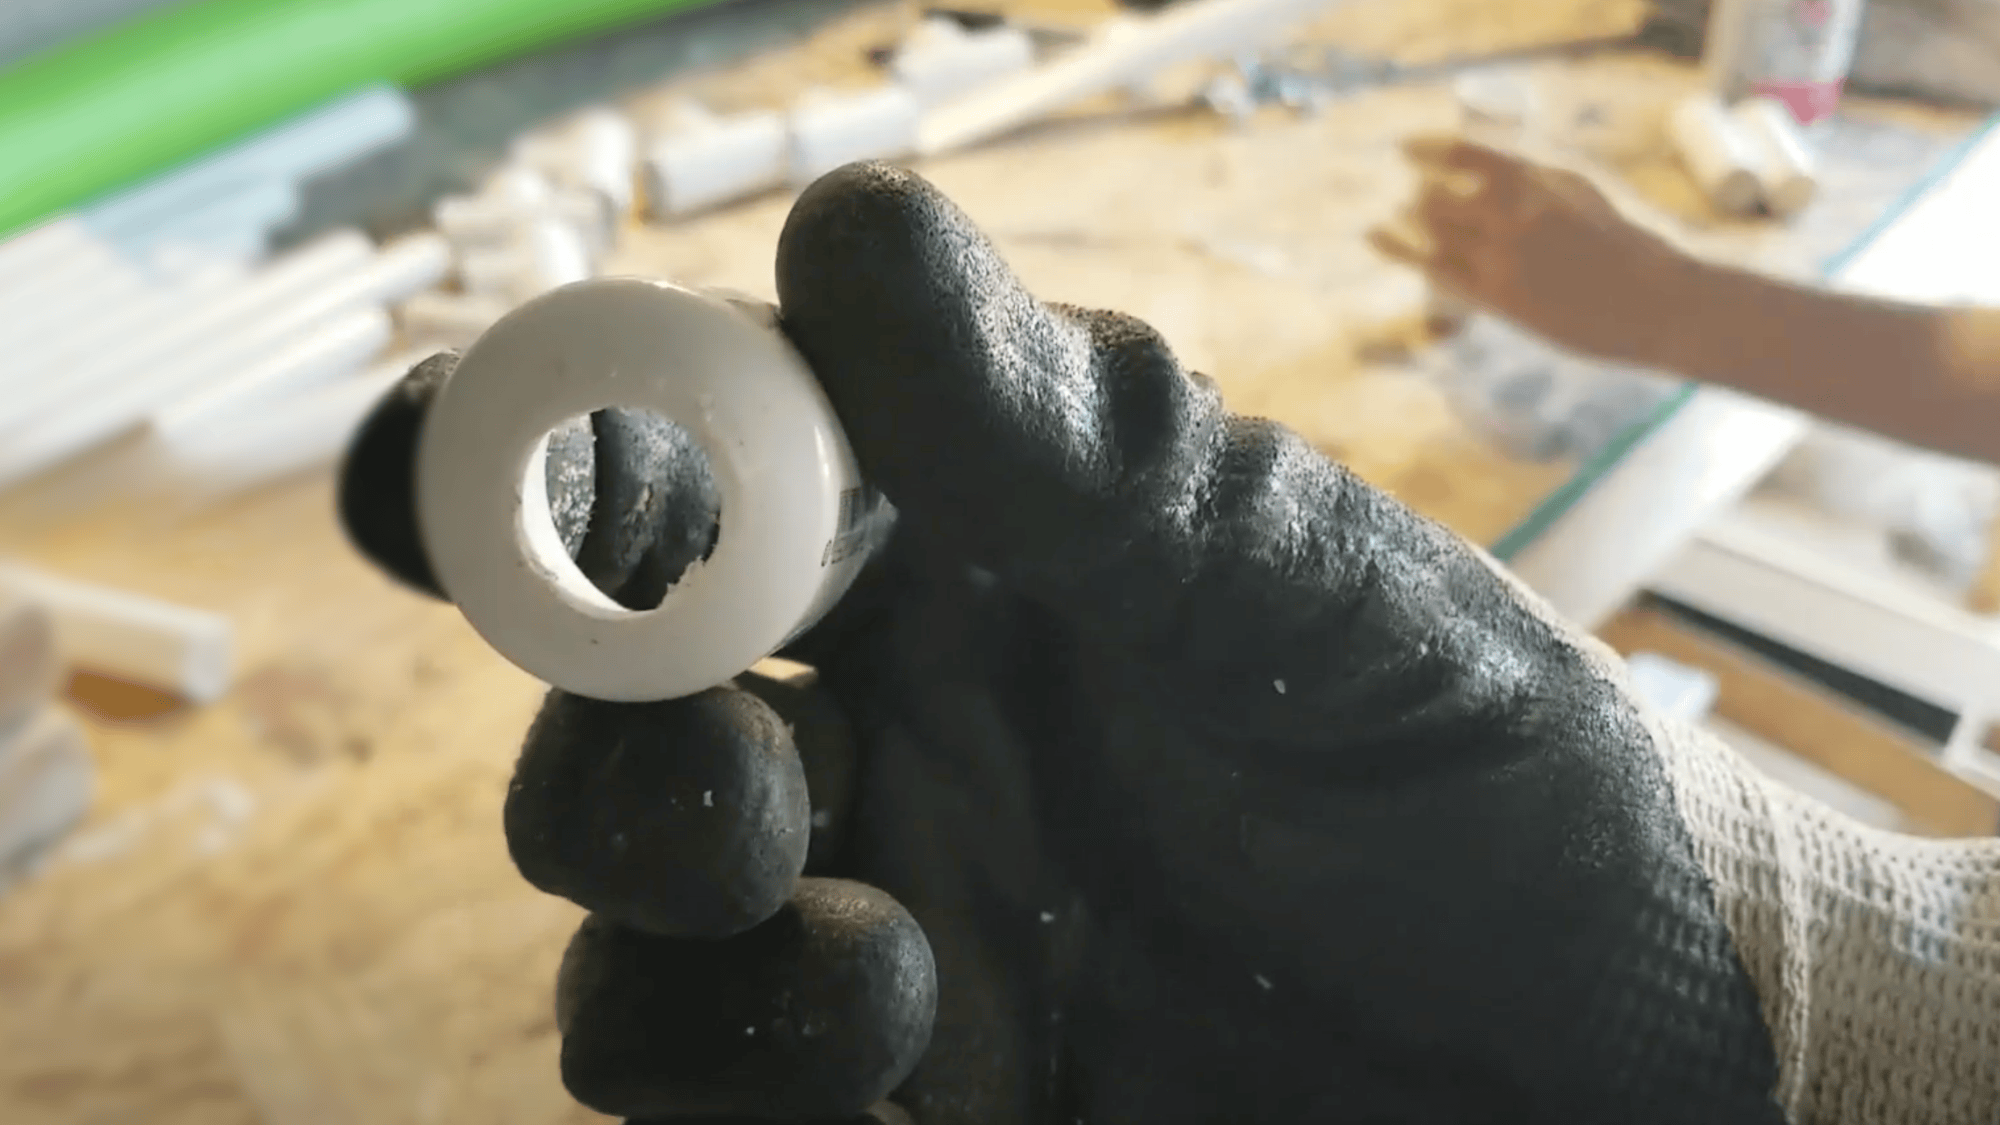
Select two PVC end caps and drill a 5/8” hole in the center of each. These drilled caps will act as axle bushings for your wheels.
Test-fit the threaded rod or axle through the holes to ensure smooth rotation and alignment.
Step 3 – Glue the following pieces together
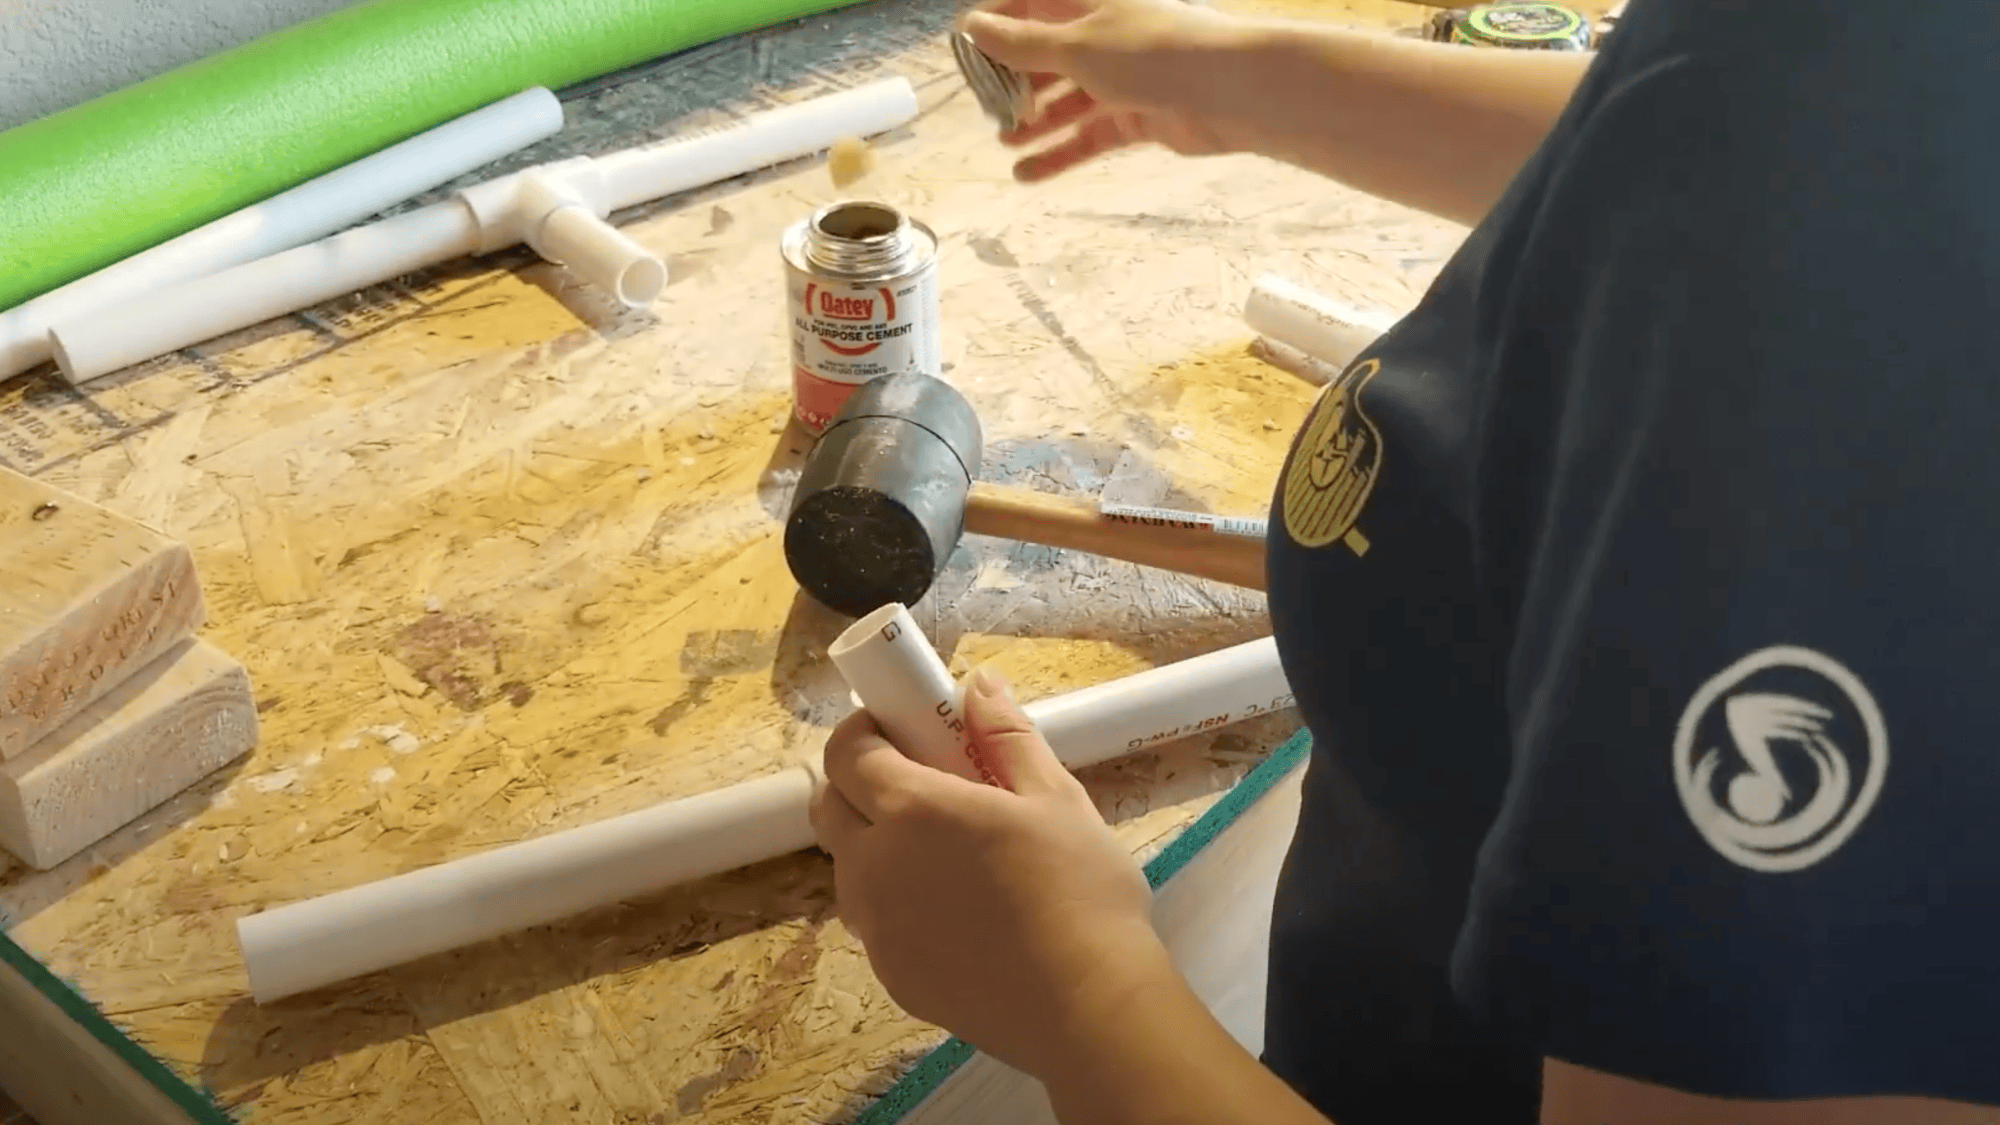
First, glue two (D) pieces into opposite ends of a T-fitting, then add a (G) piece to the third opening. Repeat this twice.
Next, connect the two T assemblies with the (C) piece so it forms an “H.” Finally, assemble: cap with hole – (F) – T – (E) – T – (E) – T – (F) – cap with hole, keeping the center T turned sideways.
Step 4 – Glue the following chunks together

Take the “H”-shaped assembly and glue it onto the bottom bracket you just built.
Next, attach the two large T-shaped assemblies on top of the frame, making sure they face perpendicular to the lower section. Check for squareness before the glue sets.
Step 5 – Put the axle together (from left to right)
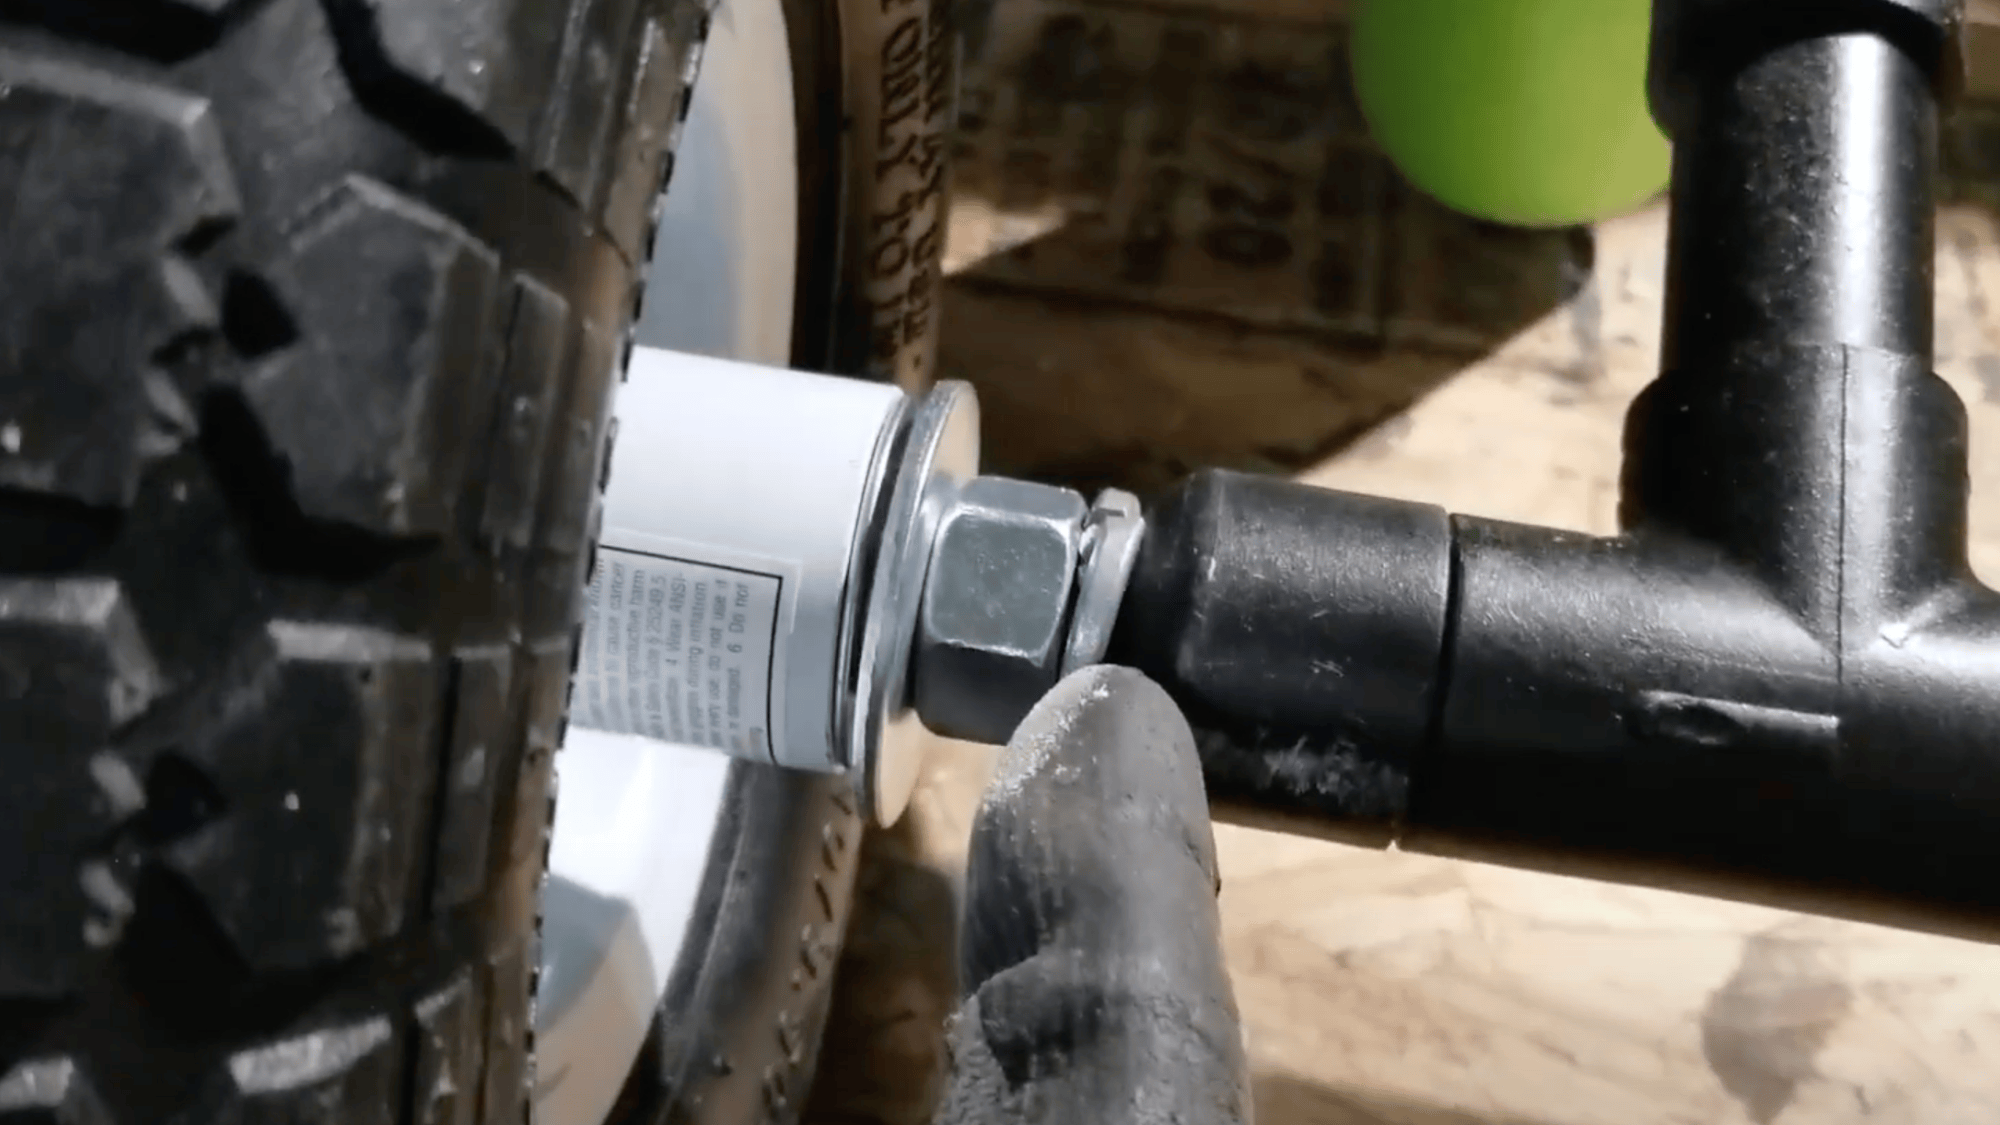
Slide the pieces onto the axle in this order: Lock Nut – Flat Washer – Wheel – Flat Washer – Hex Nut – Lock Washer – frame – Lock Washer – Hex Nut – Flat Washer – Wheel – Flat Washer – Lock Nut.
Repeat this process for both sides, ensuring the wheels spin freely but remain secure.
Need More Clarity? Check Out the Video Below!
This video provides step-by-step instructions to build your own kayak cart. It also shares helpful tips on materials and assembly so you can create a cart that’s sturdy, practical, and easy to use.
A special thank you to Kelly Concepts for sharing these detailed instructions on how to build your own kayak cart, which inspired this step-by-step guide.
Testing & Use of Your DIY Kayak Cart
Once your kayak cart is assembled, it’s important to test it before relying on it for a trip. Testing ensures that everything fits securely and rolls smoothly.
A few quick checks and adjustments will help you avoid problems when hauling your kayak to the water.
- Load Test: Place your kayak on the cart and check the balance; ensure it doesn’t tip or slide off.
- Strap Down: Secure the kayak with straps or bungee cords to prevent shifting during movement.
- Wheel Check: Roll the cart over flat ground, then over sand, gravel, or grass to see how the wheels perform.
- Axle Tightness: Inspect nuts, washers, and axle alignment; tighten if wheels wobble.
- Padding Check: Ensure foam or pool noodles cushion the hull and prevent scratches.
- Maneuverability: Pull or push the cart a short distance to test turning and stability.
A quick test run can save you from headaches later. Once the cart rolls smoothly and holds your kayak securely, you’ll be ready for the real trip.
Regular checks and small adjustments will keep your DIY cart dependable for many kayaking trips.
Pros & Cons: DIY vs Store-Bought Kayak Carts
When deciding between building your own kayak cart or purchasing one from a store, it helps to weigh the trade-offs.
Both options have clear advantages and drawbacks, depending on your budget, skills, and the frequency of use you plan to make of the cart.
| Option | Pros | Cons |
|---|---|---|
| DIY Kayak Cart |
Low cost (often under $50) |
Requires time and effort |
| Store-Bought Cart |
Ready to use instantly |
Expensive ($60–$150+) |
If you enjoy hands-on projects and want to save money, a DIY cart is a great choice. However, if convenience and durability are the top priorities, purchasing a ready-made cart may be a worthwhile investment.
The right option comes down to your priorities and paddling style.
Final Thoughts
Building a DIY kayak cart is a simple project that saves money and makes transporting your kayak much easier.
With just PVC pipes, wheels, and a few basic tools, you can create a cart that fits your kayak perfectly and works well on different terrains.
If you want extra padding, larger wheels for sand, or a lightweight frame for easy storage, you can tailor it to your specific requirements.
The best part is the satisfaction of using something you built yourself. Once tested, your cart will be a reliable companion for every trip to the water.
Ready to make your own? Gather your materials, follow the steps, and start building today. You’ll wonder how you ever managed without it!