
Commercial kayak trailers cost over $1,500 and often lack the storage most paddlers need. Building a custom trailer using a uni-strut and a used jet ski base costs under $600 total.
The best part is that no welding skills are required.
This no-weld design creates a functional trailer with multiple storage compartments and gear organization.
The uni-strut system allows for easy modifications and upgrades over time. Paddlers can customize the layout to match their specific needs and budget.
This guide covers everything needed to build a professional-quality kayak trailer. Readers will learn the exact materials required, step-by-step assembly instructions, and pro tips that save time and money.
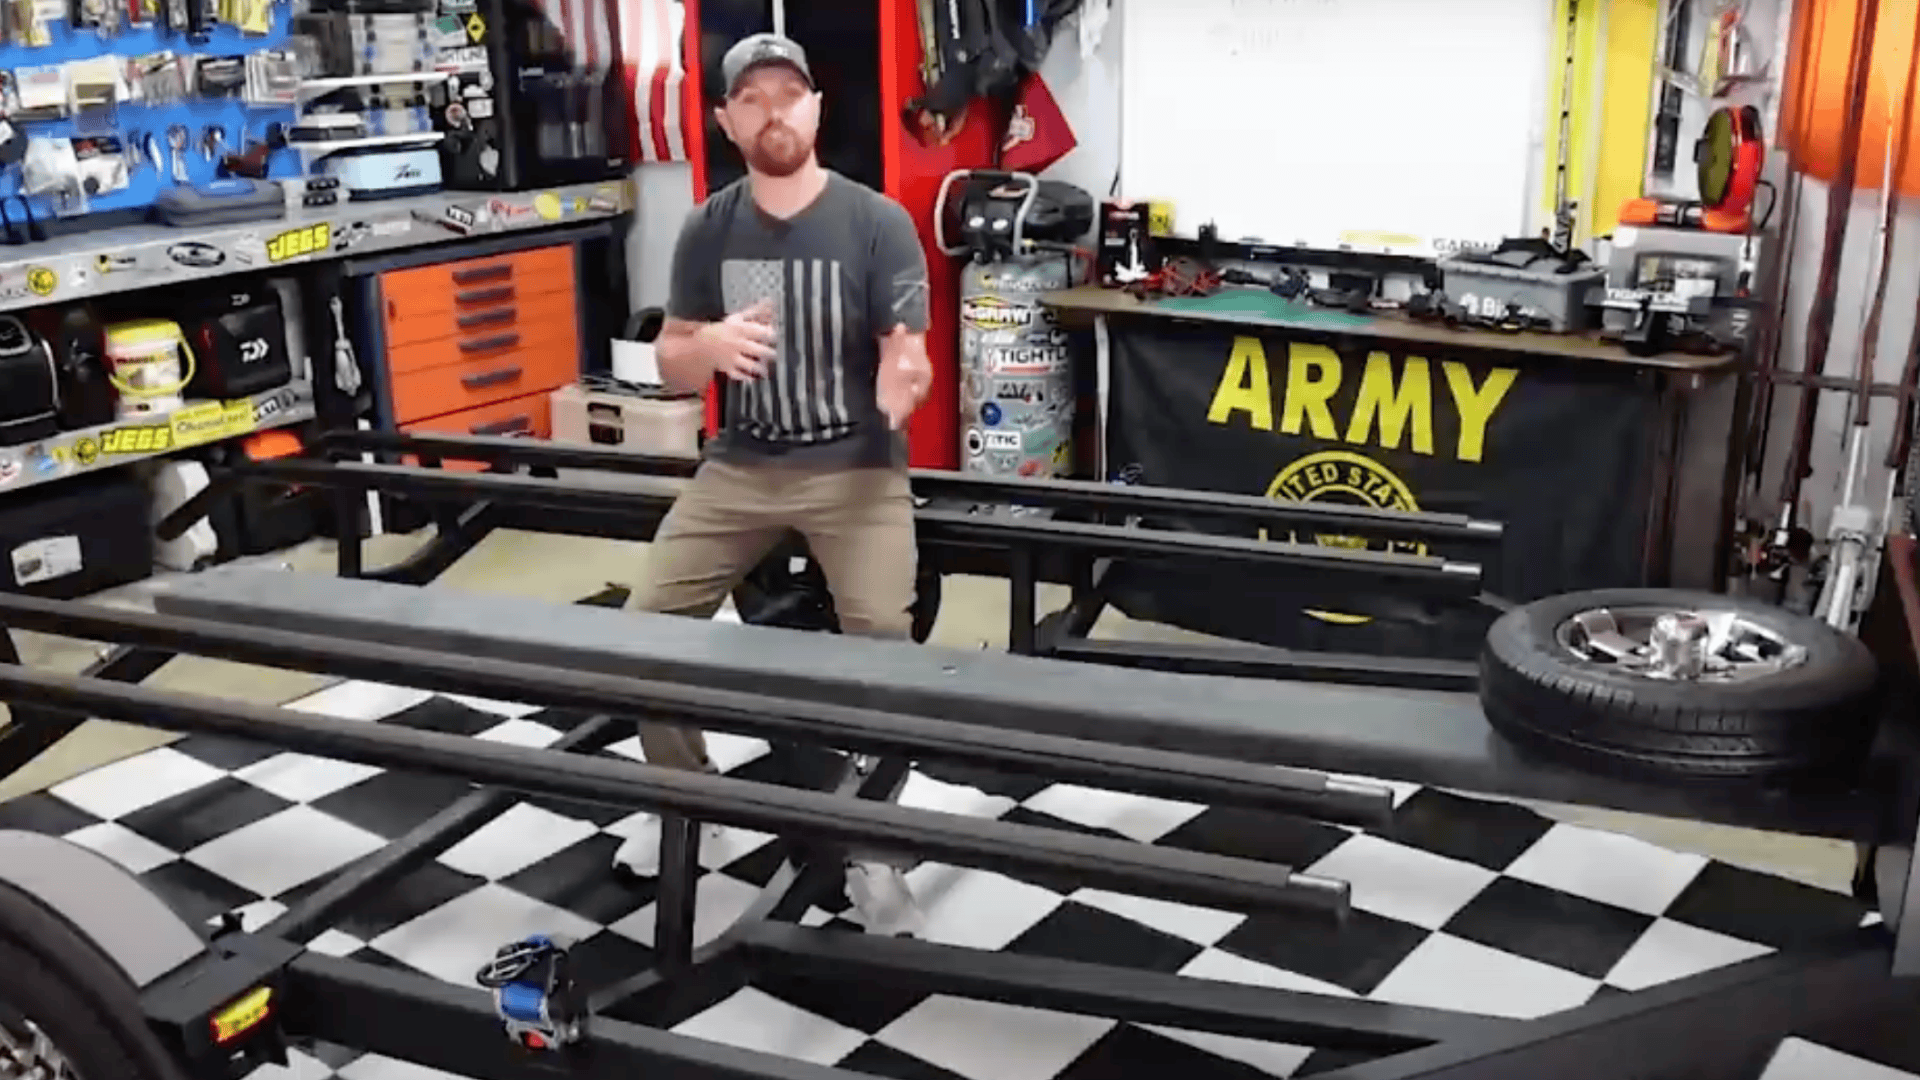
Step-by-Step Instructions
These eight steps turn any boat trailer into a functional kayak hauler with modern safety features.
Each phase builds on previous work to ensure proper alignment and strength throughout the rebuild.
Materials Required
Planning the complete materials list prevents delays during construction and ensures proper component compatibility.
| Item | Specification | Quantity | Purpose |
|---|---|---|---|
| Tongue sleeve/extension | 4 ft CURT/REESE 2.5″ receiver tube | 1 | Extends and reinforces tongue |
| Coupler | 2″ ball, through-pin locking style | 1 | Replaces the original coupler |
| Safety chains + hooks | Class II/III, 24–36″ length | 2 | Required safety backup |
| Swing-up trailer jack | 1,000 lb capacity with wheel | 1 | Easy height adjustment |
| LED tail lights | Submersible stop/turn/tail combo | 2 | Modern reliable lighting |
| Side markers | Amber LED | 2–4 | Visibility and compliance |
| EMT runners | 2″ galvanized EMT, 10 ft lengths | 2 | Kayak support rails |
| Runner mounts | 1/8″ steel tabs, 6″ long | 8 | EMT attachment points |
| Nose stop assembly | 1.5″ square tube + base plate | 1 | Bow positioning & tie-down |
| Retractable straps | 9 ft ratcheting | 2 | Primary tie-down system |
| Tie-down eyebolts | 1/2″ shank with hardware | 2 | Strap attachment points |
| Grade 5/8 bolts | Various lengths w/ washers | Set | Critical fastener connections |
| Wire & terminals | 14–16 AWG with connectors | Set | Electrical connections |
| Paint system | Primer, degreaser, topcoat | Set | Corrosion protection |
| MIG/flux-core welder | — | 1 | Frame modifications |
| Angle grinder | — | 1 | Cutting & prep work |
| Drill with metal bits | — | 1 | Mounting holes |
| Measuring tools | Tape, square, level | Set | Layout & alignment |
| Torque wrench | — | 1 | Proper fastener tension |
| Wire crimper/stripper | — | 1 | Electrical connections |
| Safety equipment | Eye, ear, and respiratory protection | Set | Critical for safe work |
Step 1: Inspect and Prep the Trailer
Strip all old boat hardware and inspect the frame thoroughly for cracks or rust damage. Repair any structural issues before proceeding with modifications.
Check that axles, bearings, and tires are in good condition or plan replacements.
Verify the trailer’s gross vehicle weight rating and registration requirements in the local area. Clean the entire frame down to bare metal where welding will occur.
This foundation work determines the success of the entire project.
Step 2: Rebuild and Extend the Tongue
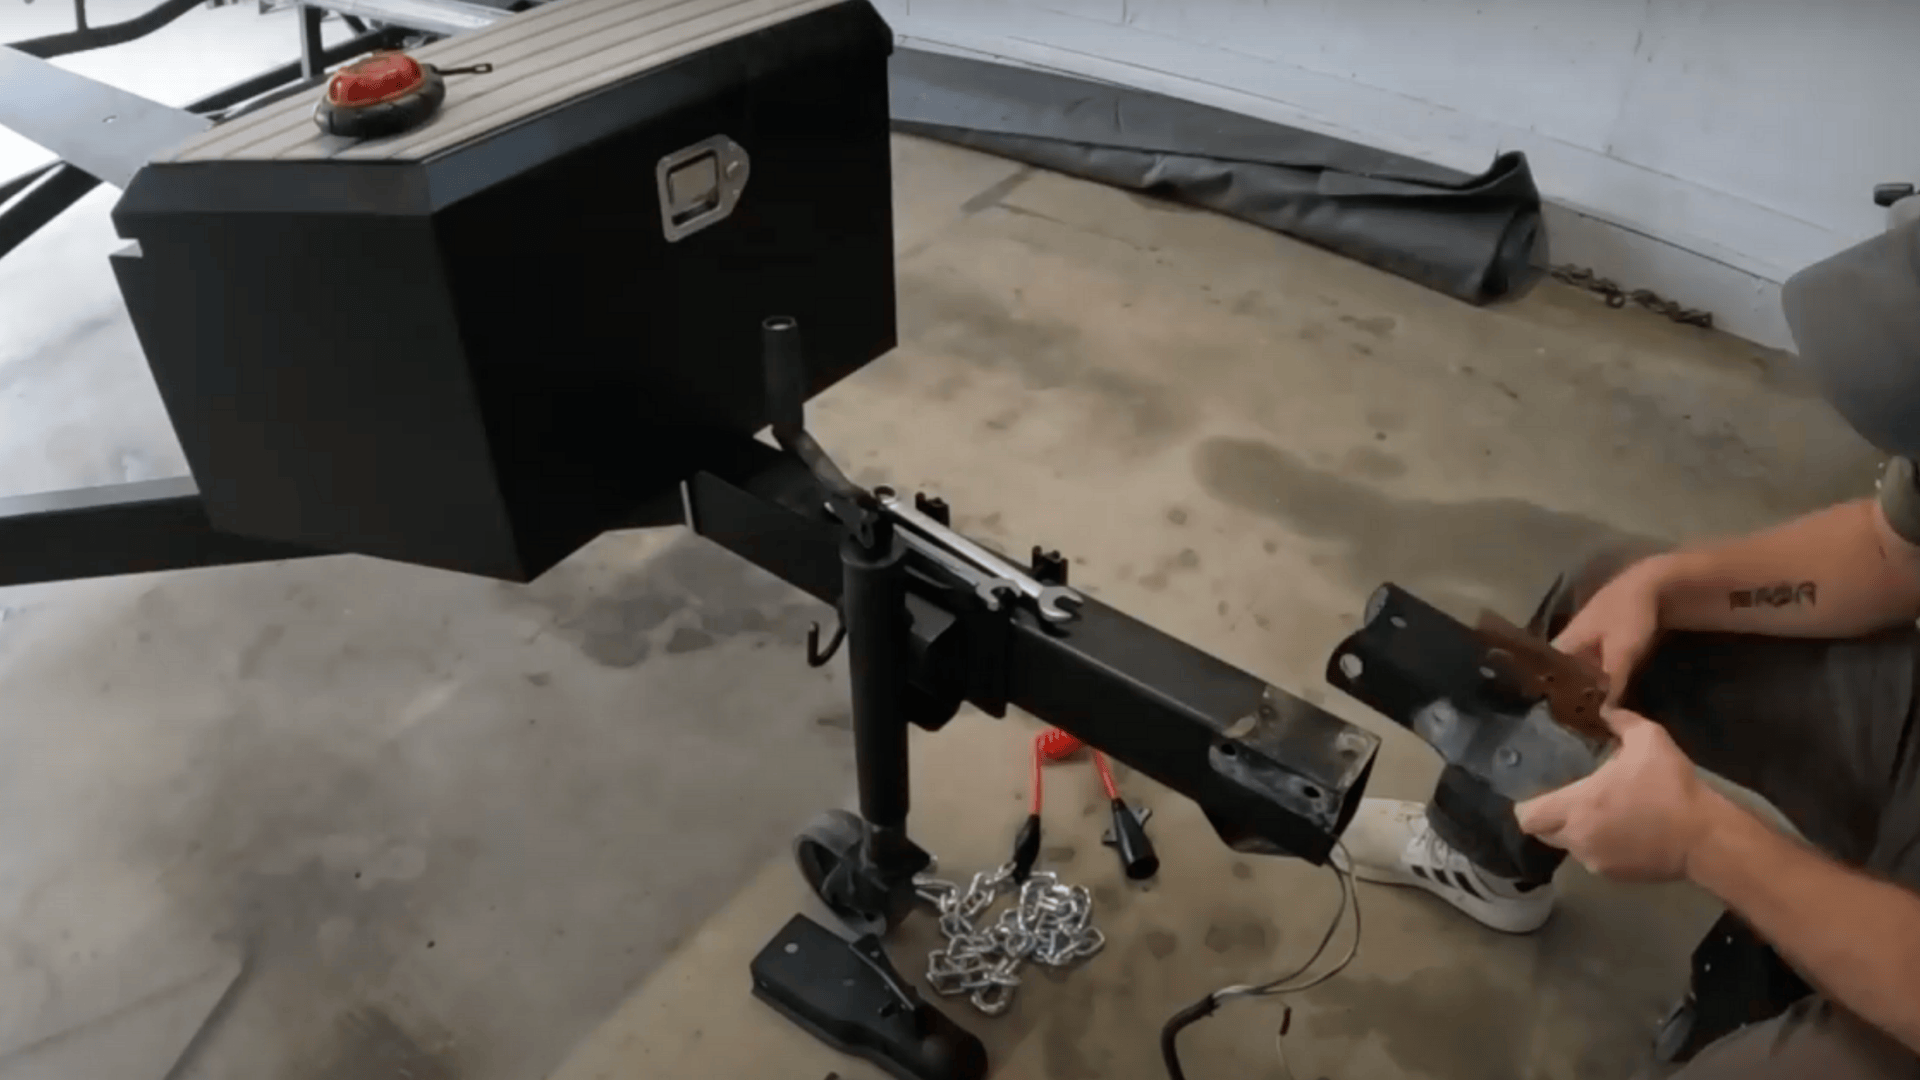
Cut the old tongue square well back into clean metal for a fresh welding surface. Slide the 2.5-inch receiver tube over the original tongue with about 24 inches of overlap for maximum strength.
Align everything perfectly straight before welding. Weld complete perimeter beads at the joint and grind smooth for a professional appearance.
The tongue extension provides proper length and strength for the new coupler and safety chain attachments. This step requires careful measurement and solid welding skills.
Step 3: Install New Coupler and Jack
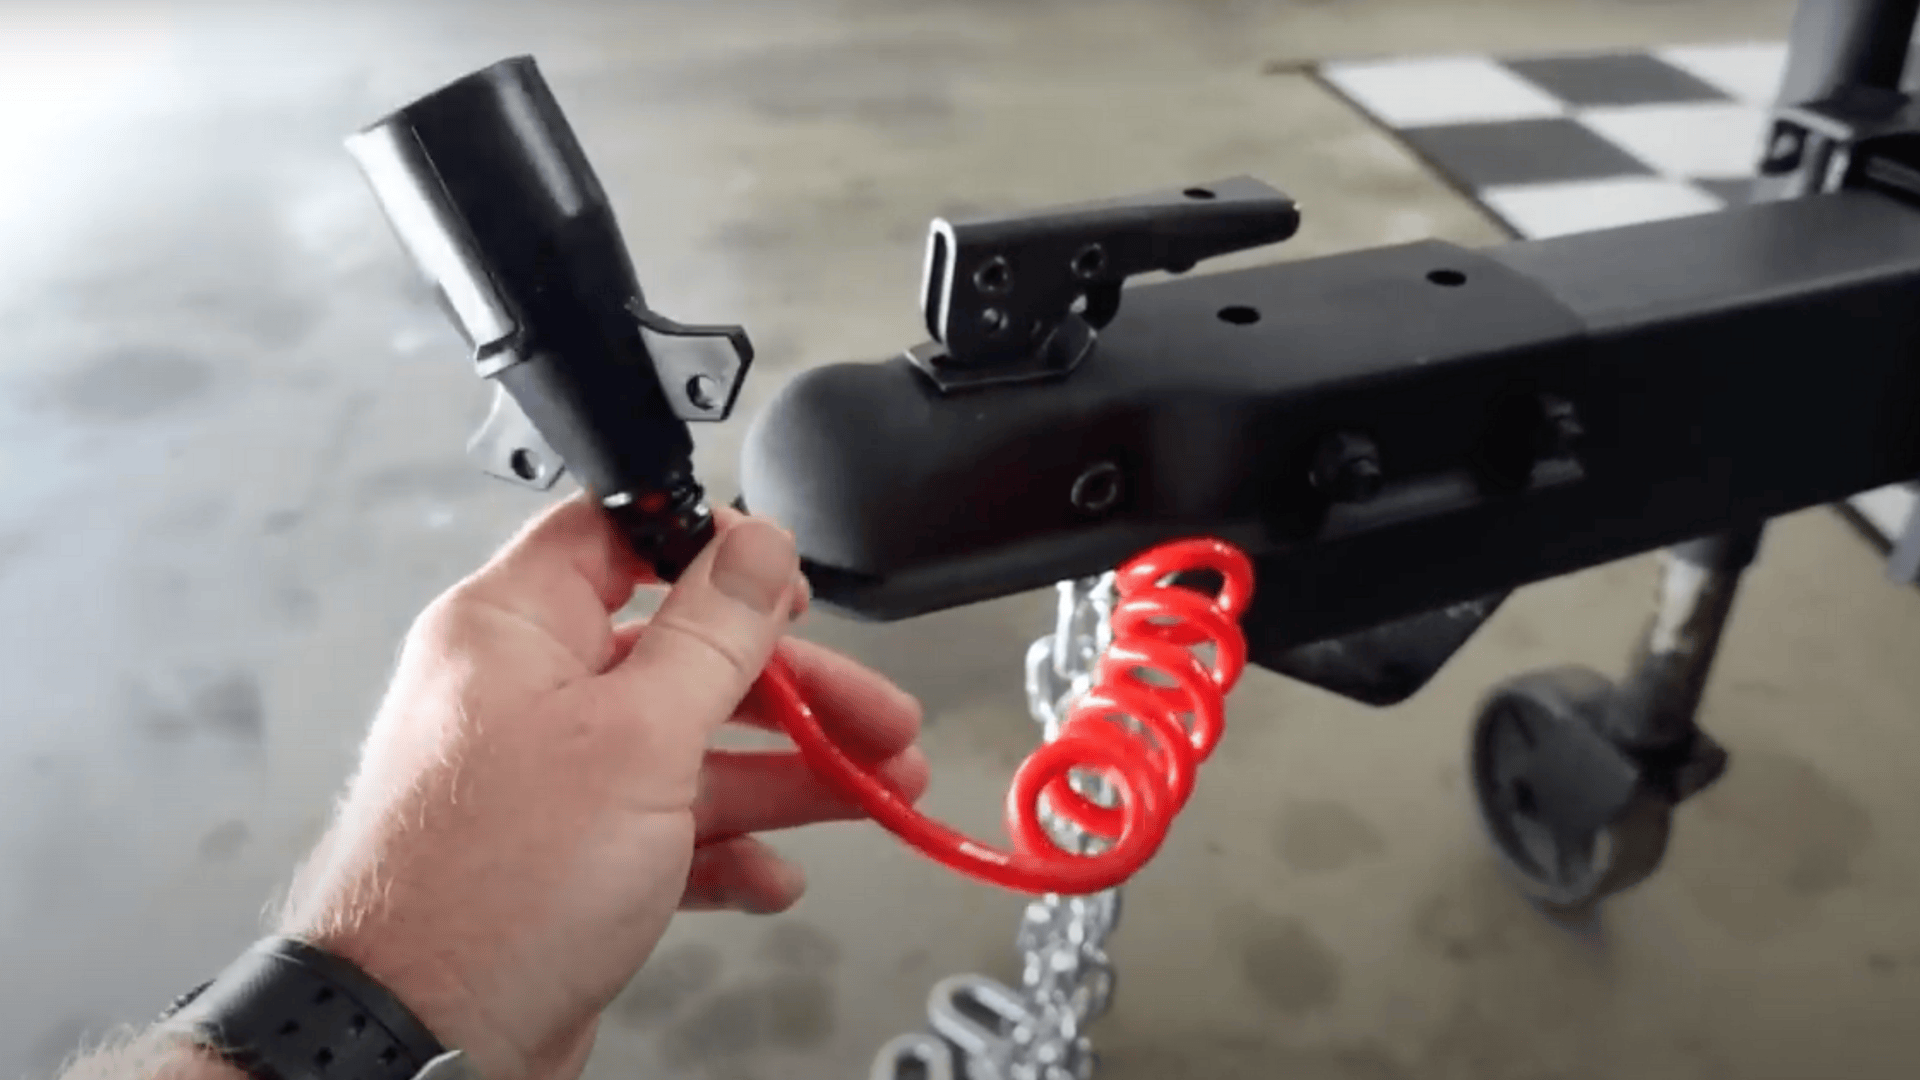
Drill and bolt the 2-inch coupler to manufacturer specifications using grade 5/8 hardware. Add safety chains to the tongue using welded tabs or bolted attachments.
Install the swing-up jack on the tongue side with proper clearance for operation.
Test all components for proper fit and operation before proceeding. The coupler should engage and release smoothly, while the jack should swing up completely out of the way.
Torque all fasteners to specification.
Step 4: Update the Electrical System
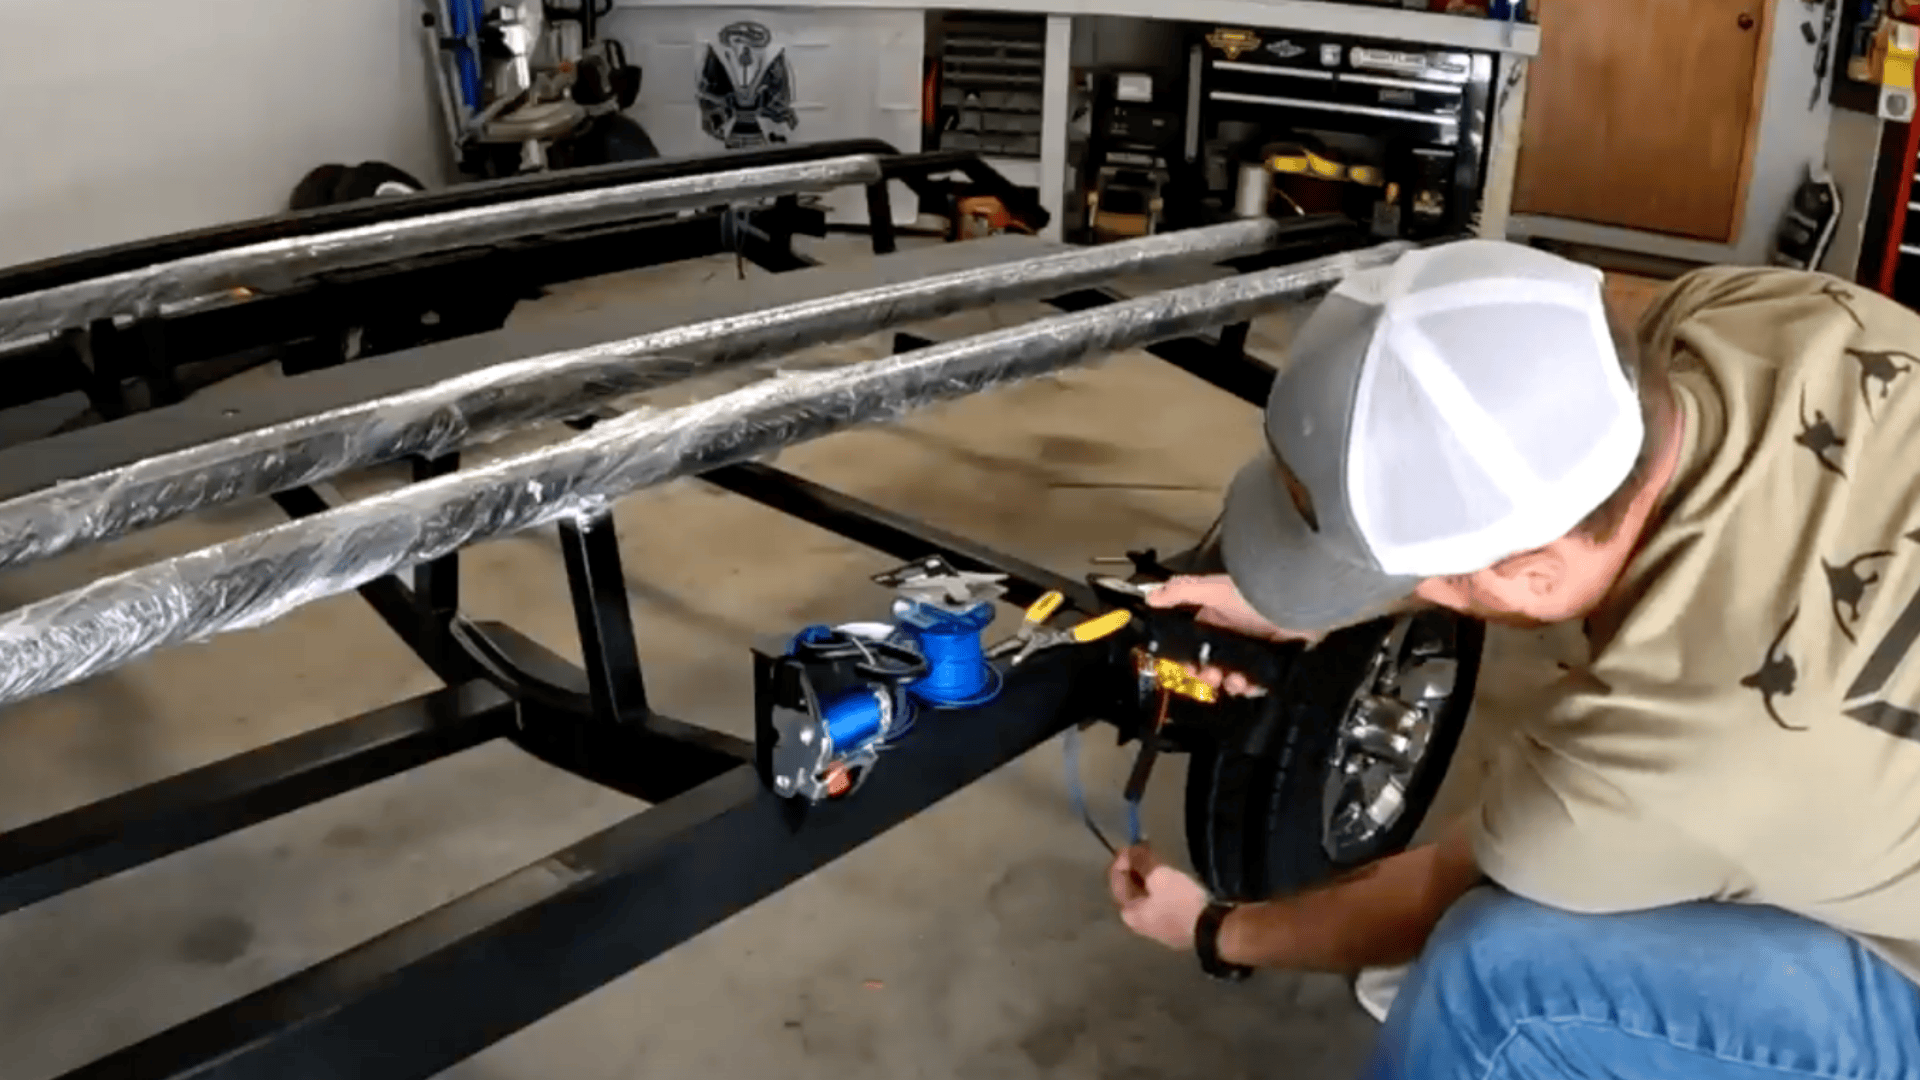
Route the 7-pin harness inside the frame channel and secure with aluminum tape or wire loom. Mount LED taillights at the rear and amber side markers for visibility.
Make solid ground connections to clean bare steel.
Test all lighting circuits with the tow vehicle connected before proceeding. Modern LED lights provide better visibility and reliability than old incandescent bulbs.
Consider adding LED strips inside decorative frame holes for extra visibility.
Step 5: Build the Nose Stop Assembly
Fabricate a slotted base plate for fore and aft adjustment and weld it to the tongue. Add a vertical 1.5-inch square tube post with a cap on top.
Install a padded bow rest at the proper height for the kayak bow.
Add a forged eye bolt to the post face for a short bow tie-down strap. The adjustable design accommodates different kayak lengths and bow shapes.
This assembly prevents forward movement during transport.
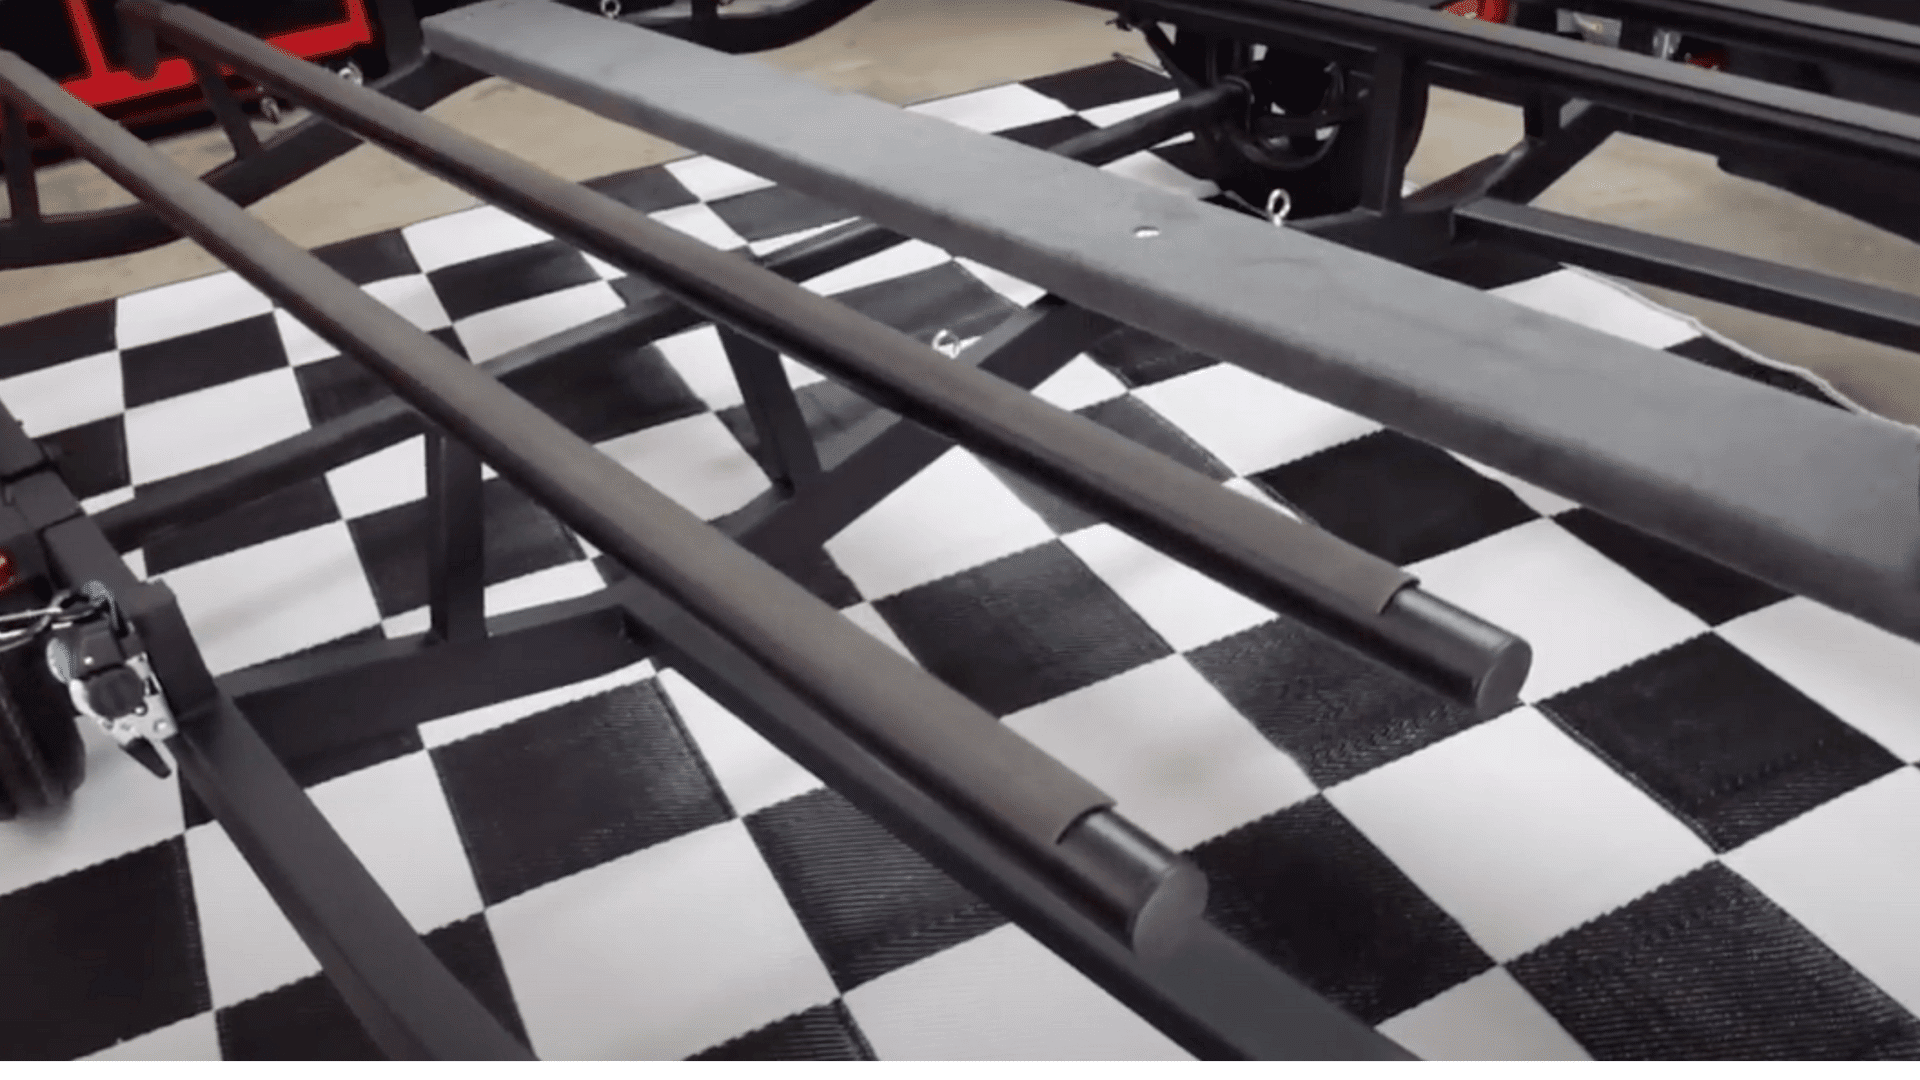
Step 6: Fabricate and Mount EMT Runners
Have a muffler shop bend the last 12 inches of each EMT stick to 15-25 degrees with slight outward cant. Cut eight steel tabs with V-notches to cradle the EMT runners.
Level the trailer and position runners at 11 inches on center.
Tack weld the tabs to the frame, then complete the welds securing EMT to the tabs. Cap the EMT ends and prepare all surfaces for paint.
The runners must be perfectly parallel and level for proper kayak support.
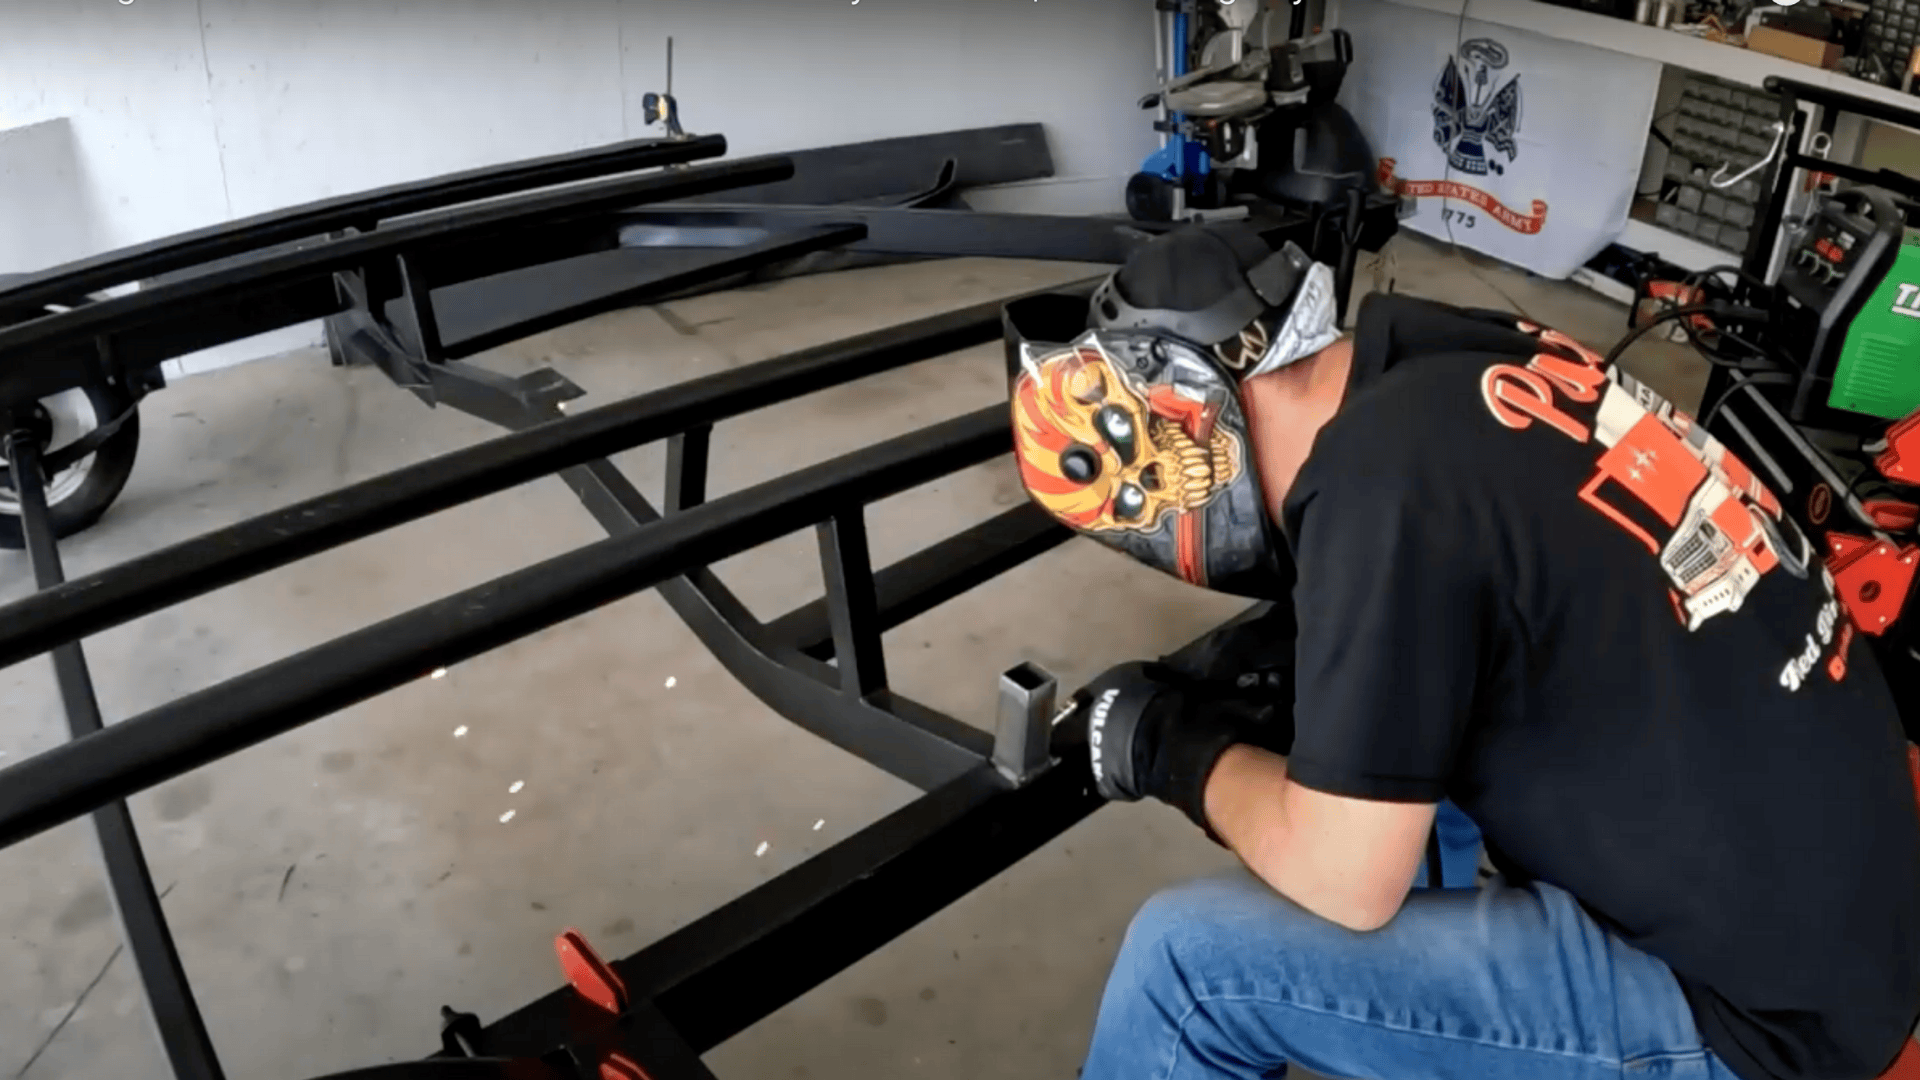
Step 7: Install Fenders and Finishing
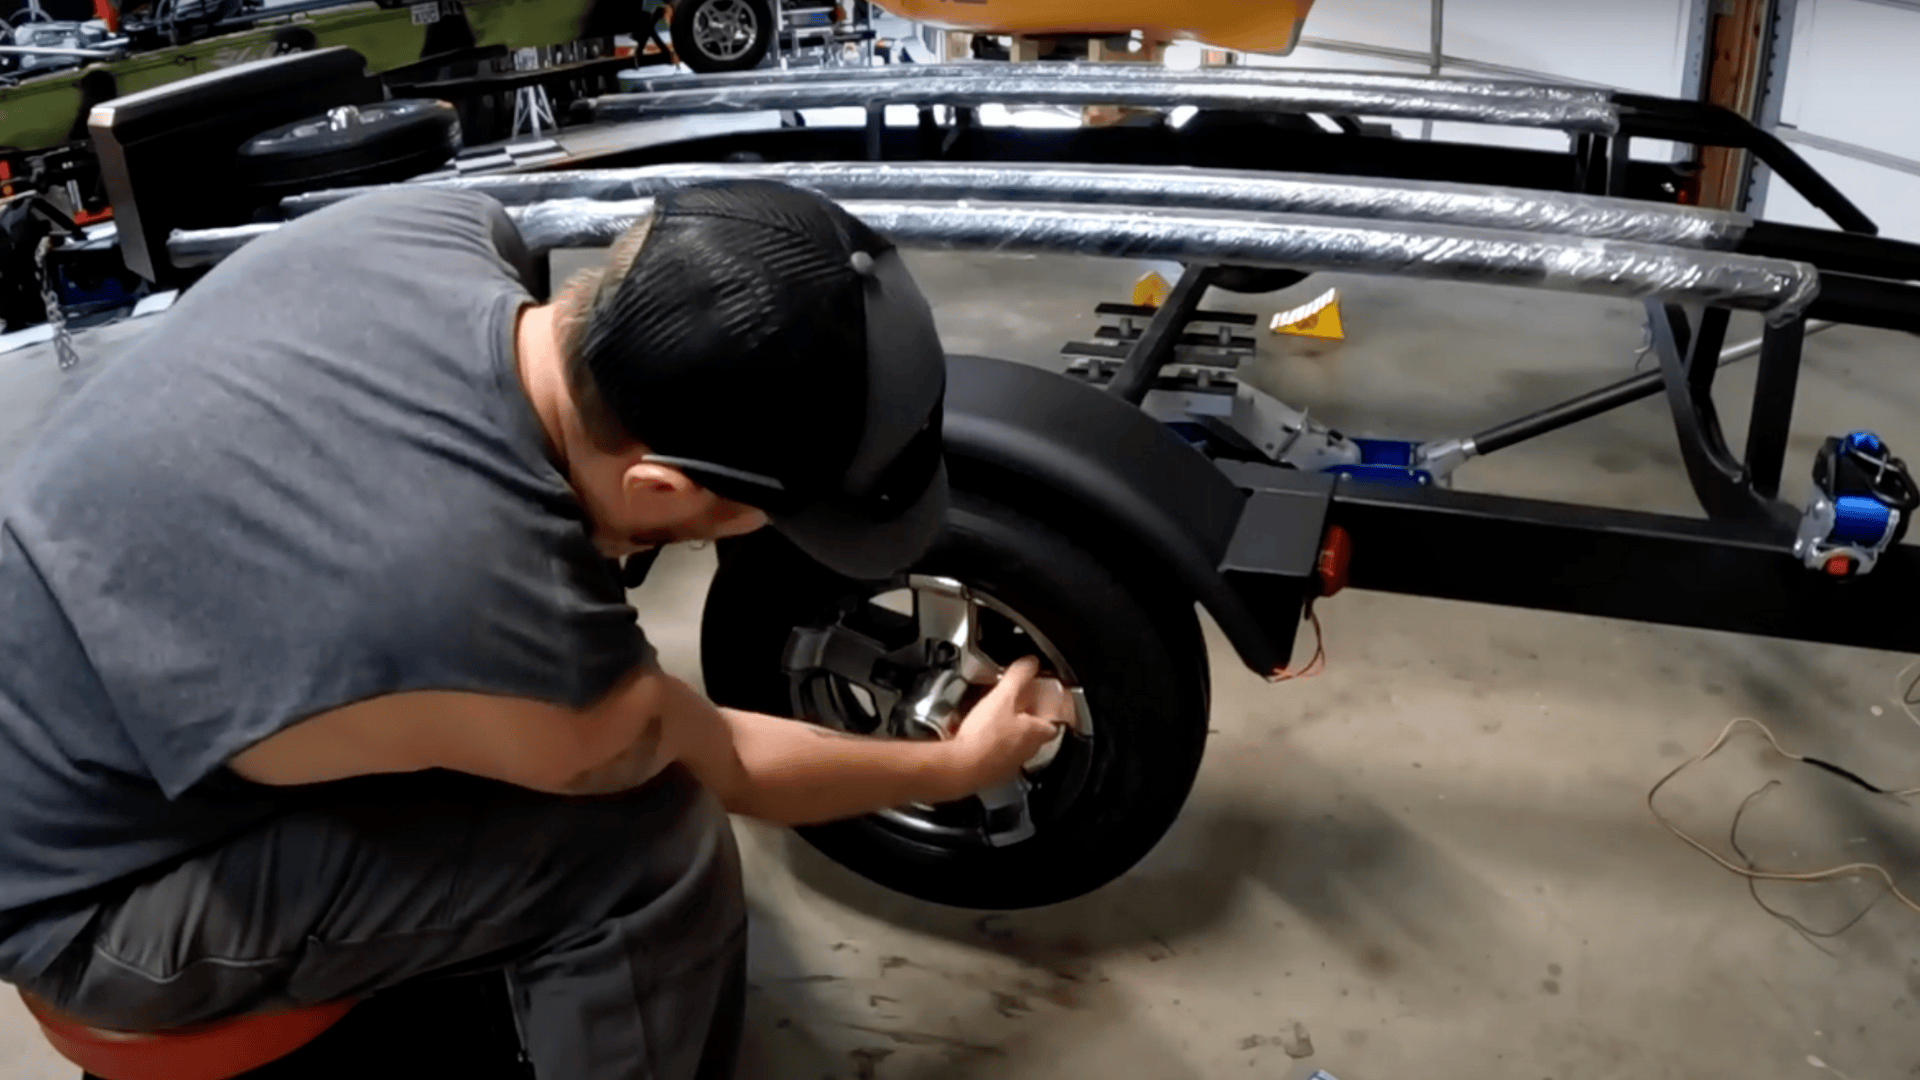
Position plastic fenders for proper tire clearance during full steering lock and suspension travel. Drill and bolt fenders through the tops into the frame structure.
Add reflectors and a license plate bracket with illumination. Degrease the entire trailer, apply primer to bare steel, and finish with quality topcoat paint.
Proper surface preparation ensures the paint job lasts for years of outdoor use. Black paint provides a professional appearance.
Step 8: Complete Tie-Down System
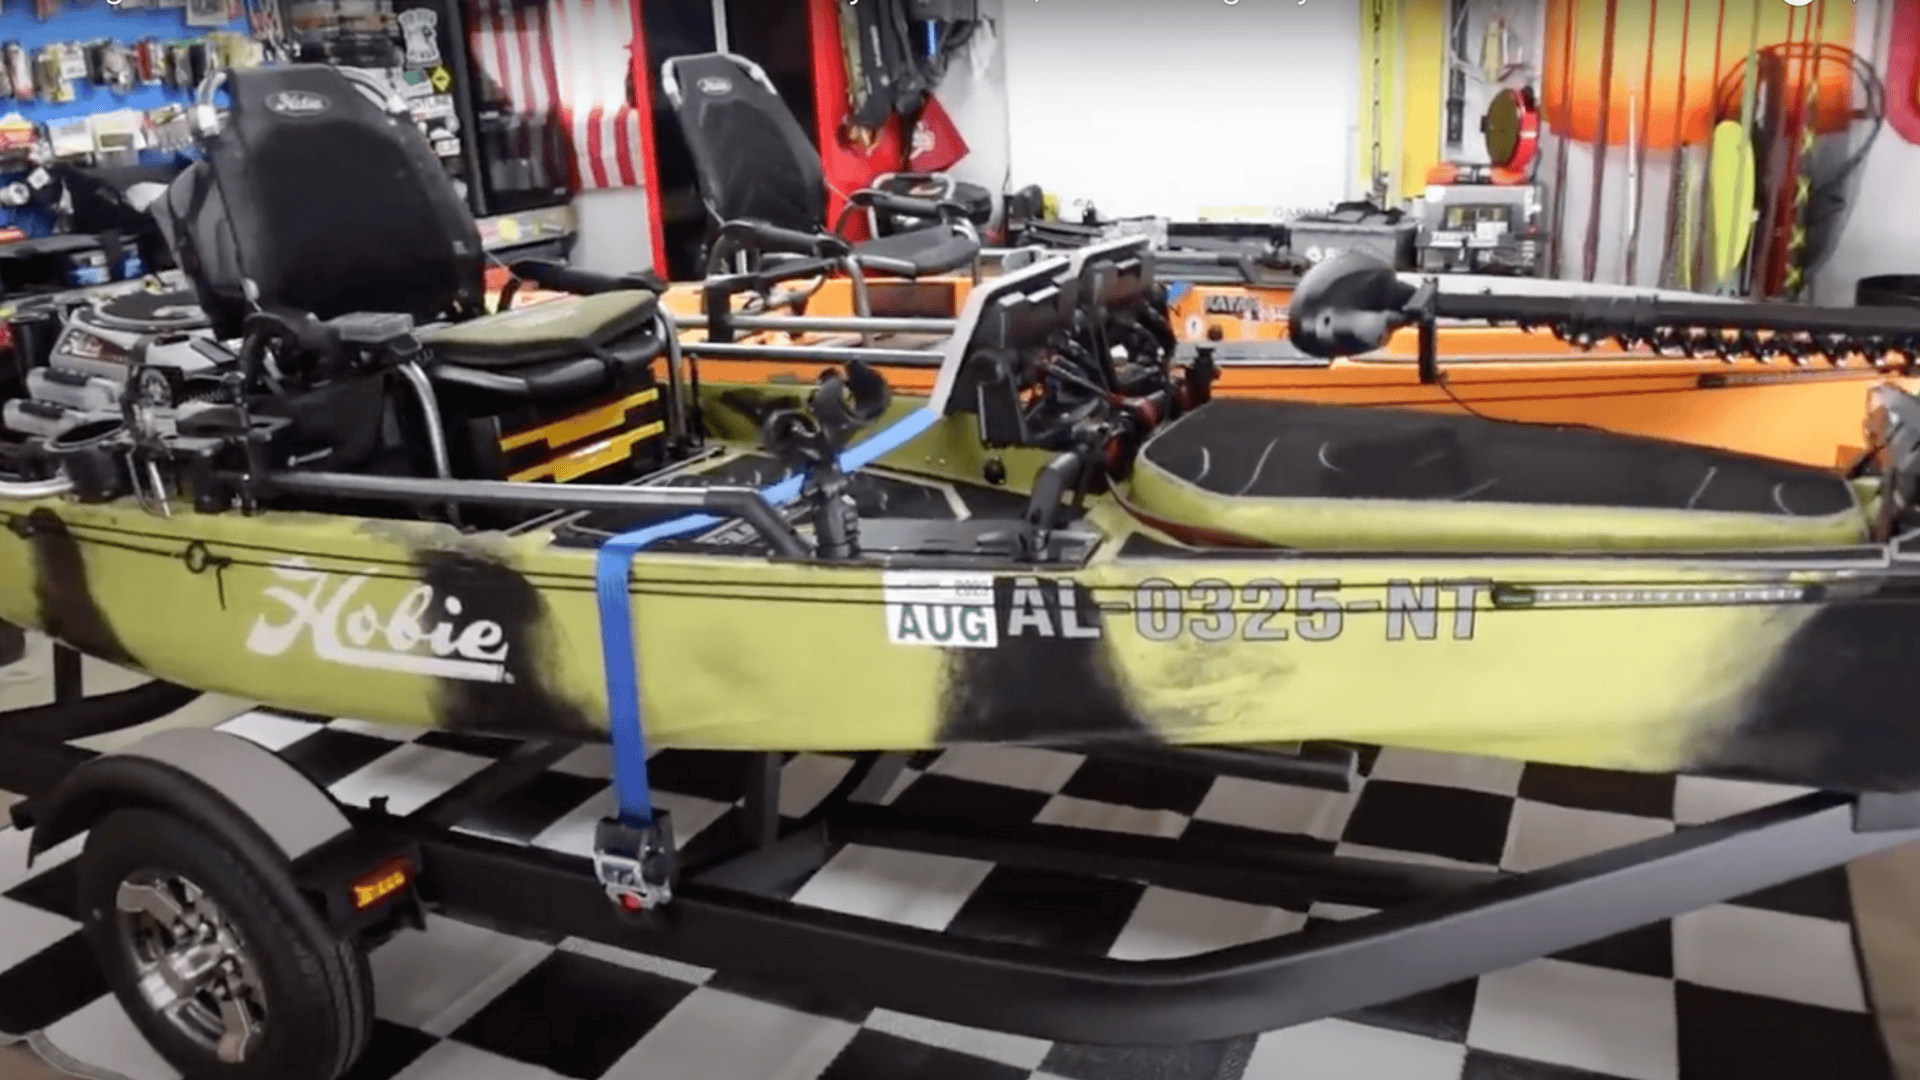
Bolt retractable ratchet straps to one side rail at fore and aft positions. Install half-inch eyebolts on the opposite side with washers and lock nuts.
Load a test kayak and verify that straps reach properly over the deck.
Add the short bow strap from the nose eye to the post eyelet for forward restraint. Test the entire system with a firm shake test to ensure solid attachment.
The kayak should not move in any direction when properly secured.
Video Tutorial
Special thanks to Kayak USA for providing valuable insights in their video, which was referenced while creating this guide.
Pro Tips for Better Results
These professional techniques improve both the build process and final results. Experienced builders use these methods to create trailers that last for years of heavy use.
- Use quality hardware: Stainless steel bolts and Nyloc nuts resist corrosion and stay tight through vibration and weather exposure.
- Plan wire management: Route trailer wiring through uni-strut channels to protect connections and maintain a clean appearance.
- Add drainage holes: Drill small holes in storage boxes to prevent water accumulation that leads to rust and odors.
- Consider weight distribution: Place heavy items over or ahead of the axle to maintain proper tongue weight and stable towing.
- Test before finishing: Load the trailer completely and take a short test drive to identify any issues before final assembly.
Smart planning during construction prevents expensive mistakes and creates a trailer that works better than commercial alternatives.
Safety and Maintenance Notes
Regular maintenance keeps the trailer safe and extends its useful life significantly. These safety checks should become routine before every major trip.
| Maintenance Item | Check Frequency | What to Inspect | Action Required |
|---|---|---|---|
| Wheel bearings | Annually | Smooth rotation, no play | Repack or replace as needed |
| Tire condition | Before each trip | Tread depth, sidewall cracks | Replace when worn |
| Light function | Before each trip | All bulbs and connections | Repair or replace non-working lights |
| Hardware tightness | Monthly | All bolts and connections | Retighten loose fasteners |
Note: Always use a safety chain when towing and check that the trailer tongue weight falls within the vehicle’s specifications for safe handling.
Conclusion
Building a custom kayak trailer using uni-strut components creates exactly the storage and functionality most paddlers need.
The no-weld approach makes this project accessible to anyone with basic tools and mechanical skills. Total costs stay well below commercial alternatives while providing superior customization options.
The modular uni-strut design allows for easy modifications as needs change over time. Adding new storage boxes, rod holders, or accessories requires no major reconstruction.
This flexibility makes the investment worthwhile for serious kayak fishermen and recreational paddlers.
Ready to start building? Gather the materials list and begin shopping for a suitable base trailer to get this project rolling.