A DIY kayak rack is one of the easiest projects you can build to keep your kayak safe, clean, and off the ground.
With just a few boards and basic tools, you can create a sturdy rack that organizes your space and makes storing your kayak much simpler.
Let me show you, step by step, how to build a rack anyone can build at home, even with limited experience.
You’ll also learn the best ways to store a kayak, when to keep it vertical or horizontal, and how to move one if you don’t have a roof rack, so your kayak stays protected all year long.
Why Build a DIY Kayak Rack?
Building your own kayak rack gives you a storage setup that fits your exact space, your kayak size, and your budget.
Store-bought racks can be expensive or too small, but a DIY rack can be built wider, taller, or stronger depending on what you need.
It also keeps your kayak off the ground, which protects the hull from dents, moisture, and warping over time.
For many people, a homemade rack is the easiest and most cost-effective way to store kayaks at home, whether that’s in the garage, on a deck, or out in the yard.
It can hold one kayak or several, and you can customize it with padding, hooks, or shelves for paddles and gear. A good DIY rack makes storage simple and keeps your kayak in better shape for the long run.
Assess Your Space and Storage Needs
Before you start building, take a few minutes to look at the space where your kayak rack will go.
Measure your kayak’s length and make sure there’s enough room for the rack to sit comfortably without blocking walkways or tools.
Decide whether the rack will live indoors or outdoors, since outdoor racks need weather-resistant wood. Think about how many kayaks you want to store: one, two, or more, because that will affect how tall or wide your rack should be.
This is also the time to decide whether your kayak will be stored horizontally or vertically.
Horizontal storage is usually the easiest and safest, but vertical storage can work well if you’re tight on floor space.
Once you know your space and needs, building becomes much simpler, and the rack will fit your setup perfectly.
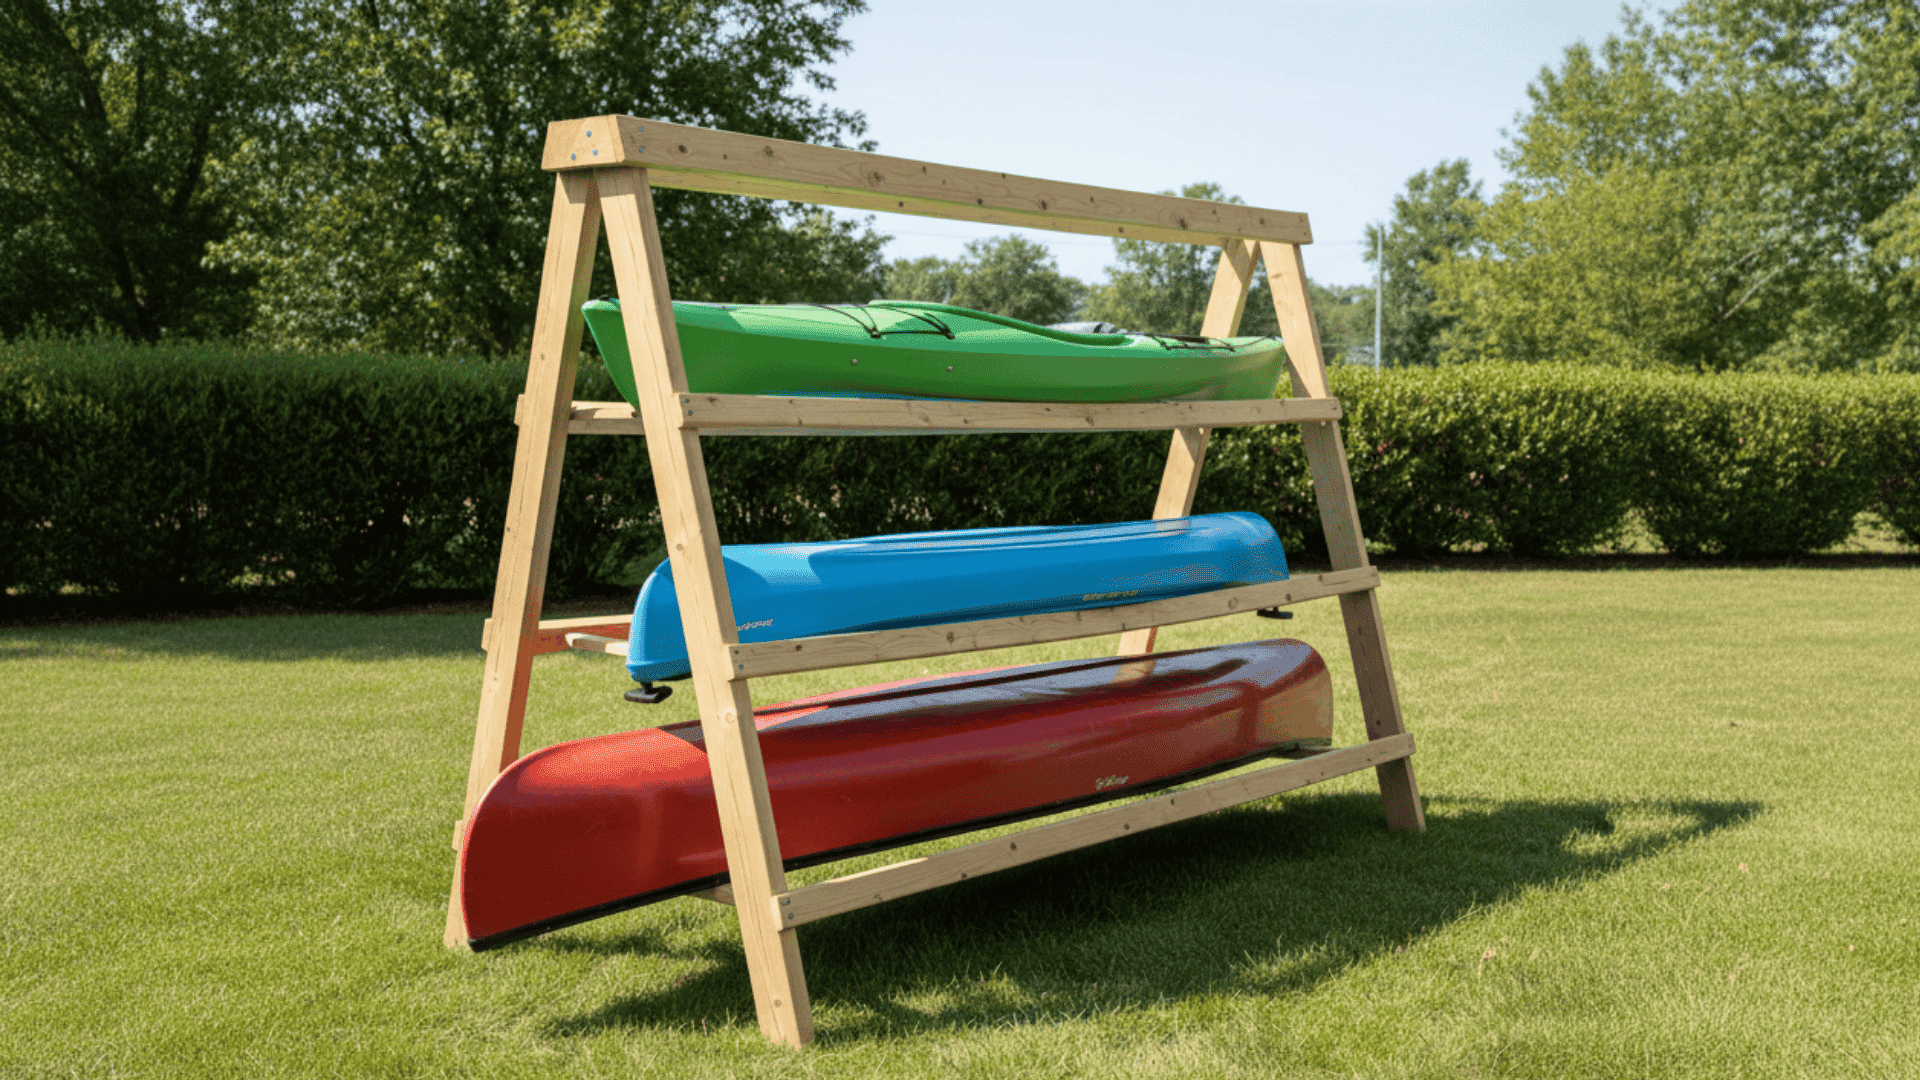
DIY Canoe and Kayak Rack: Step-by-Step
A simple wooden rack like this keeps boats off the ground, organized, and easy to reach. With basic tools and a few pressure-treated boards, anyone can build it.
Materials Required
Before you begin, gather these basic ingredients and tools to make the process quick, smooth, and stress-free.
| Material / Tool | Quantity |
|---|---|
| Pressure-treated 2x4x8′ boards | 9 pieces |
| 5/4 deck board (optional) | 1–2 pieces |
| 3″ exterior deck screws | 1 box |
| Drill/driver | 1 |
| Saw (circular or miter) | 1 |
| Measuring tape | 1 |
| Carpenter’s pencil | 1 |
| Level | 1 |
| Safety glasses & gloves | 1 each |
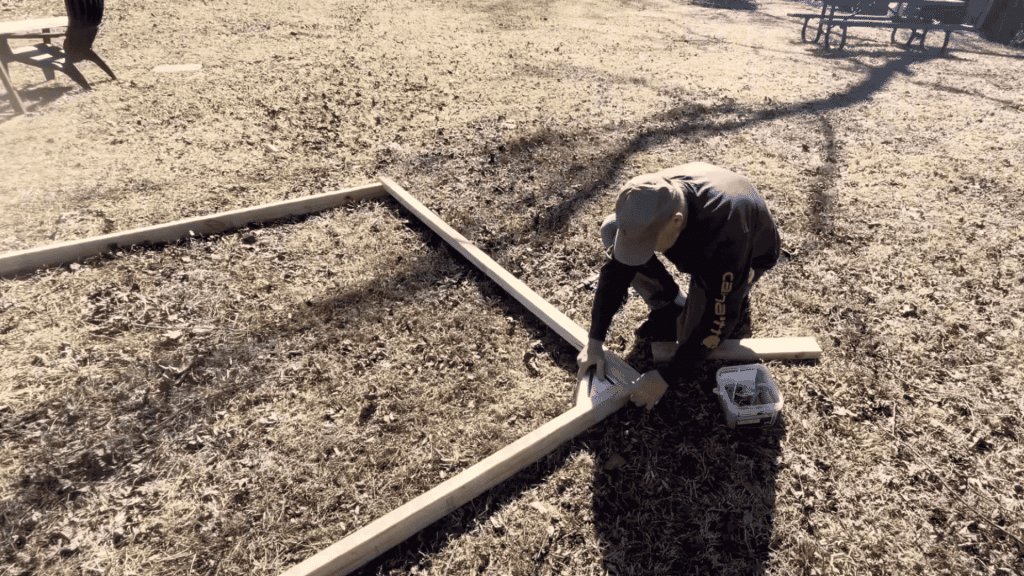
Step 1: Plan the Layout
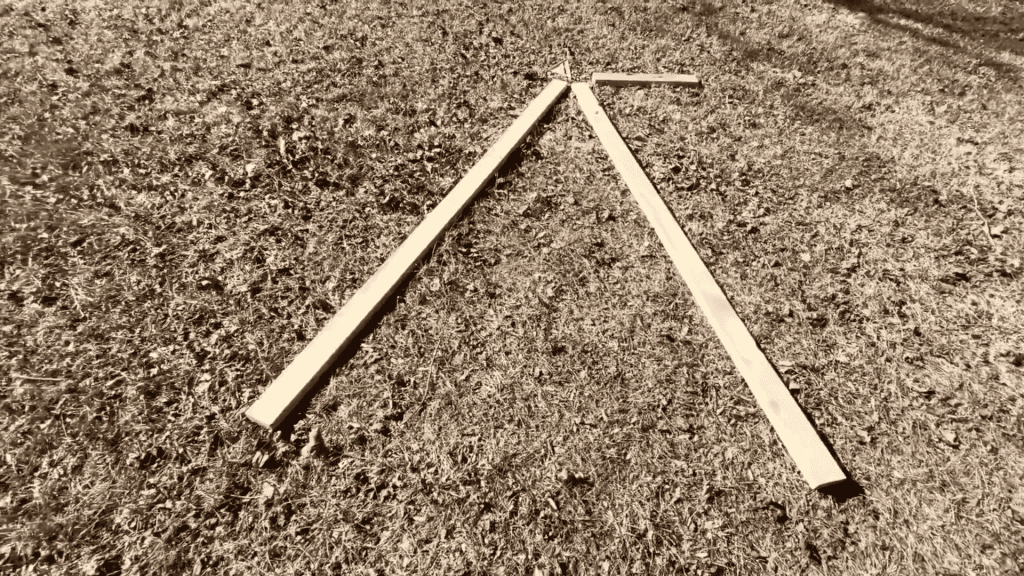
Choose a flat area and lay several 2x4s on the ground in the rough shape of the rack. This helps visualize the height and width before cutting anything.
Adjust the spacing so there’s enough room for both the canoe and kayaks to sit comfortably without touching the ground.
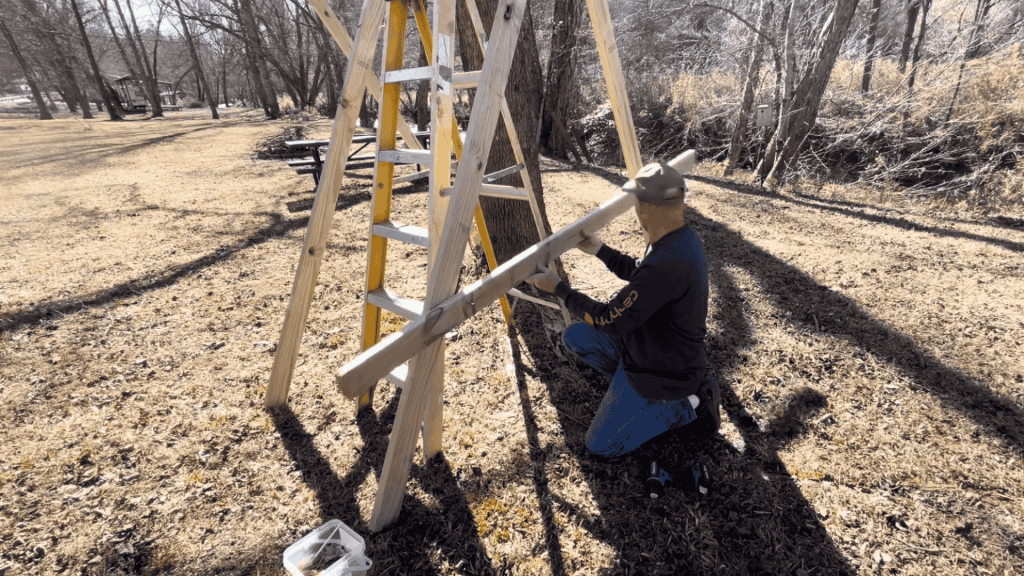
Step 2: Build the Two Side Frames
Create two matching side frames by arranging three 2x4s into the shape you want. Mark where each angled support piece will go, then cut the boards to match these marks.
Once the first frame is finished, use it as a guide to trace and cut the second so both sides match perfectly.
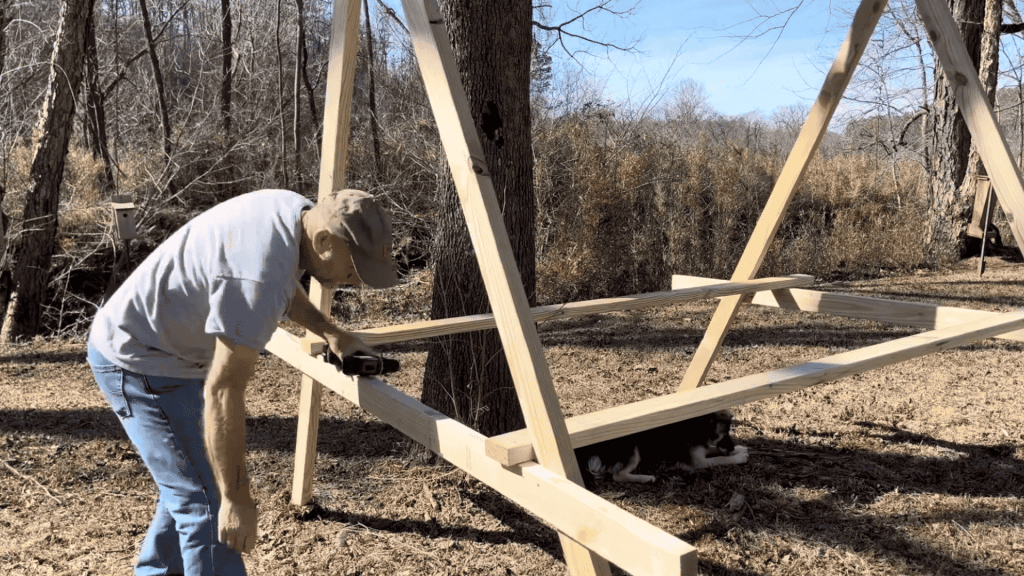
Step 3: Stand the Frames and Connect Them
Stand both frames upright and space them apart evenly. Use a level to check they’re straight, then attach horizontal 2x4s between them with deck screws.
Start by connecting the top and bottom to lock the structure in place, and then add the middle boards to create a strong, balanced frame.
Step 4: Set Heights and Spacing for Boats
Measure the height of each support arm on one frame, then repeat those same measurements on the opposite frame.
Attach the support boards at matching heights so the boats sit level. Take time to check your measurements, because even spacing helps the rack look cleaner and hold weight more evenly.
Step 5: Add Braces for Strength
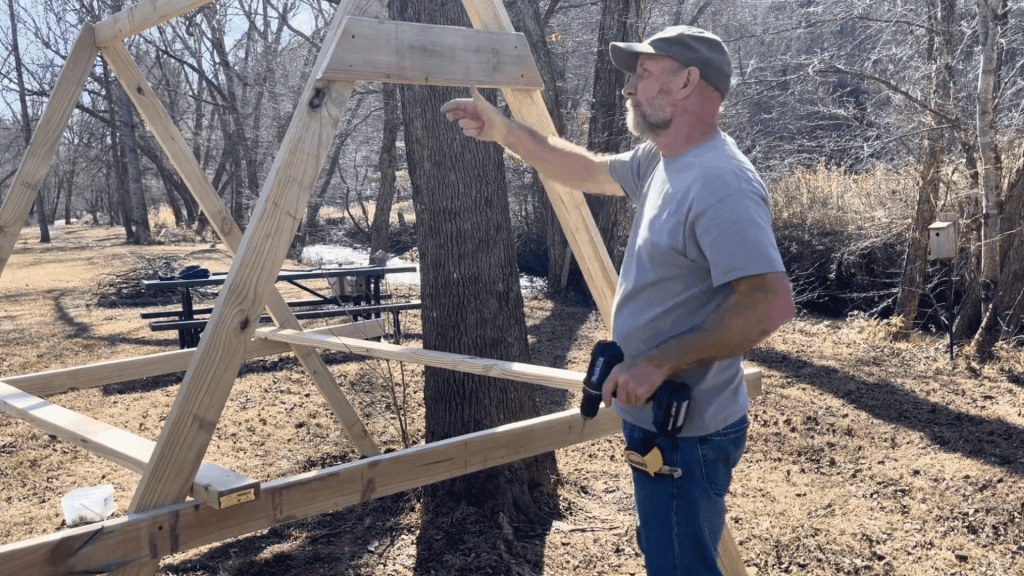
Cut extra pieces of deck board or 2×4 to use as braces and screw them into the upper corners and across weak points.
These braces stop the rack from twisting or wobbling. Adding reinforcement now ensures the structure stays stable once the canoe and kayaks are placed on it.
Step 6: Load the Canoe and Kayaks
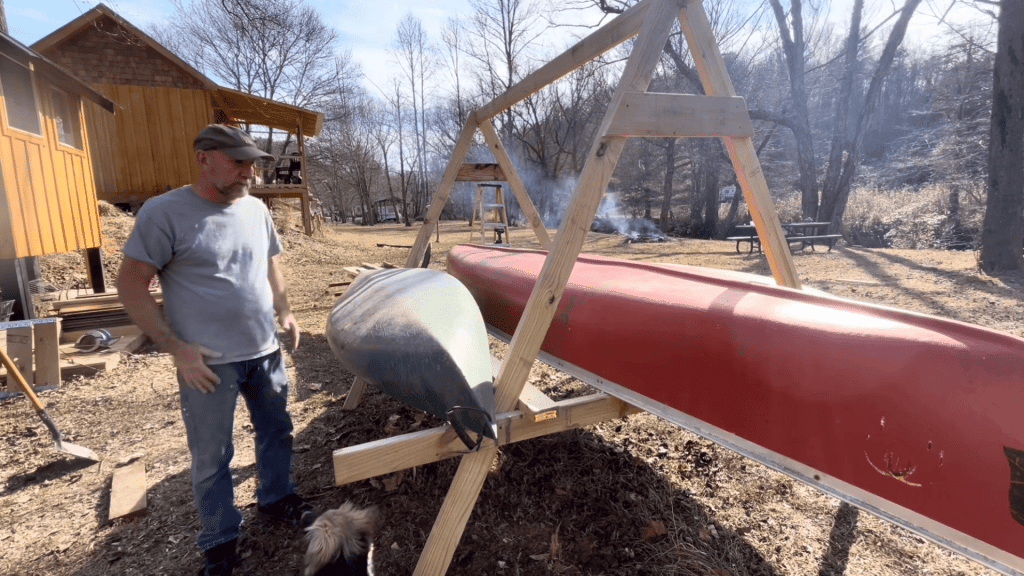
After checking that the rack feels stable, lift the canoe onto the top arms and place the kayaks on the lower ones.
Adjust the rack’s position if needed so everything sits comfortably and safely. Getting the boats off the ground keeps them cleaner, protected, and easier to access whenever needed.
Video Tutorial
Special thanks to Kevin’s Camera for providing valuable insights in their video, which I referenced while creating this guide.
Maintenance and Safety Tips
Once your kayak rack is built, a little care will help it last for years. Check the screws every few months to make sure nothing has loosened, especially if the rack sits outside in the weather.
If the wood is exposed to rain or sun, add a coat of sealant or outdoor wood protector once a year to prevent warping. Keep the contact points padded so the kayak’s hull doesn’t get scratched or dented.
It also helps keep your kayak clean and dry, allowing you to give it a quick wipe after each use before placing it back on the rack.
With simple upkeep, your rack will stay strong and your kayak will stay in great shape.
Conclusion
Building your own kayak rack is an easy project that solves a big storage problem.
With just a few boards and simple tools, you can create a sturdy, dependable rack that keeps your kayak off the ground and protected from damage.
A DIY rack also gives you the flexibility to size it exactly for your space, whether it’s going in a garage, shed, or backyard.
Once it’s built, storing your kayak becomes faster, cleaner, and much more organized.
With a little planning and a straightforward step-by-step approach, you can finish this project in a single afternoon and enjoy stress-free storage all year.
Frequently Asked Questions
What Is the Easiest Way to Store Kayaks?
The easiest way is to keep them off the ground on a simple wall-mounted or freestanding rack. Horizontal storage with even support is the most beginner-friendly option.
How Do You Transport a Kayak with No Roof Rack?
Foam blocks and strong cam straps work well on most cars without roof racks. You can also use a truck bed, a trailer hitch carrier, or borrow a portable kayak cart to move it safely.
Is It Better to Store a Kayak Vertically or Horizontally?
Horizontal storage is usually safest because it spreads out the weight and reduces pressure on the hull.